JAN 30 | VECTORS + ADOBE ILLUSTRATOR
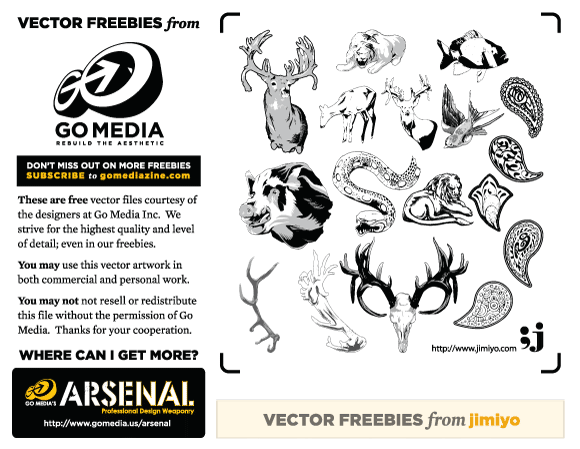
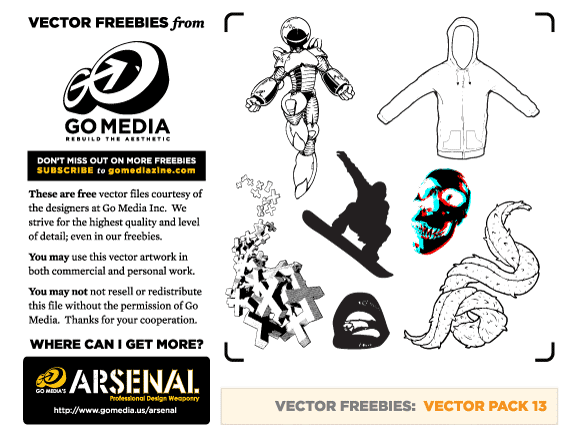
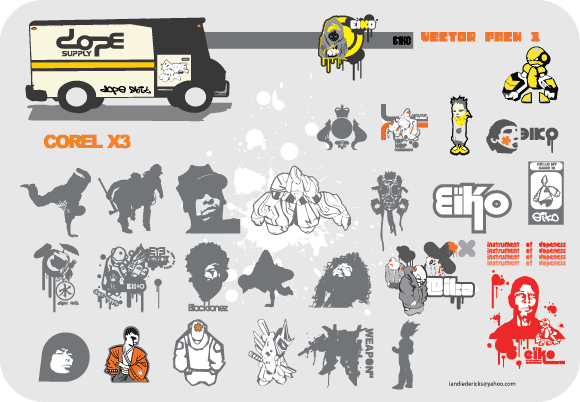
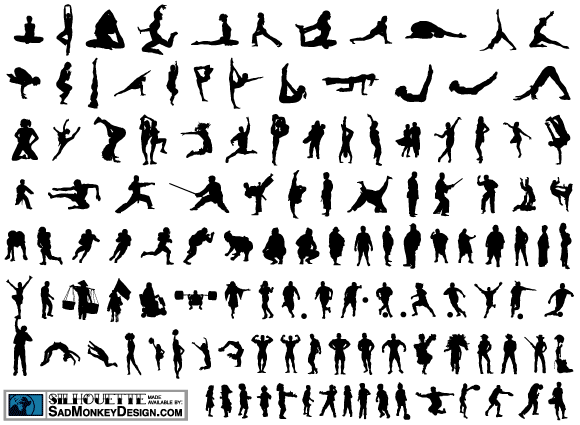
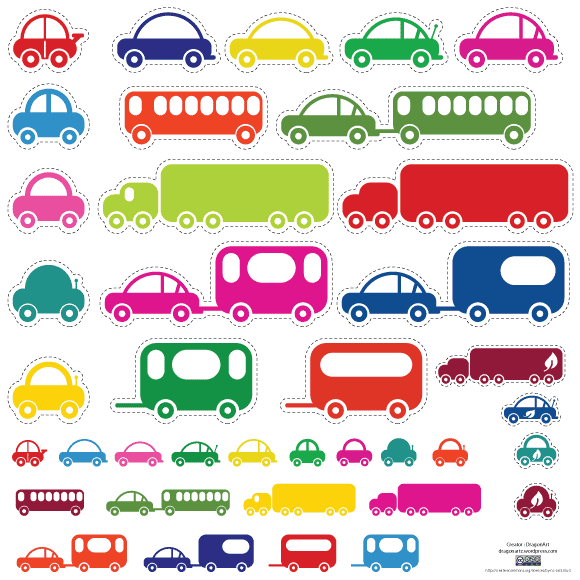
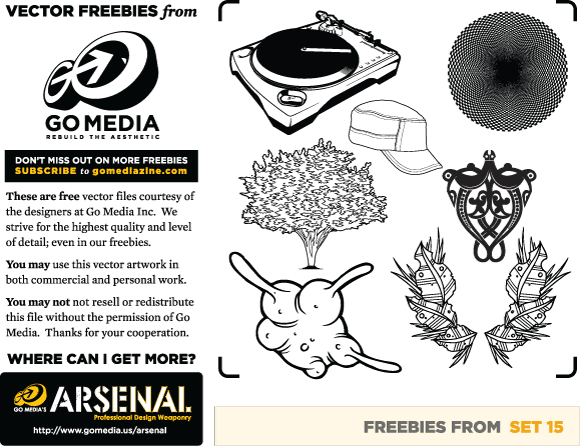
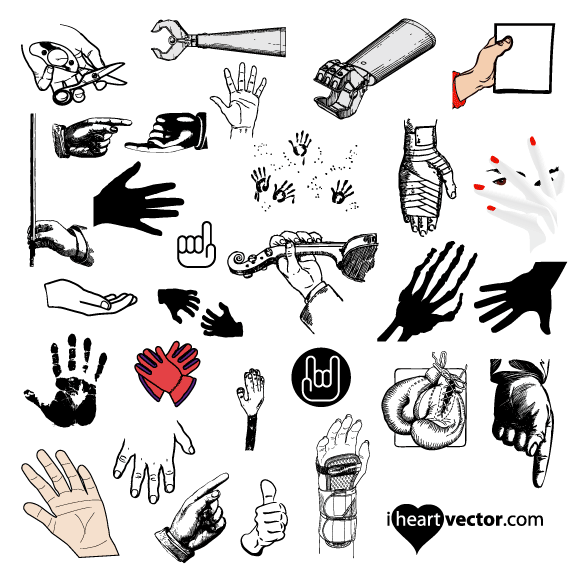
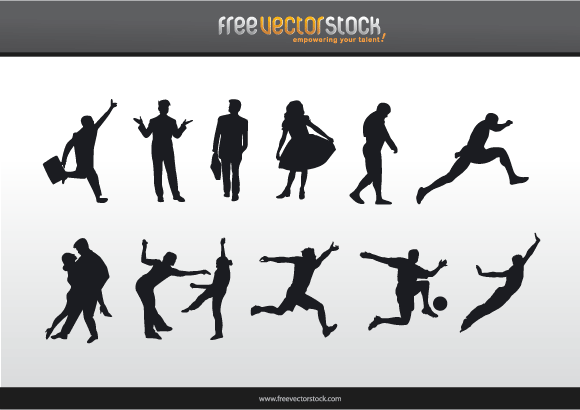
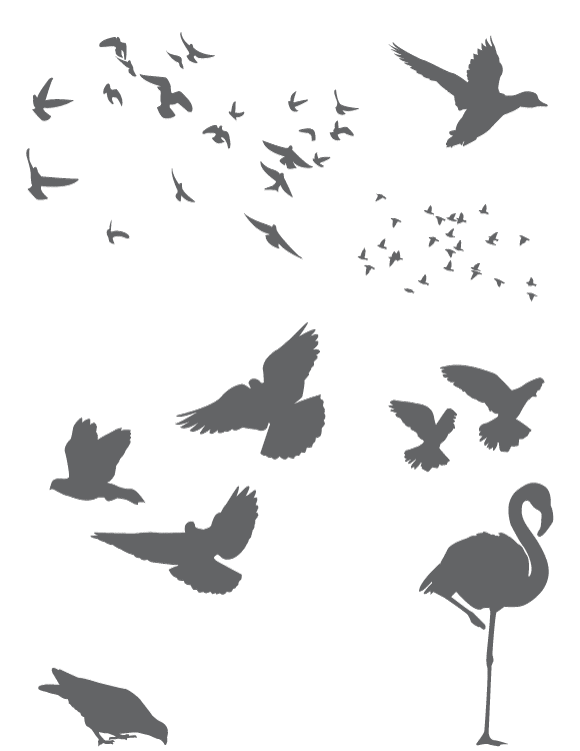
Today you will be experimenting with vectors. You can download them from the following sites. There are many more sites out there, but here are just a few sample ones. Sometimes downloading them can be a bit tricky, because as we all know downloading files from the internet is not always that straight forward.
VECTOR WEBSITES | free downloads www.vecteezy.com www.freevectors.net www.vectorjunky.com http://vector4free.com/ www.123freevectors.com http://garcya.us/free-vector-graphics/ http://vector4free.com/vectors http://www.vectorvaco.com/ http://coolvectors.com/ http://qvectors.net/ |
|
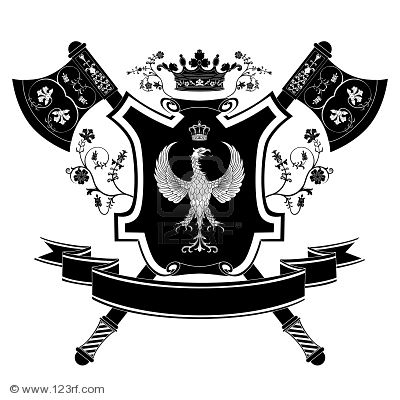
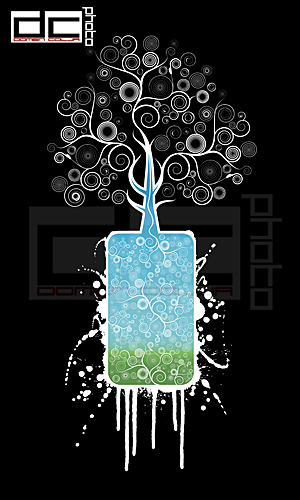
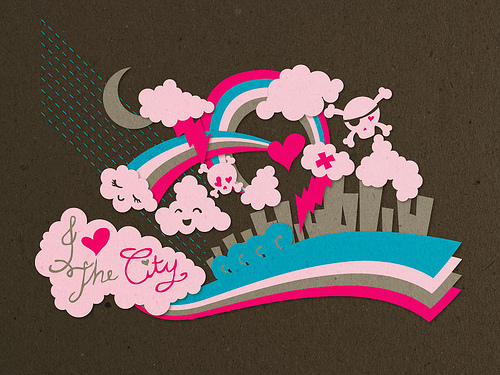
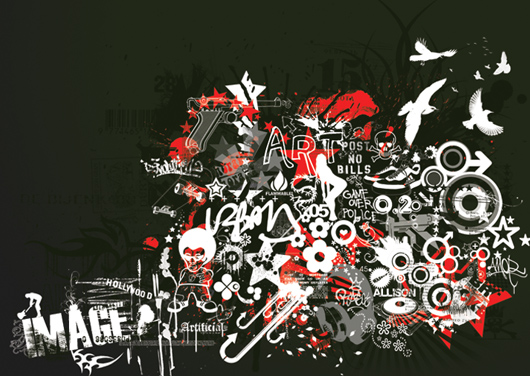
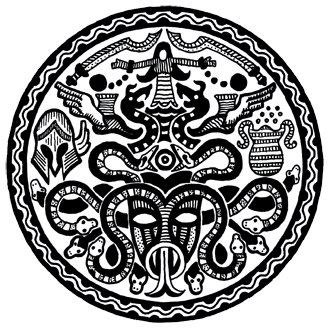
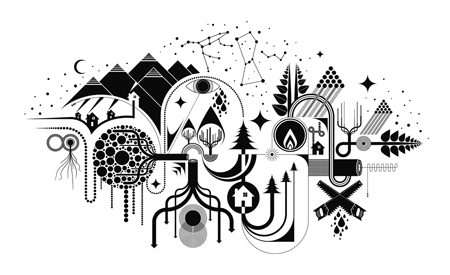
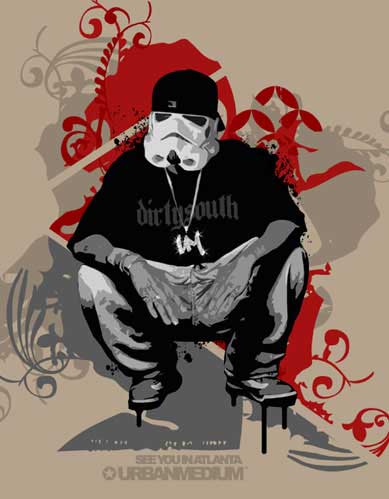
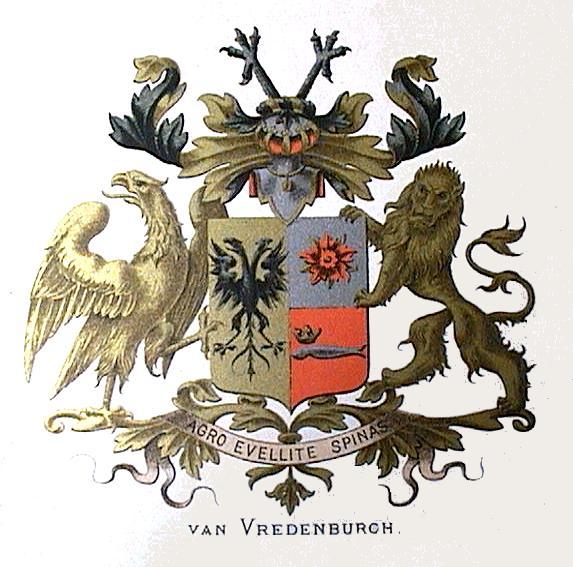
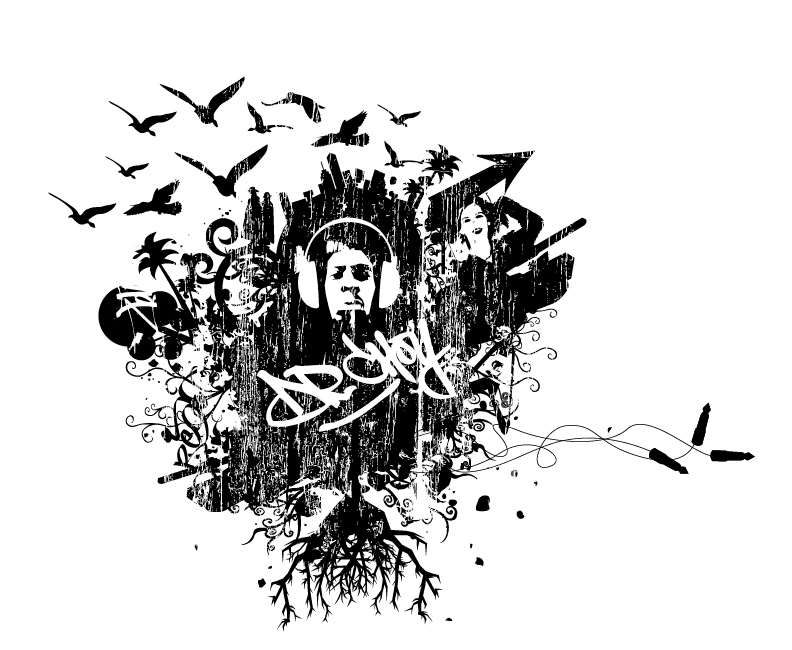
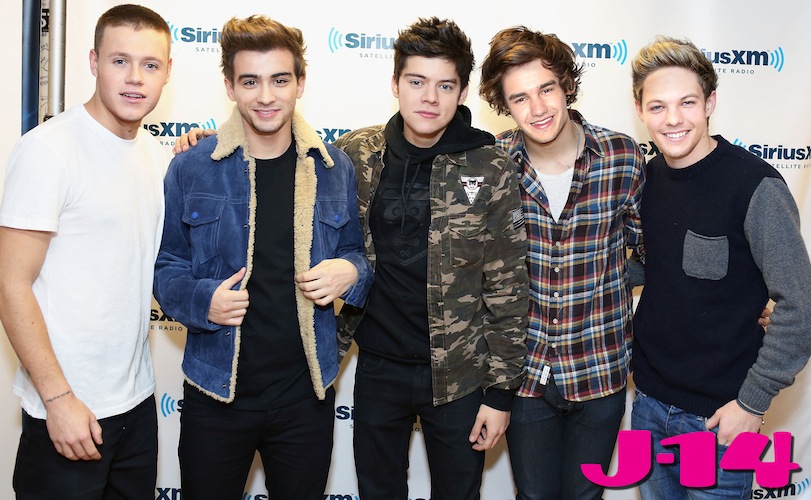
FEB 05 | DIGITAL iCREST [All About Me]
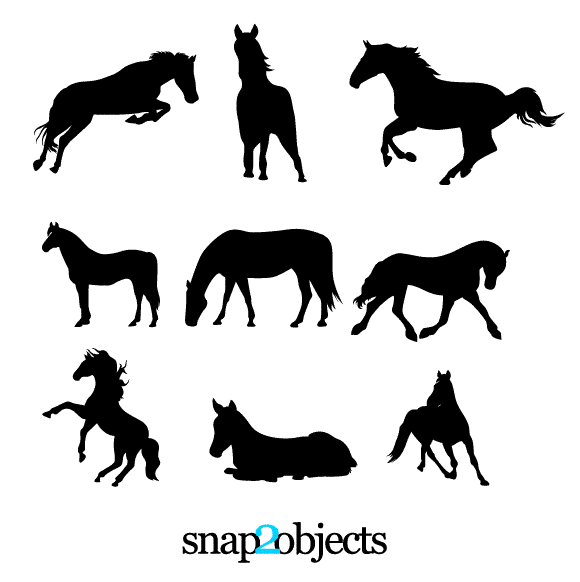
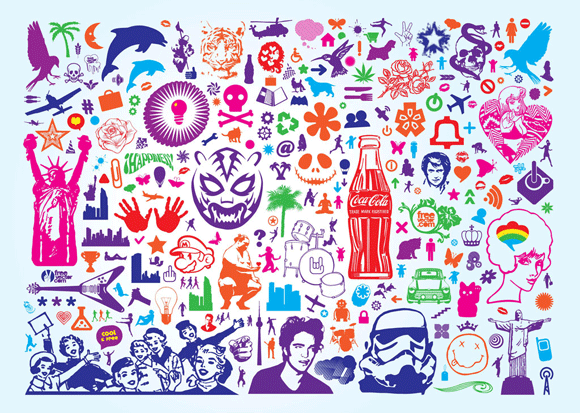
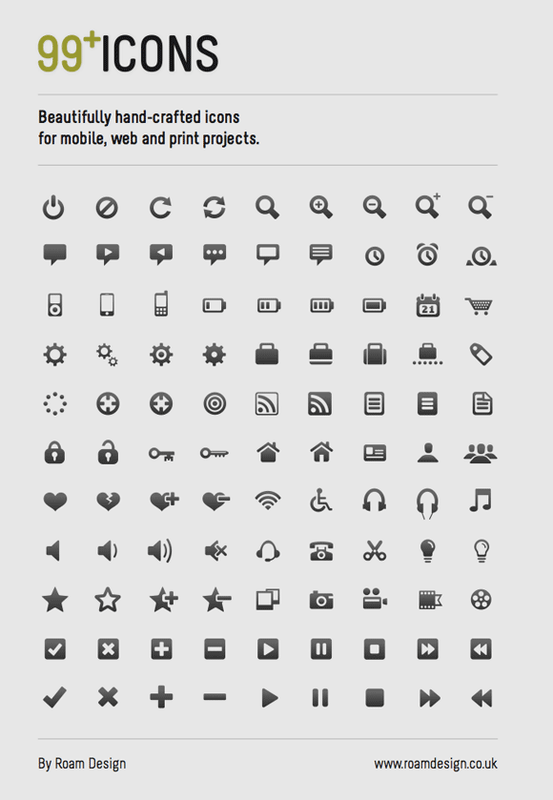
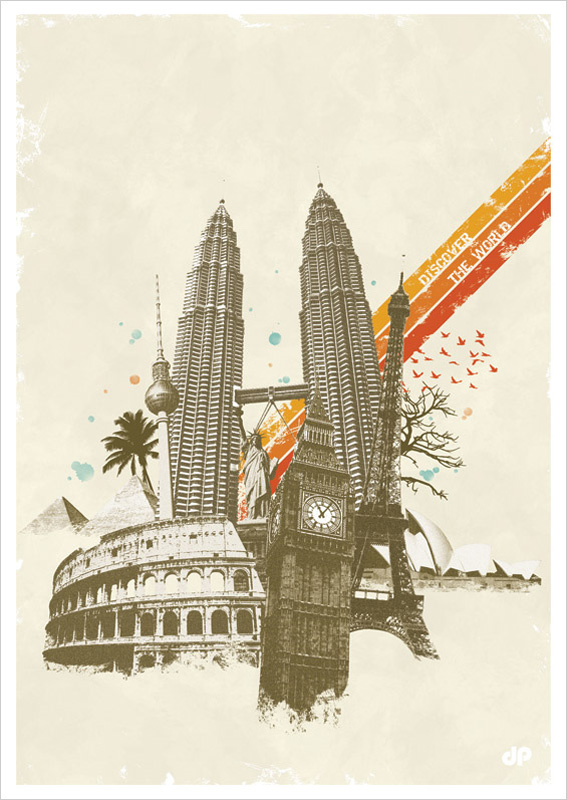
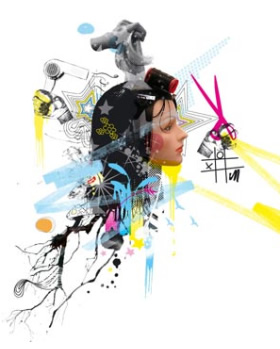
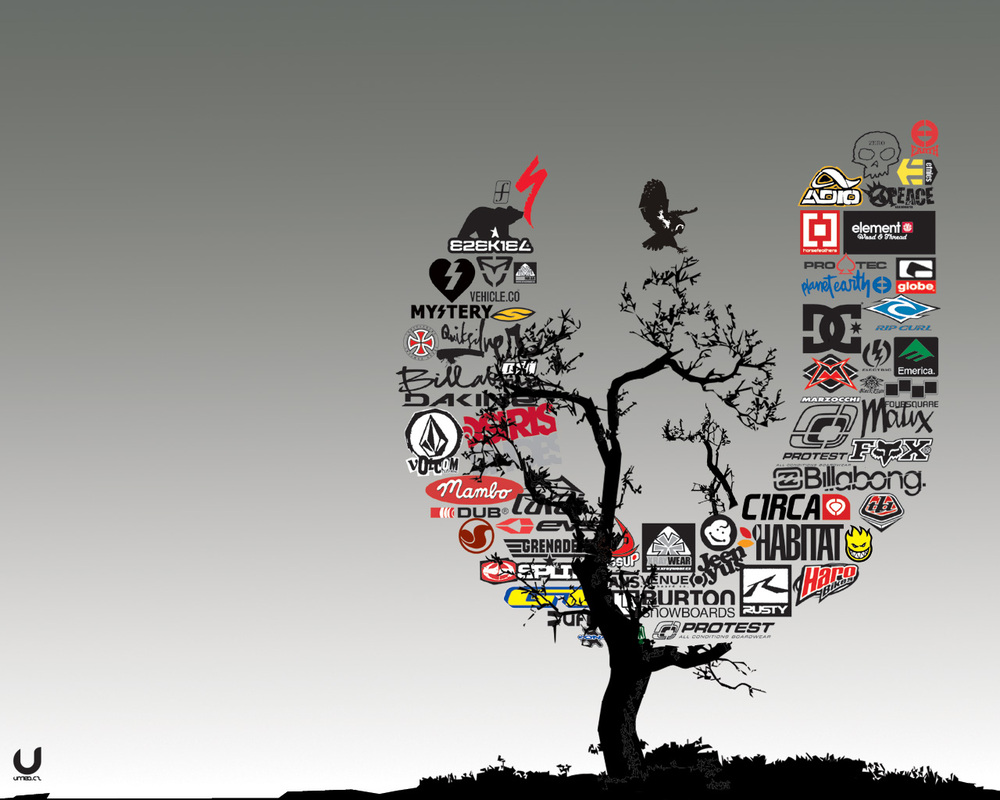
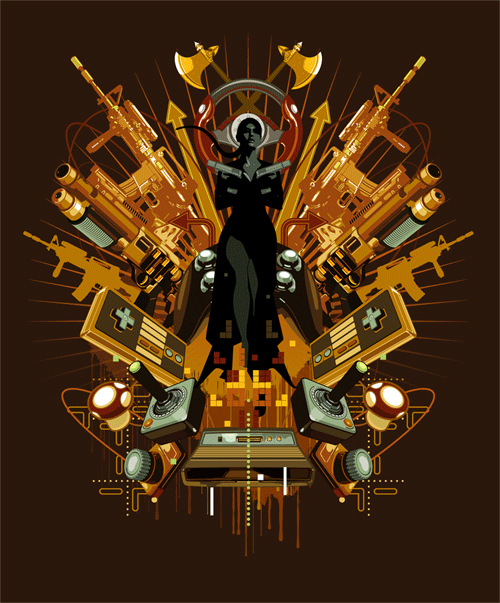
You will be creating an image crest design in Illustrator. But first, we need to go through and complete the demo. Browse and download some vectors that you find appealing or shows a bit about who you are. You can even use text or a self portrait. In your notebooks, write down a list of your hobbies, favorite things, personal values, personality/character, family/friends, religion/beliefs, etc... (this is for 10 marks). This is done and approved by Mr. Choy before you begin using the computer.
What is important to you? What is at the core of your life? Begin to place them onto a 12 X 8 Inch document in Illustrator. Experiment with your design arrangement and mix around your elements to create something that is cohesive, aesthetically pleasing, meaningful, and revealing (about yourself). Start with one central element and use that as your starting HUB, everything else should look like it is growing out of it, similar to a tree. The design should not look scattered across the canvas, but rather connected in some method. Look for VECTOR FILES online first rather than always relying on LIVE TRACE. LIVE TRACE does a decent job, but doesn't always give the accurate results you want. VECTOR FILES should be in these formats: Ai, PDF, or EPS. Consider this: if this were a design of your life lived, what were would it look like? Someone looking at your image should be able to draw something out of it about you. Use the examples on the side to help you come up with ideas, this is a project that should take you a 3-4 days. So don't rush through it, make thoughtful decisions. This is not a group project. Save this project as dc_yourname.pdf. FILE>SAVE AS (choose PDFformat) |
There are many more sites out there, but here are just a few sample ones. Sometimes downloading them can be a tricky, because as we all know the internet is not that reliable.
www.vecteezy.com www.freevectors.net www.vectorjunky.com/ http://vector4free.com/ www.123freevectors.com/ http://freewareme.com/tags/vector 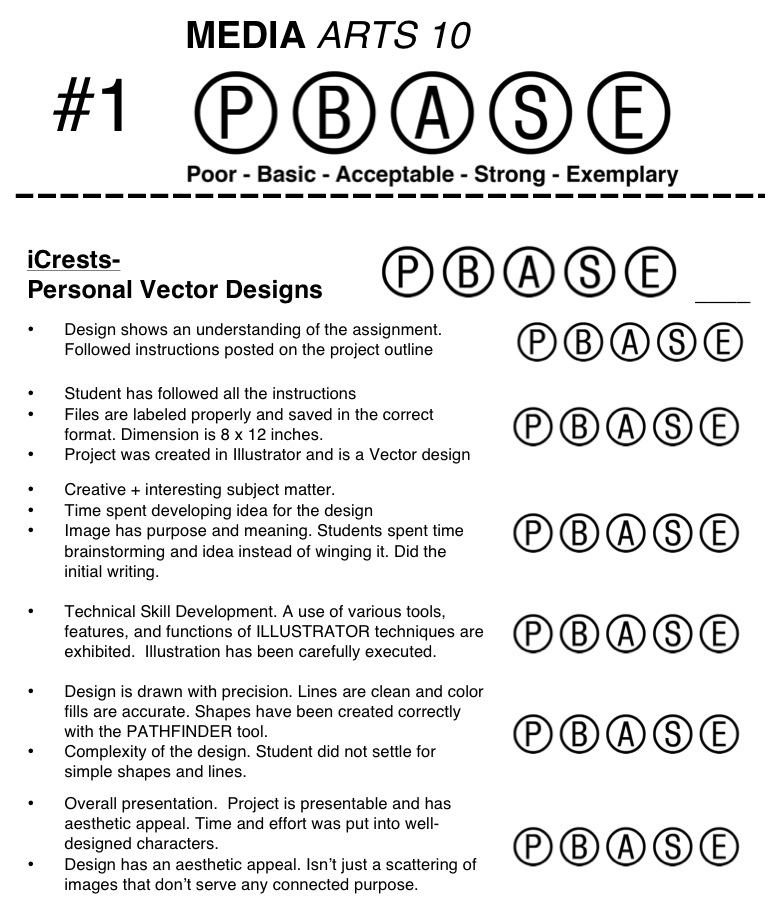
|


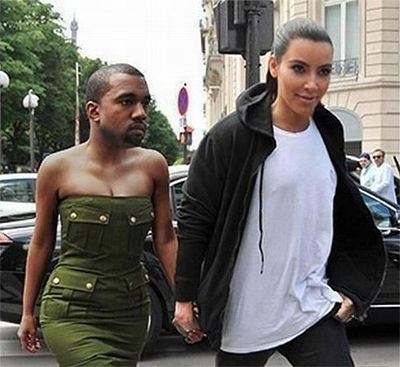
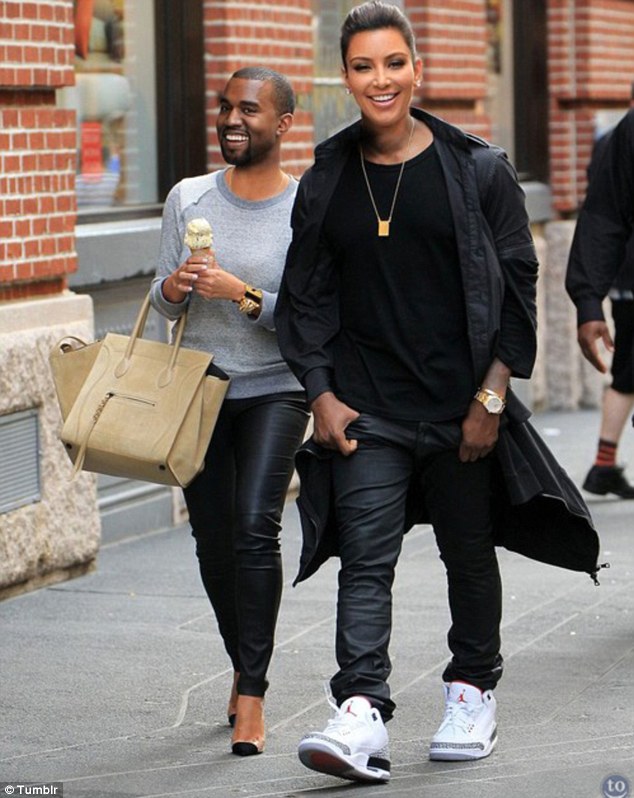
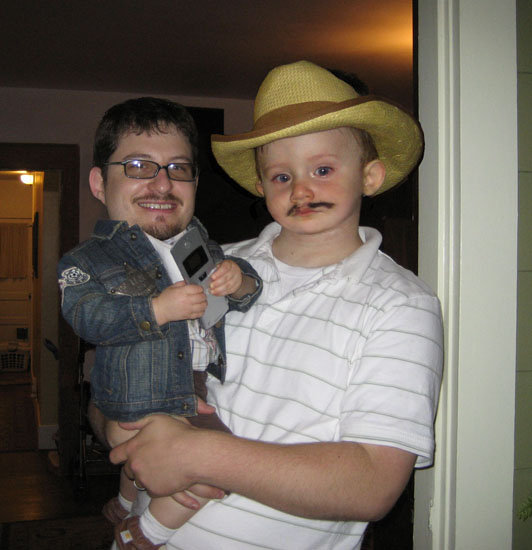
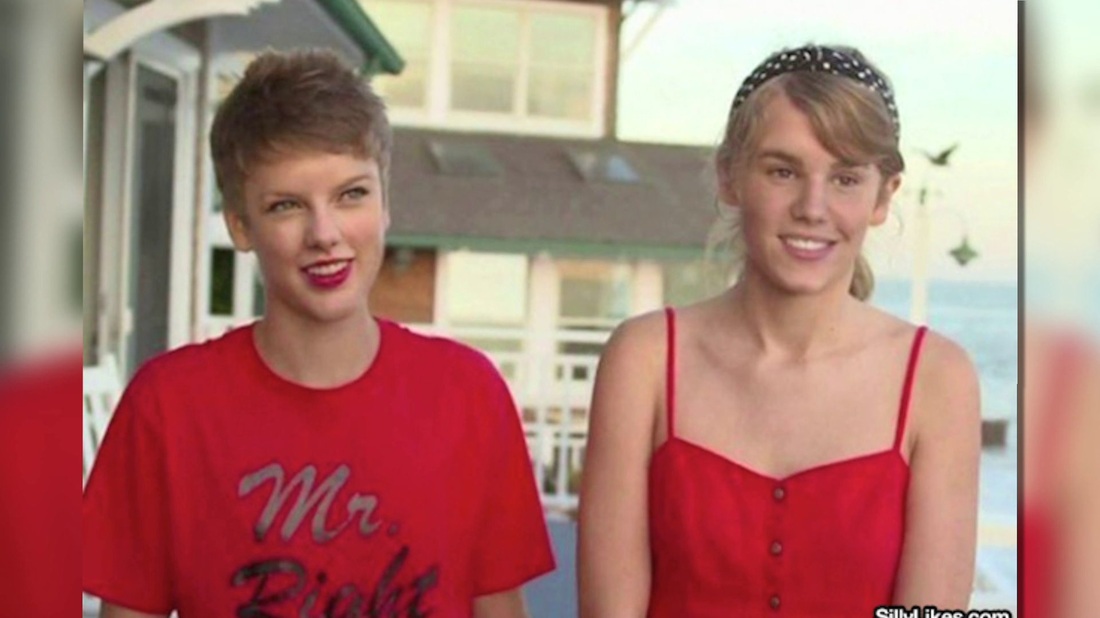
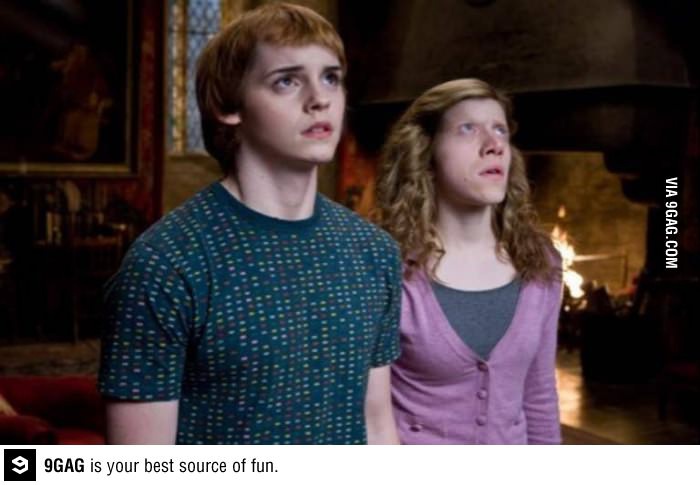
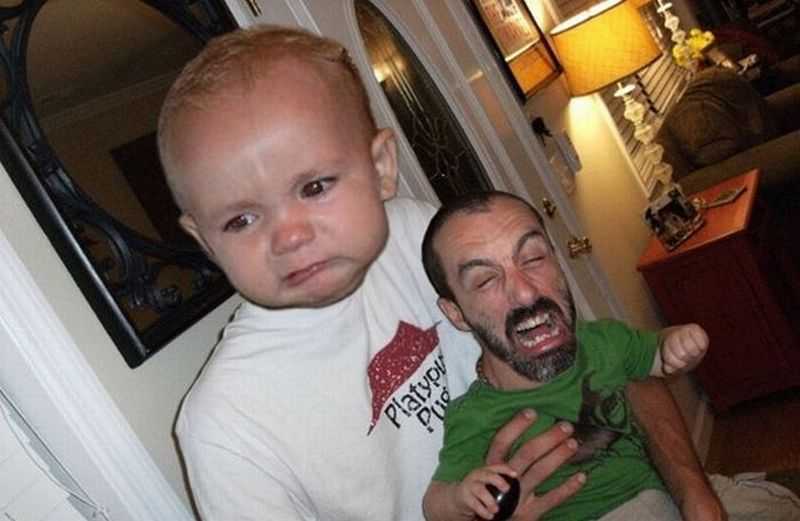
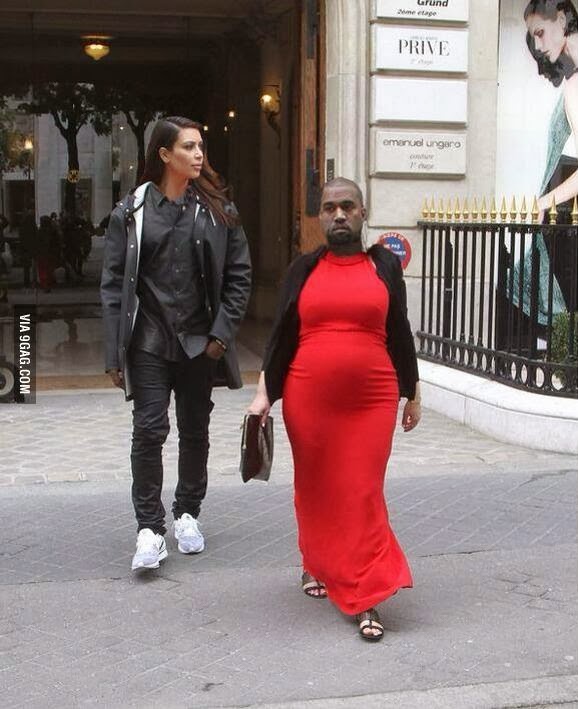
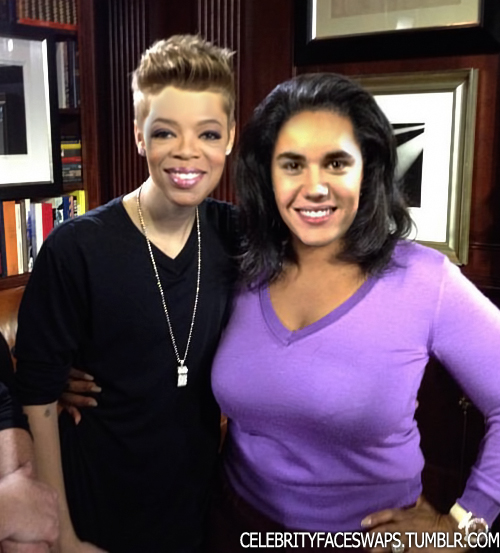
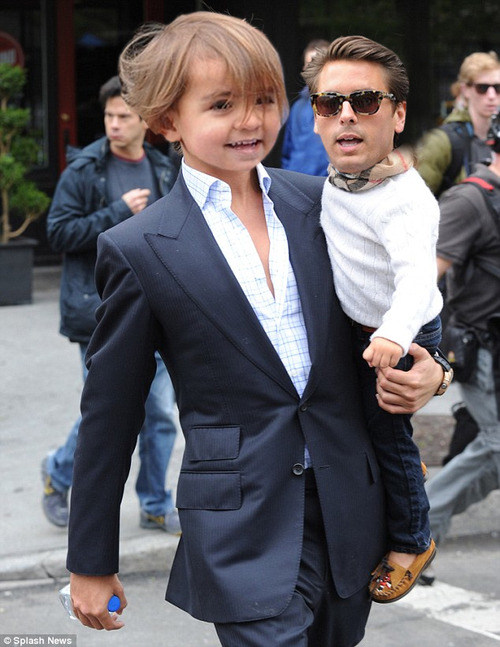
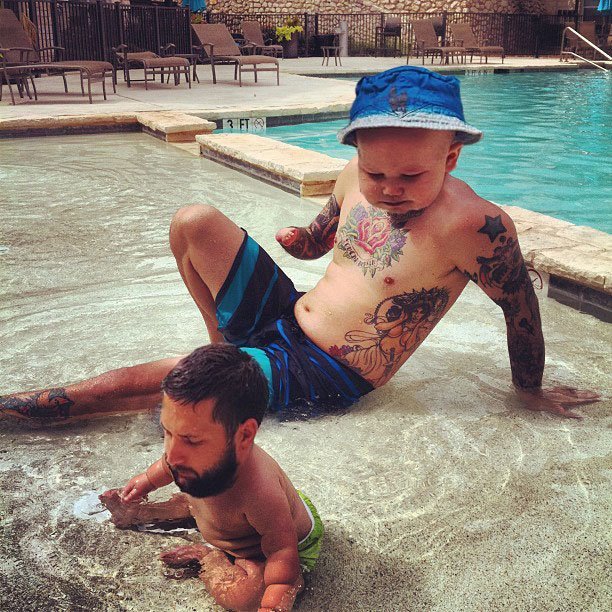
FEB 12 | FACE SWAP- [Photoshop]
|
Save your project file as a PSD.
Label it- Faceswap_yourname.PSD |


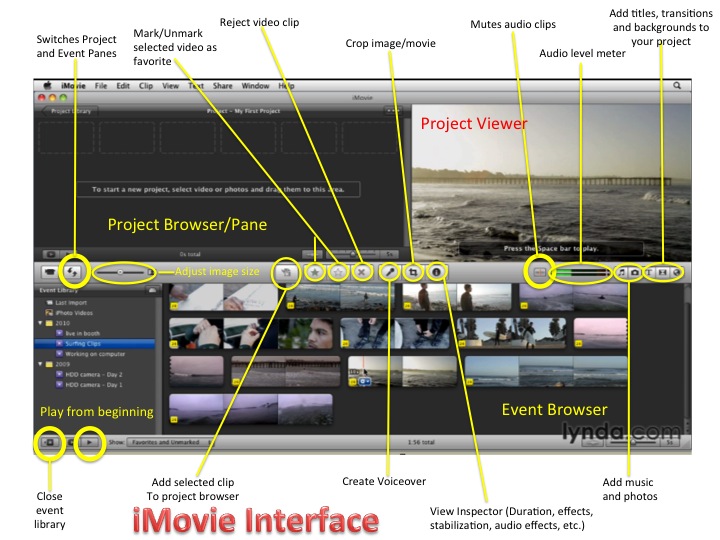
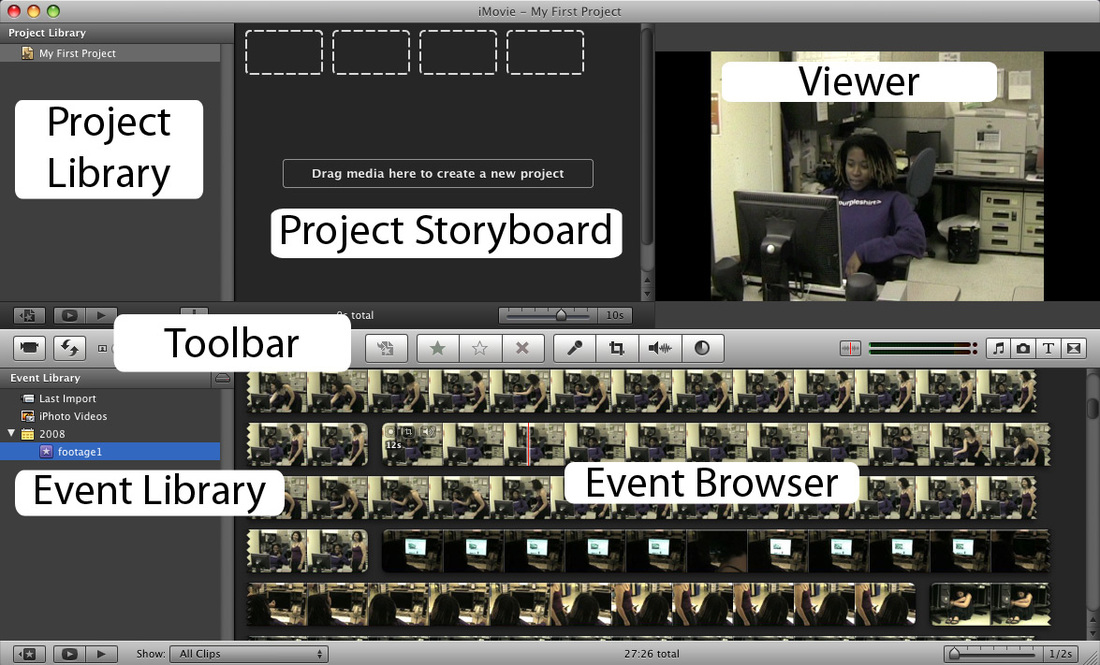
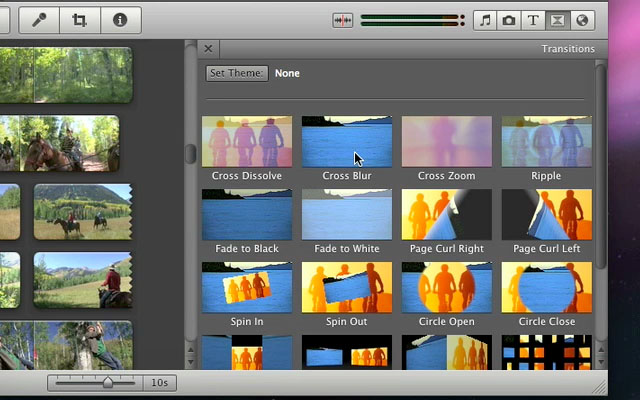
FEB 13 | iMOVIE COLLAGE EXPERIMENT
|
|
To find videos to use, you can upload your own clips, or use FIREFOX to download clips from YOUTUBE. You will need to make sure FIREFOX has a Youtube video downloading app installed. This will be demoed in class.
Once clips are downloaded, open up iMovie. Create a new event to import all your clips into. Also create a new project, do not erase someone else's work. This is not a partner project. Everyone needs to learn the basic editing skills. You will be using these skills for future film and video projects. Important that you take the time to learn the program. At the same time, have some fun splicing together different clips. Save your project as a MOVIE FILE: SHARE>EXPORT MOVIE (choose HD) Make sure to include your name in the file and save as filmclips_yourname. |

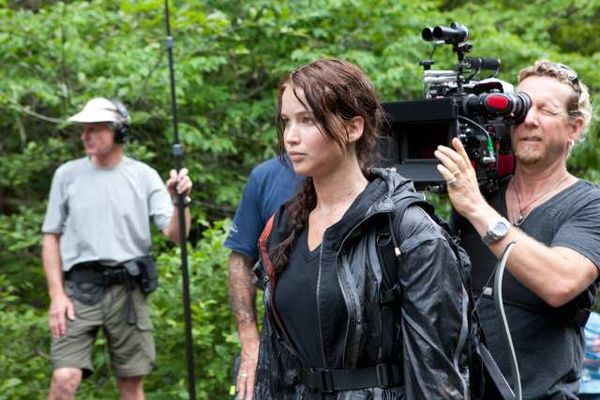
MARCH 4: EPIC SHORT FILM DEADLINE: April 17th
|
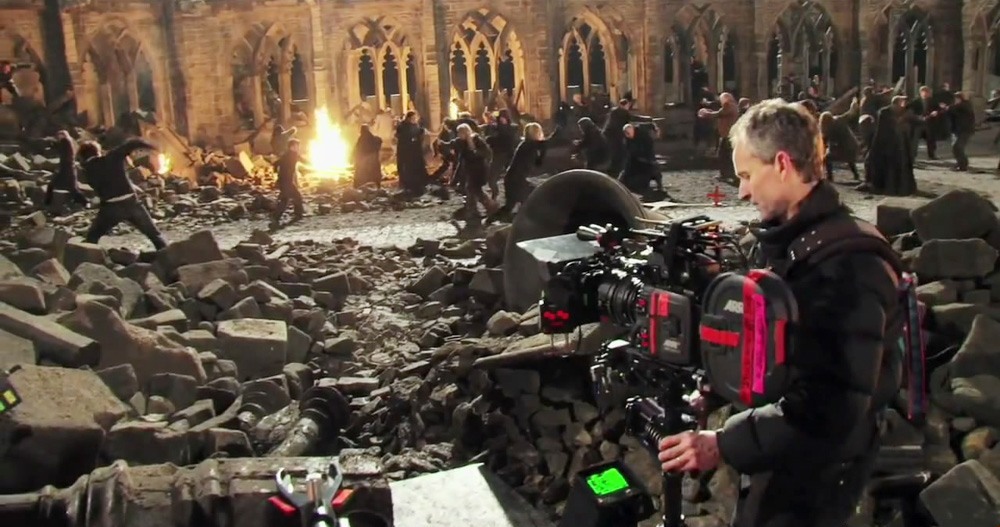
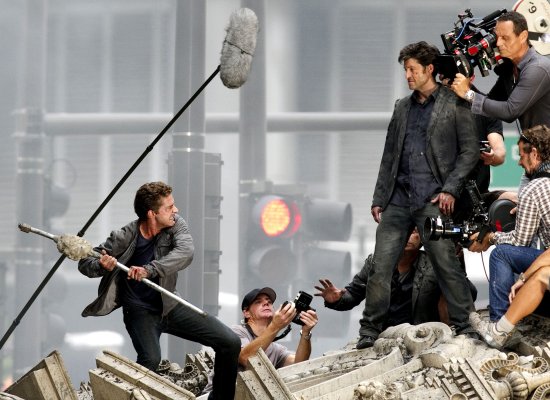
You project is to create an EPIC FILM in your groups (maximum of 5). Here is the challenge. You are not making just any regular action and adventure film with explosions and slow motion. The film subject will be based on a ‘regular’ daily routine like getting ready for school, making a sandwich, doing homework, washing dishes, or driving a mini-van.
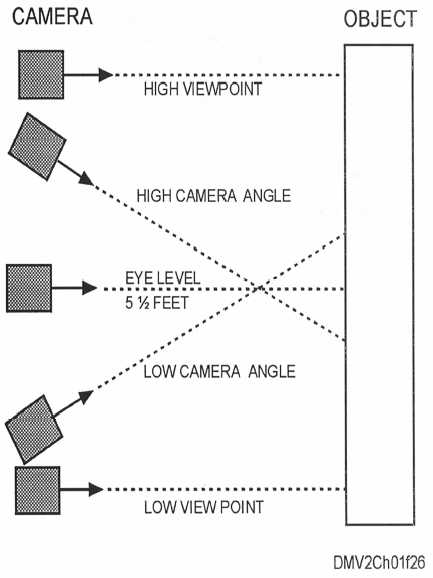
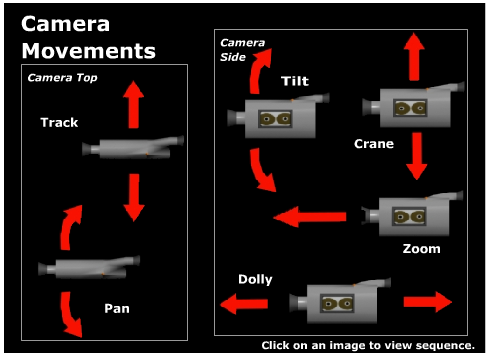
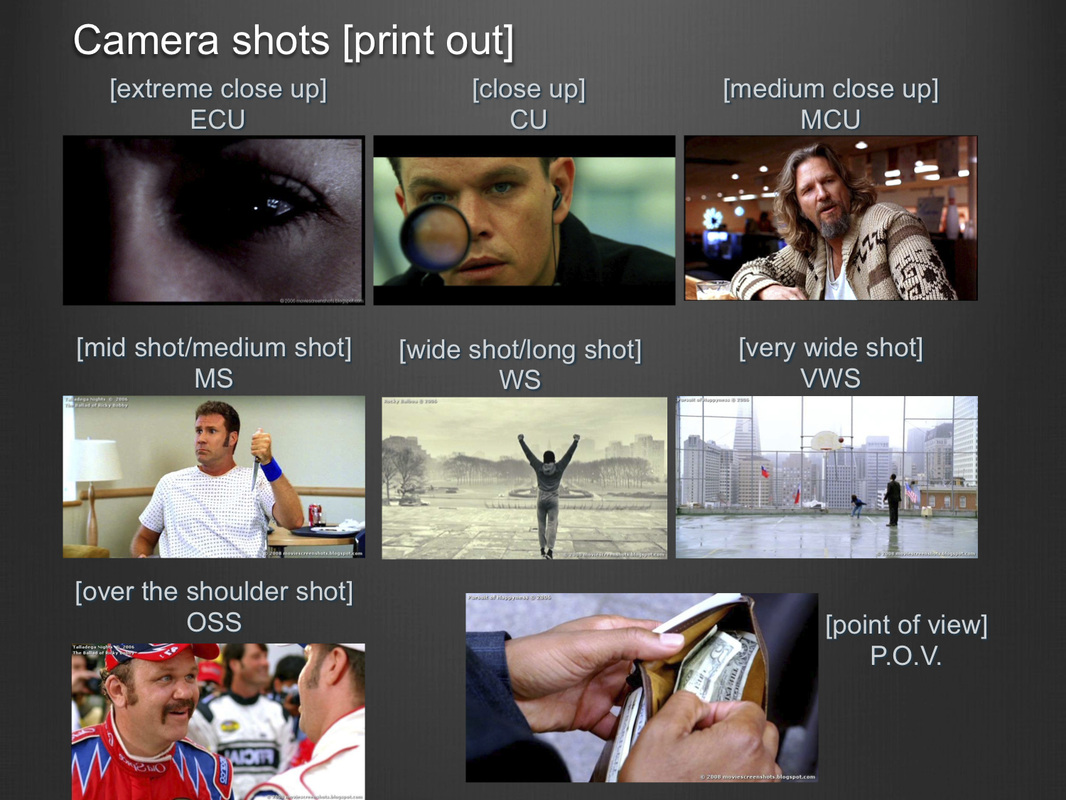
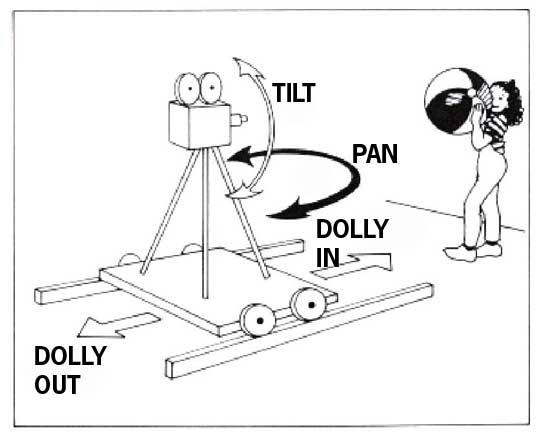
This will be a test of how you use camera movements, camera angles, sound effects, music, and motion to create a change in how we view things. Watch "Epic Breakfast" short film to get some inspiration for your idea. DSLR CAMERA SETTINGS:
|
PROJECT DETAILS:
YOU WILL BE MARKED FOR EVERYTHING, EVEN THE BRAINSTORMING AND PLANNING.
ROYALTY-FREE MUSIC
| ||||||||


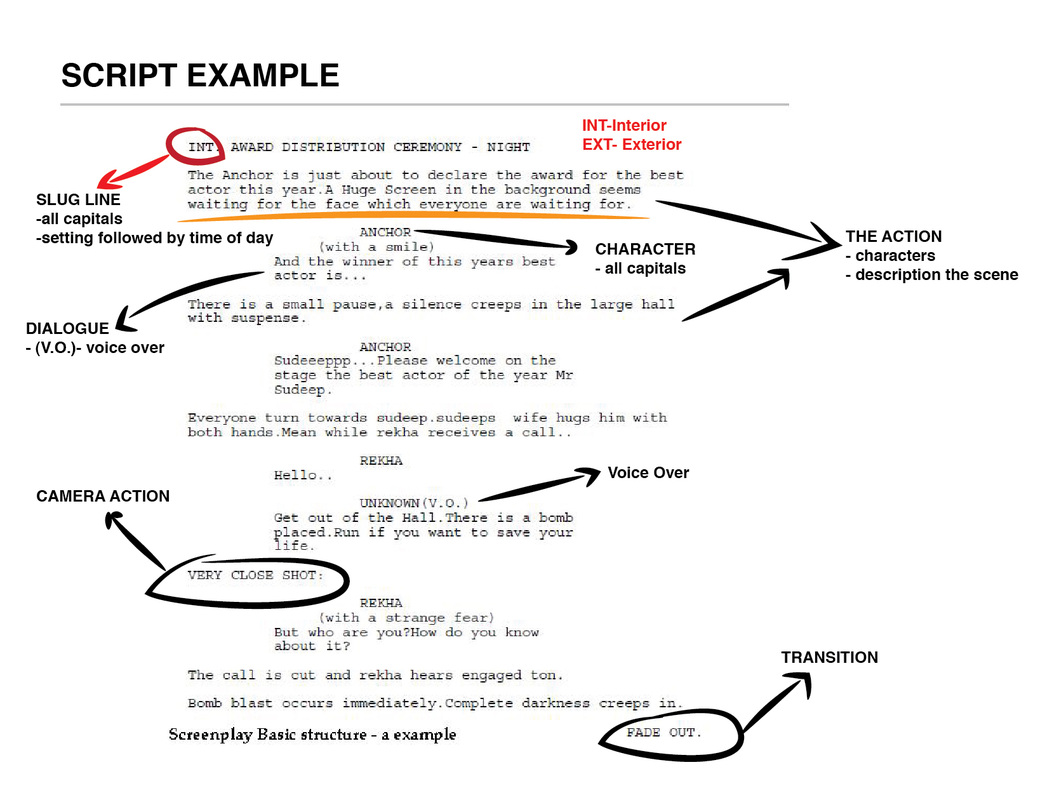
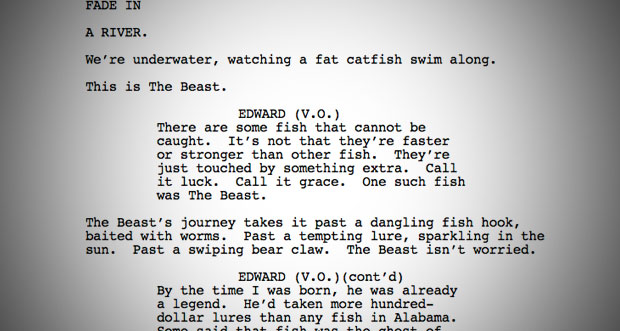
SCRIPT WRITING: Using CELTX
Scriptwriting is an art-form, and creating art is never easy. Every time you watch a TV show, watch a film or even play a video game you are taking in the work of a scriptwriter.
With today being driven by the various mediums of entertainment scriptwriting has becomes one of the best page and attractive jobs going. Film scripts have been sold for in excess of $1 million. With that sort of money floating around it's no wonder people are becoming more interested in the idea of scriptwriting. However scriptwriting can be a difficult and arduous task. Even the best of scriptwriters often have creative lulls and can go for years without writing a single script. |
|
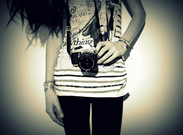
MARCH 16 | PHOTOGRAPHY MODULES + APPLICATION
|
PHOTO SIMULATOR
| ||||
|
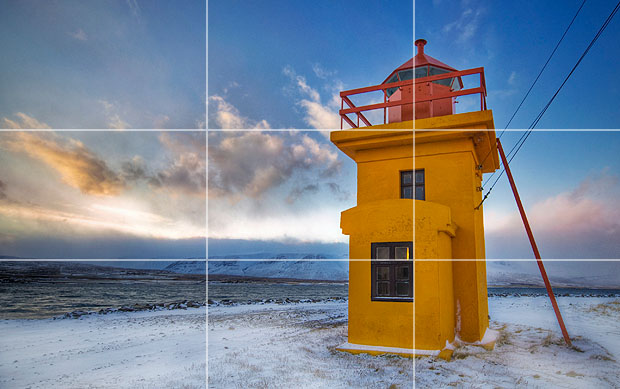
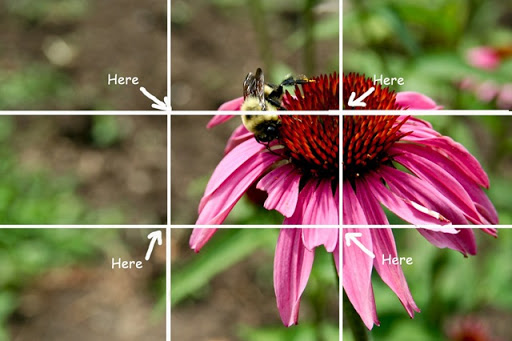
RULE OF THIRDS
COMPOSITION MODULE
|
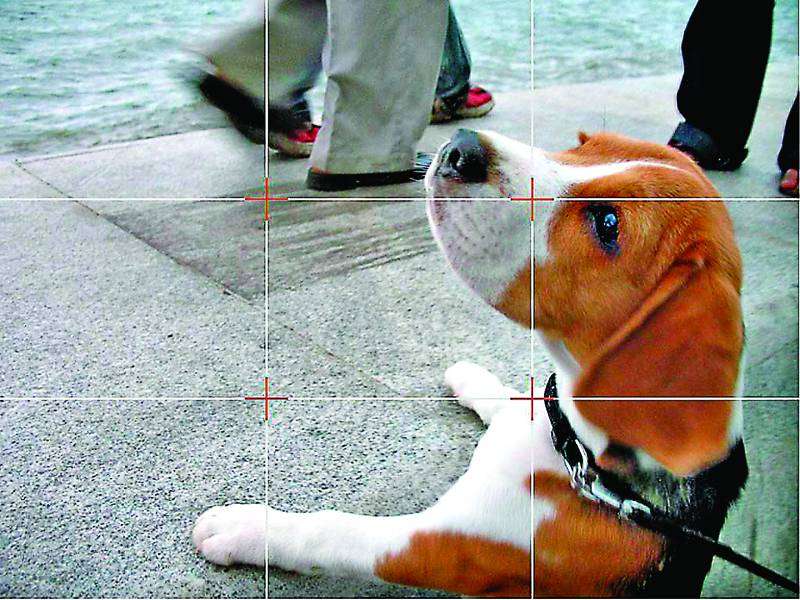
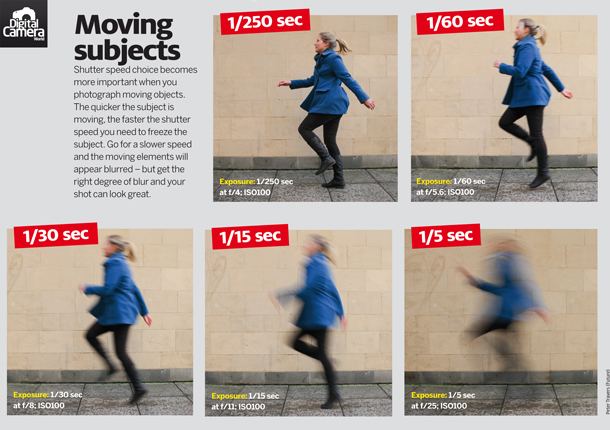
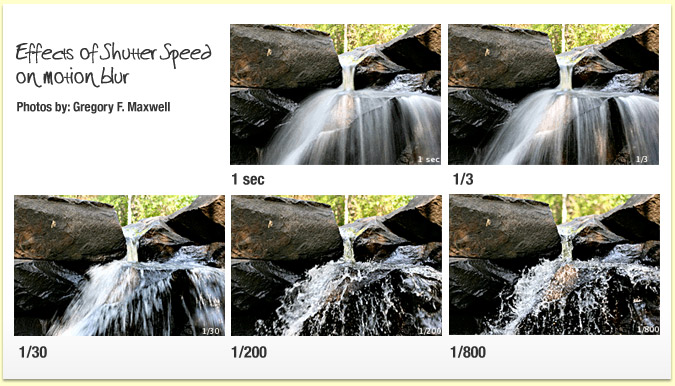
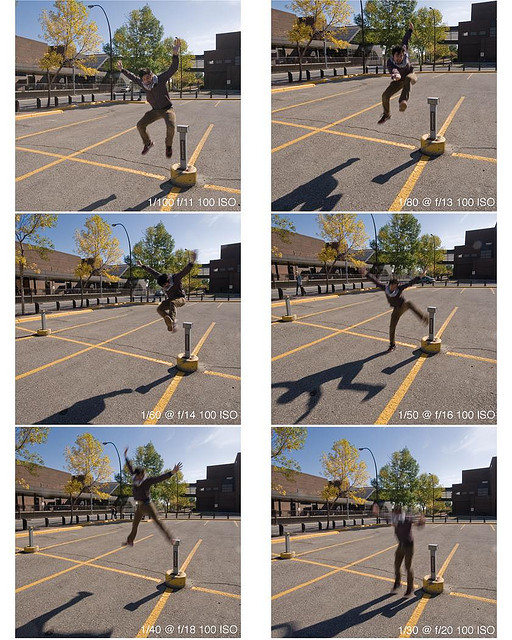
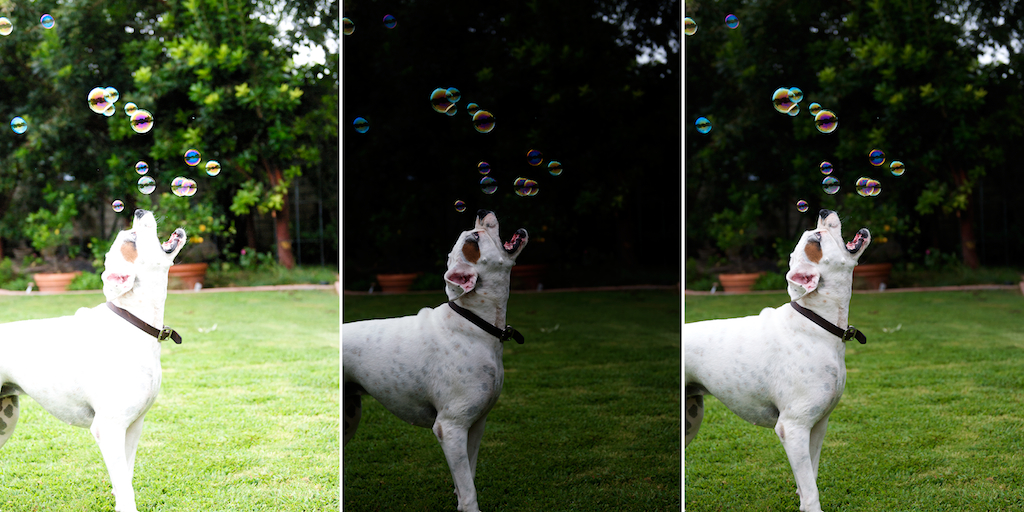
SHUTTER SPEED
MOTION/FREEZE MODULE
|
|
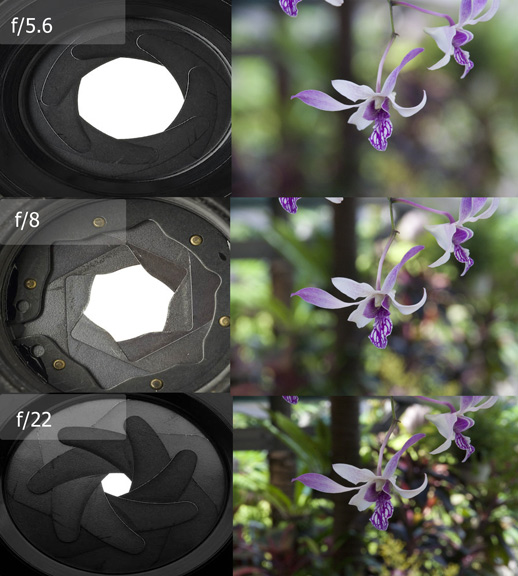
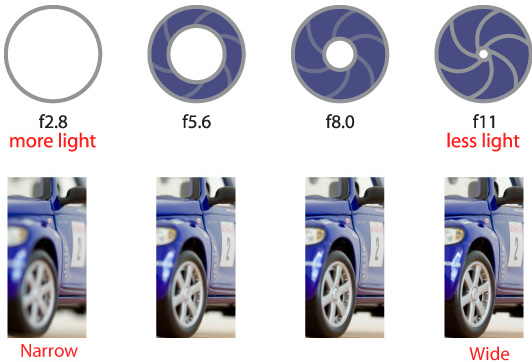
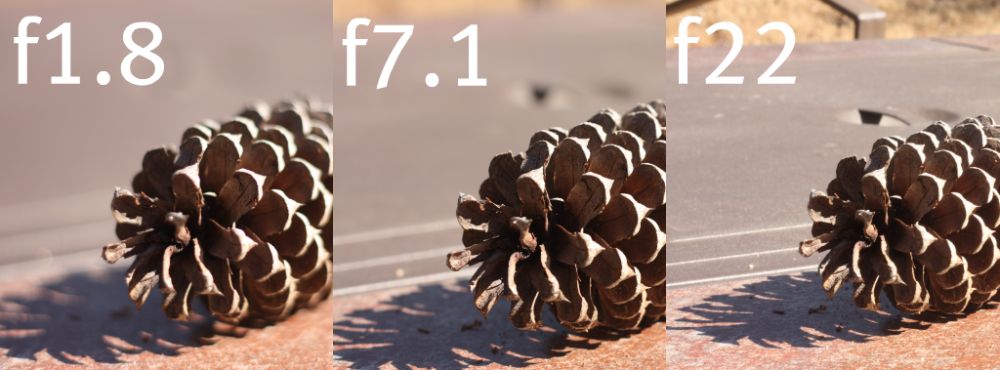
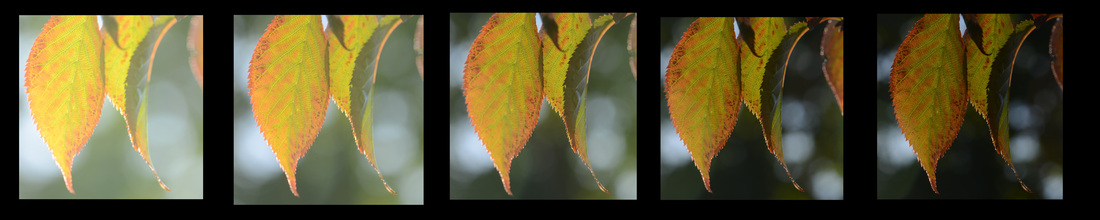
APERTURE
DEPTH OF FIELD MODULE
InDesign Templates- Modules
Saving your final project: FILE>EXPORT> choose PDF (print)
|
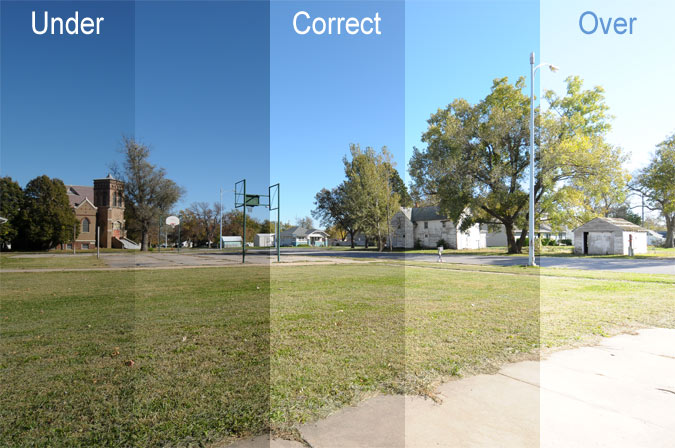
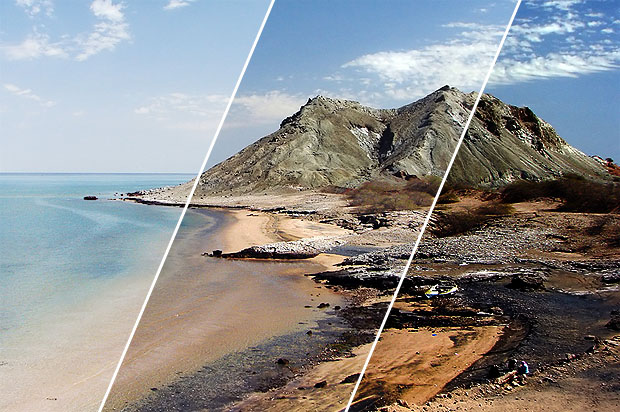
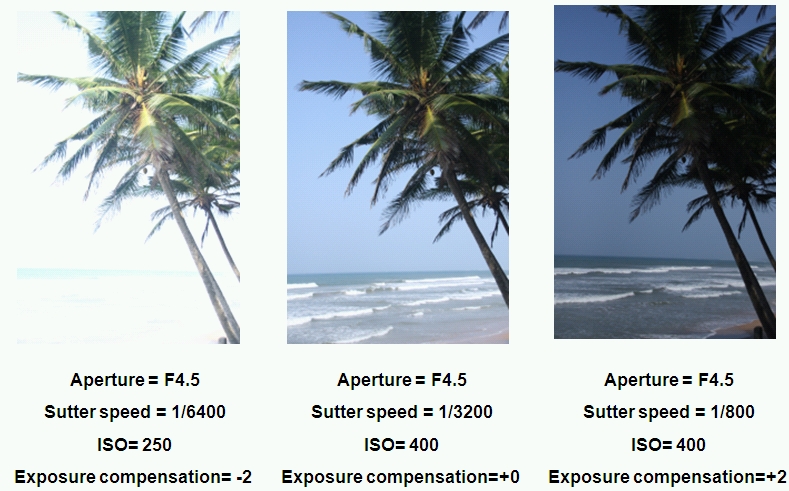
UNDER AND OVER
EXPOSURE MODULE
| ||||||
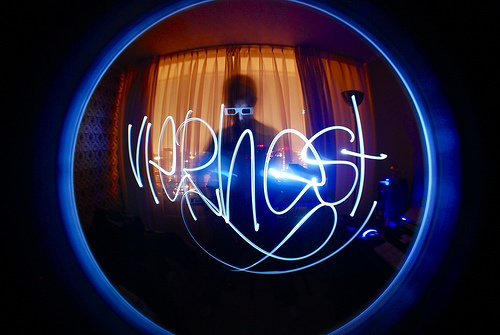
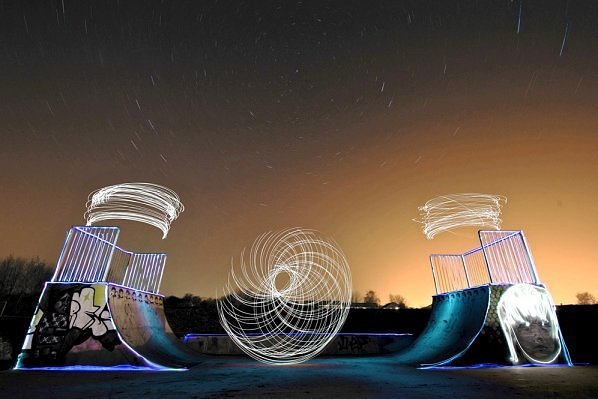
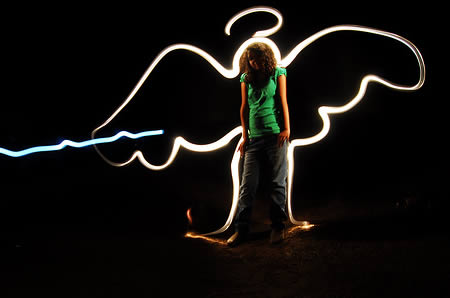
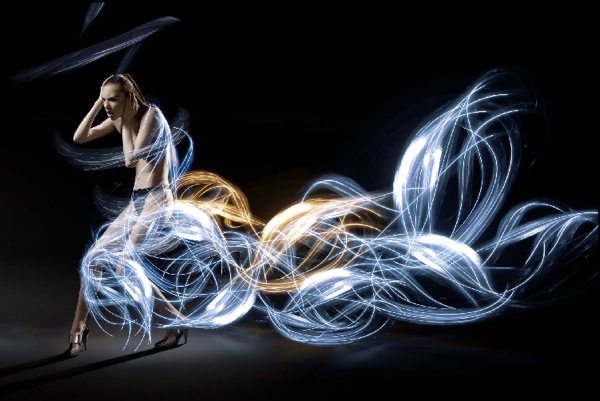
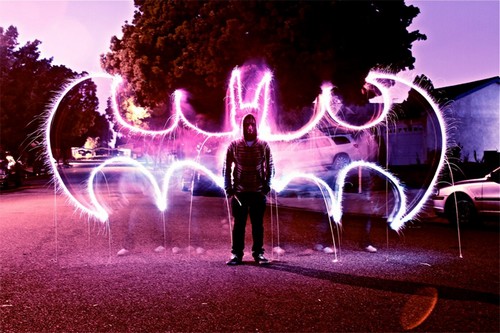
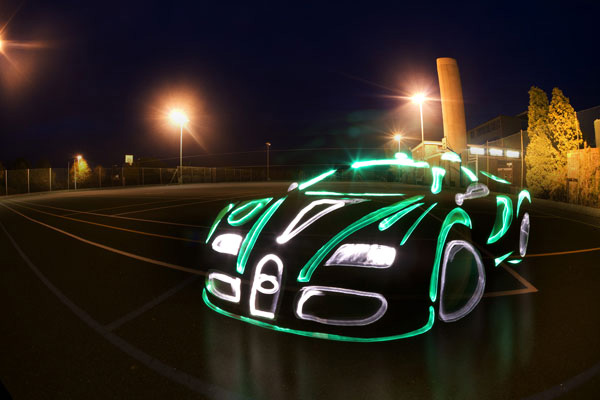
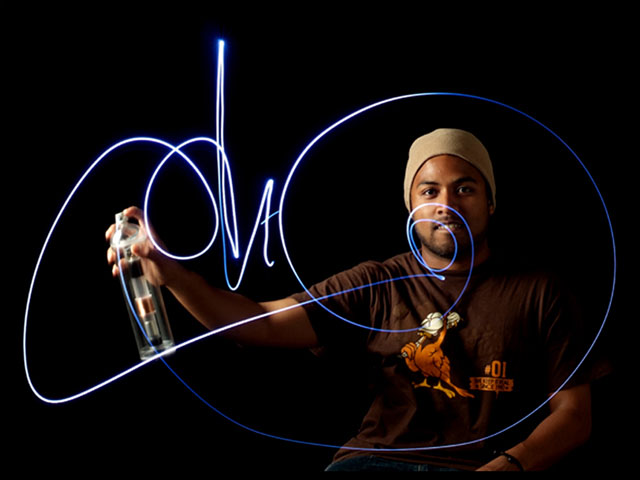
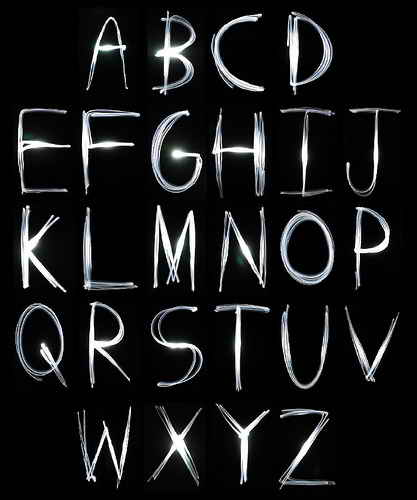
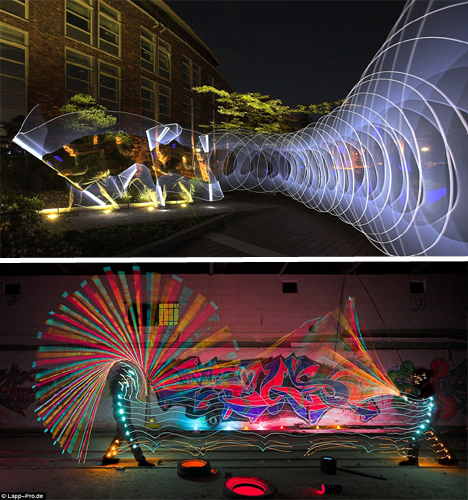
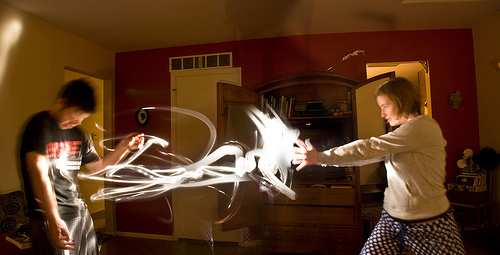
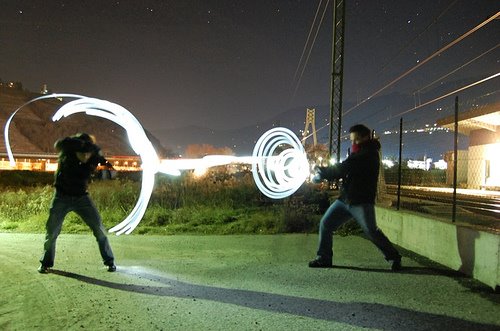
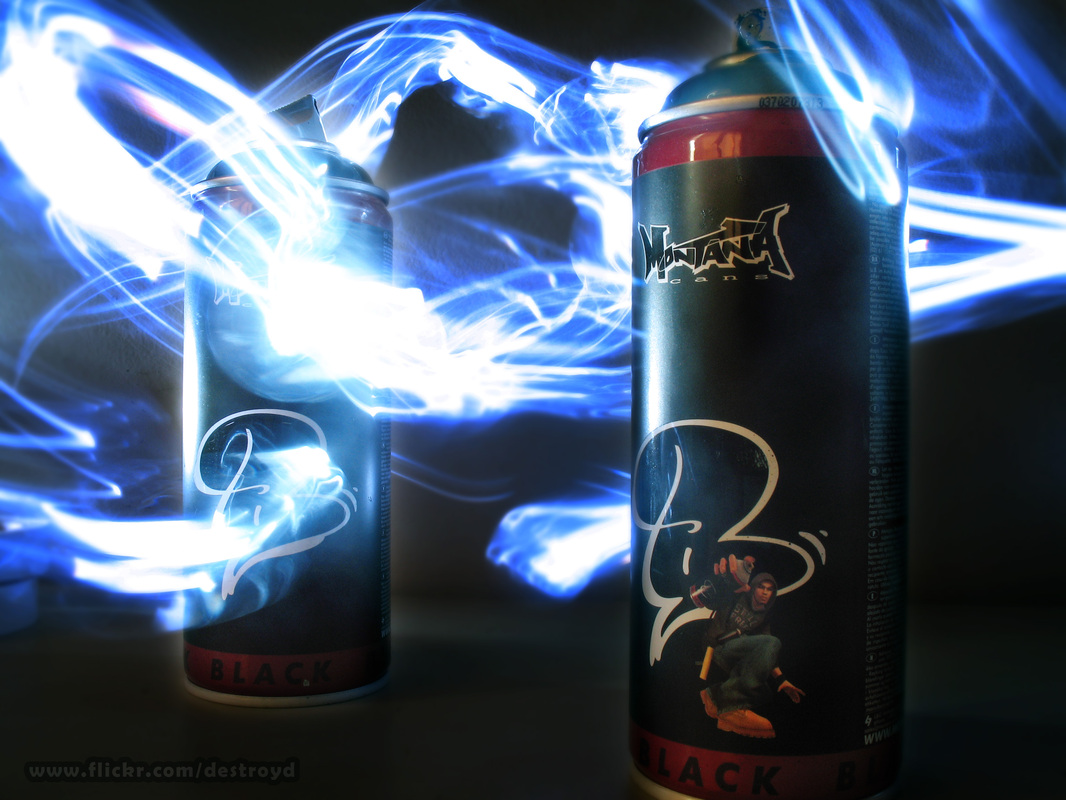
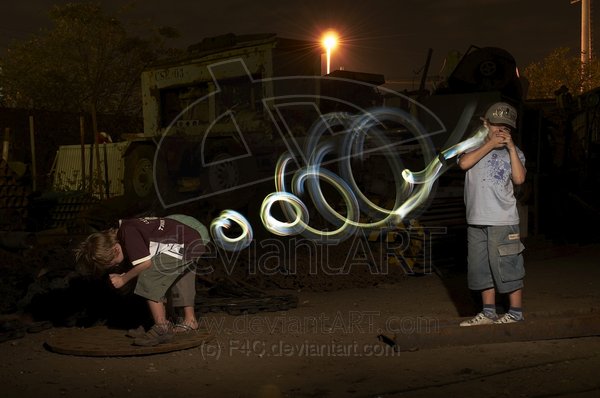
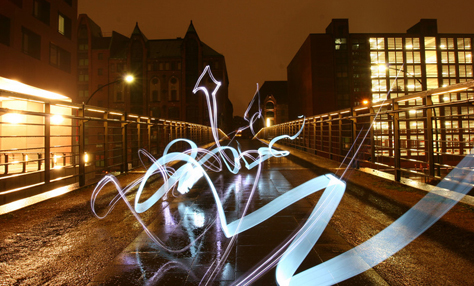
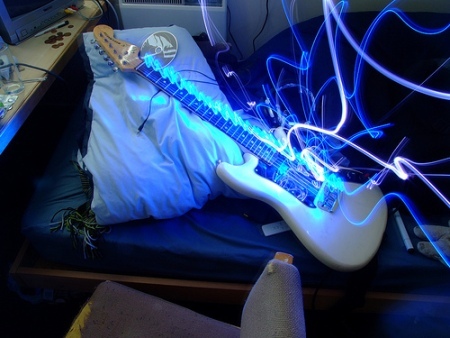
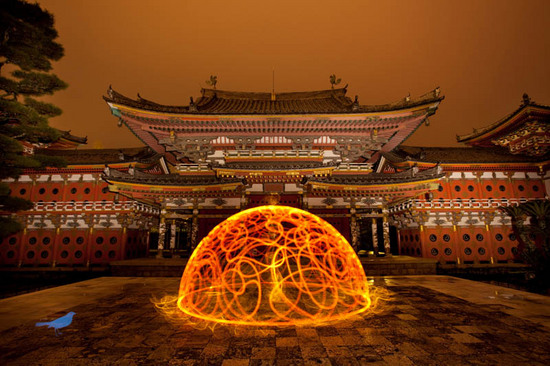
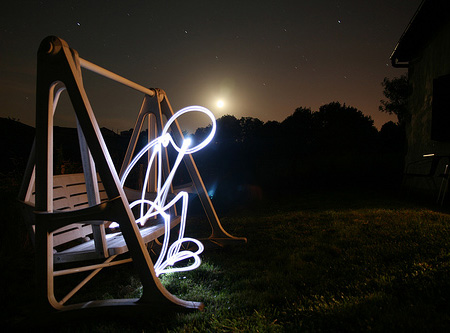
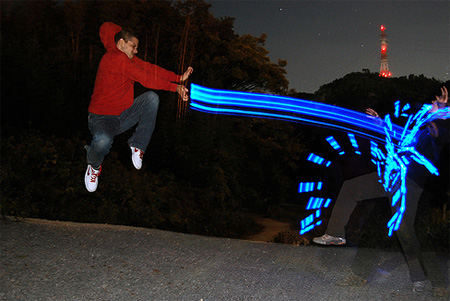
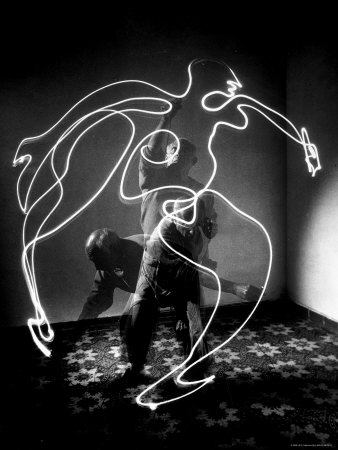
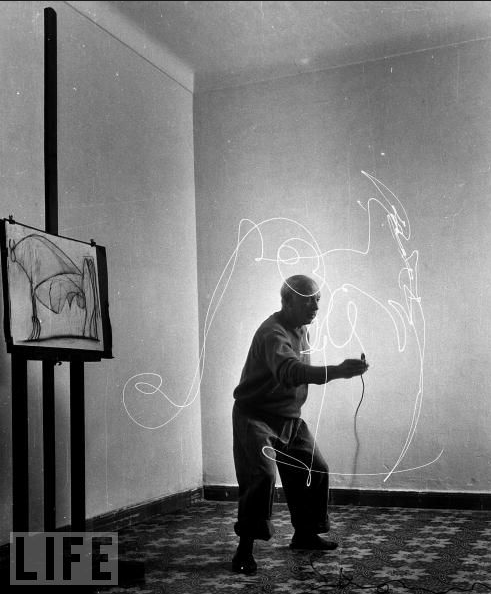
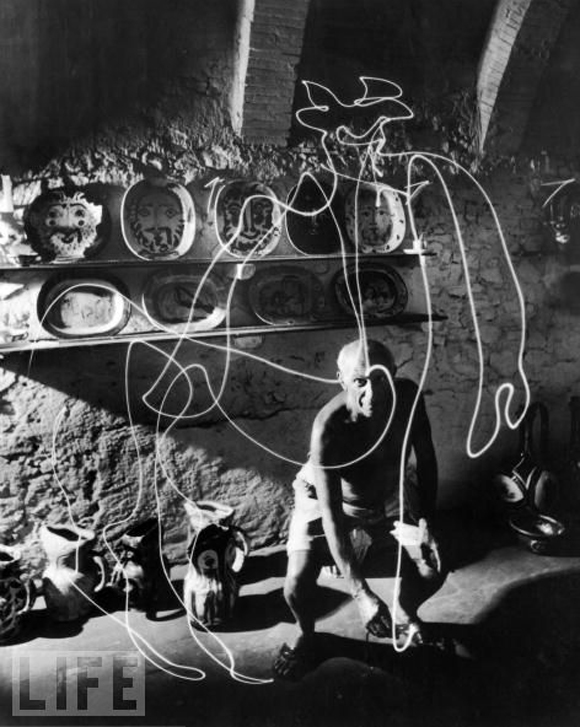
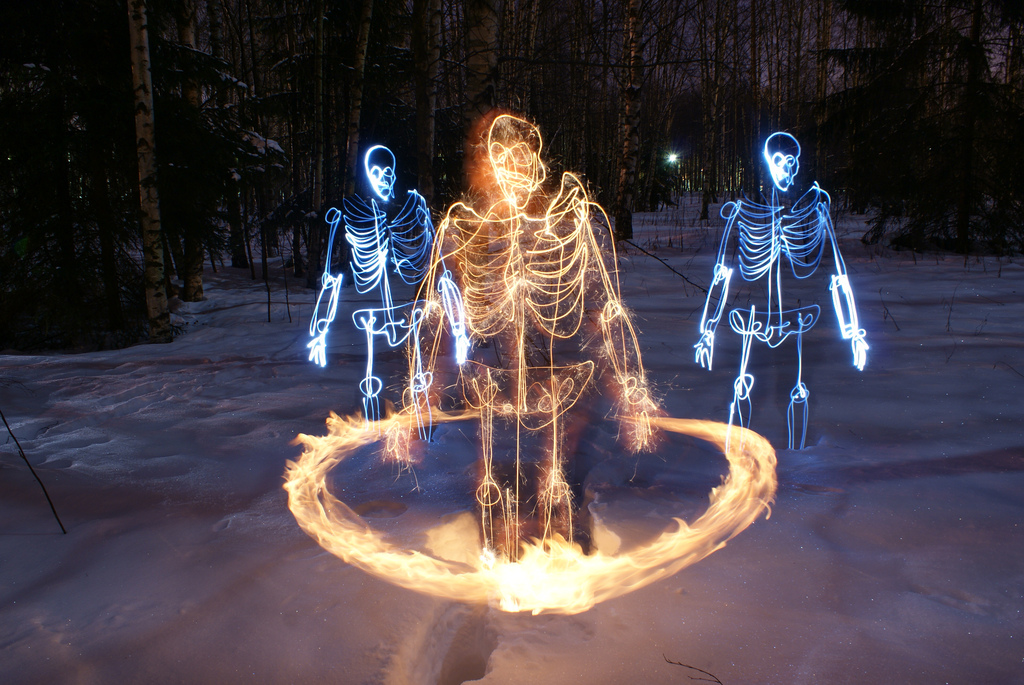
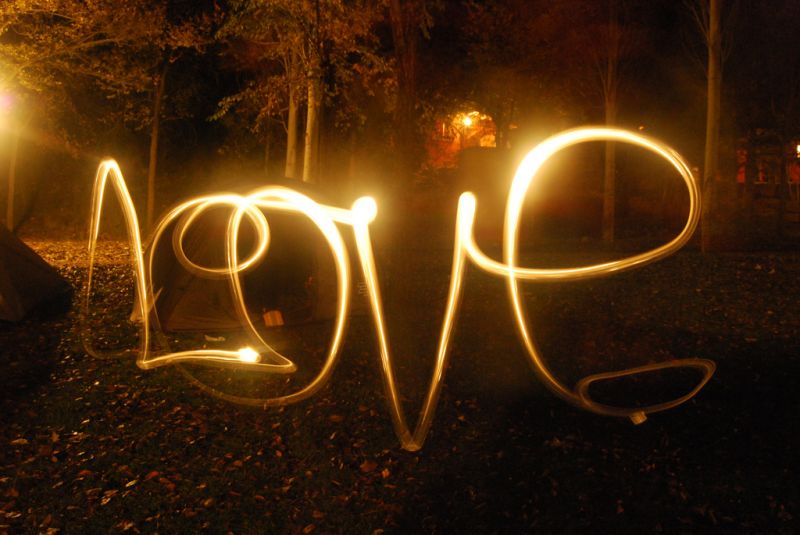
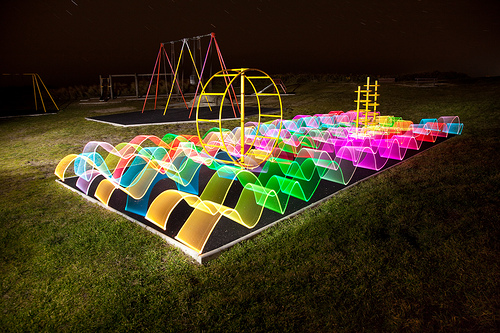
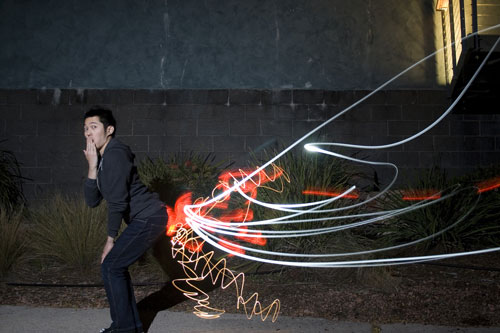
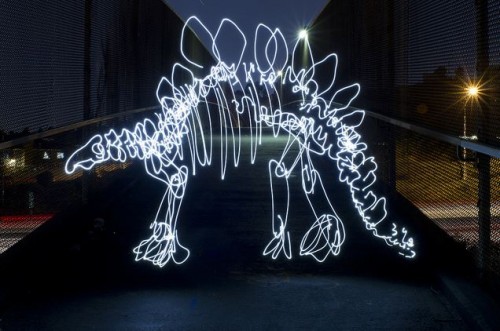
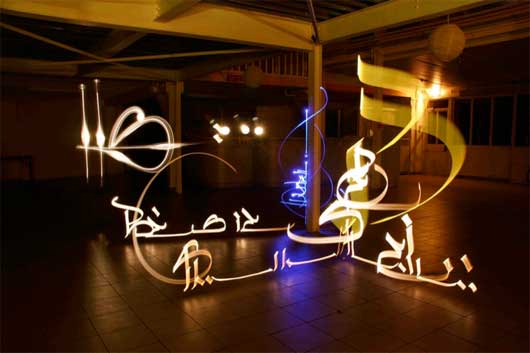
MAY 5 | GRAFFITI LIGHT DRAWINGS
Light painting or light drawing can be described as the simple act of capturing the trace of a narrow moving source of light using long exposure photography, long being defined as seconds or minutes. The moving light source will then appear in the finished picture as more then what actually exists and is truly a representation of time as well as space and movement.
What you need: - Camera (with long exposure capibilities) - Light drawing devices (LEDs, flashlight, cellphones, candles, blow-torches, flares) - a darkened room or area, night time. Camera Settings: - aperture: f/5 - f/12 - shutter speed: slow enough for you to do your entire drawing (BULB- works well) - ISO: 100-400 Photo dimensions: 4in X 6in Project Objective- 5 Quality Photo Series - 1 Abstract line drawing photo - 1 Person interacting with light photo - 1 Writing photo - 2 Light drawing theme of your choice Save photos as: light01_yourname.jpg, light02_yourname.jpg, etc... |
|

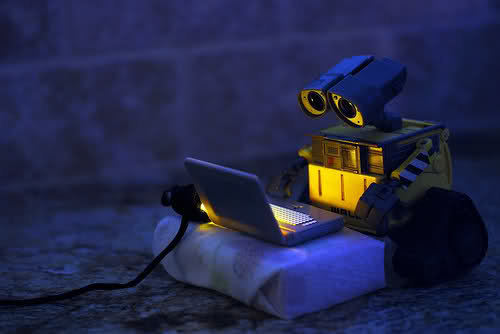
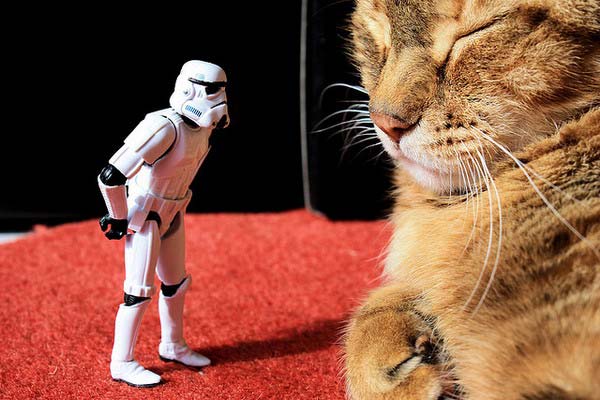
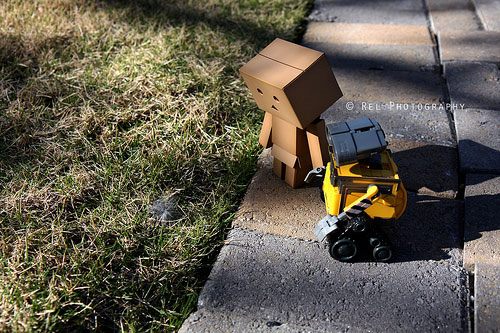
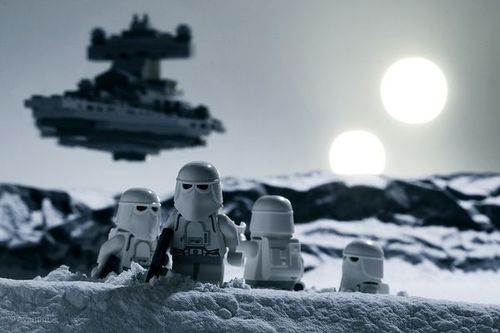
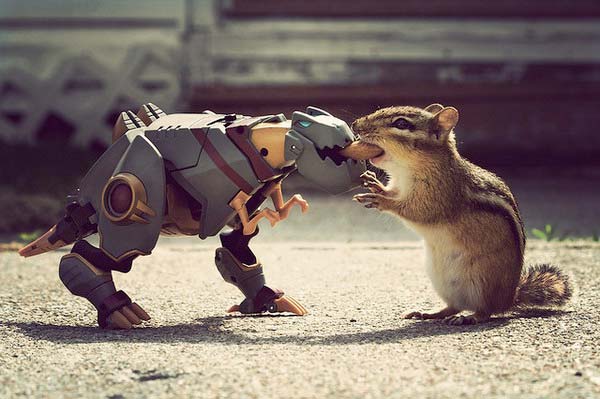
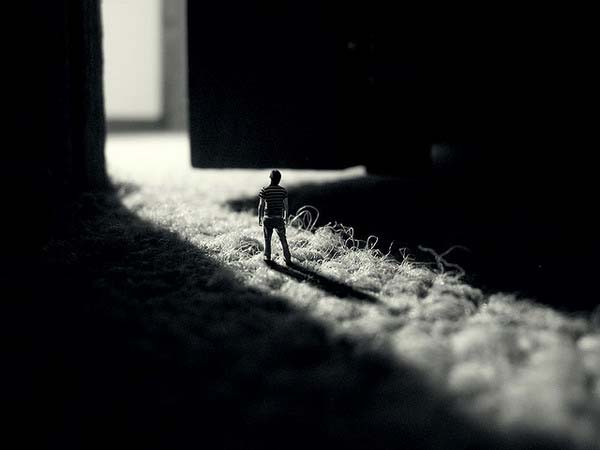
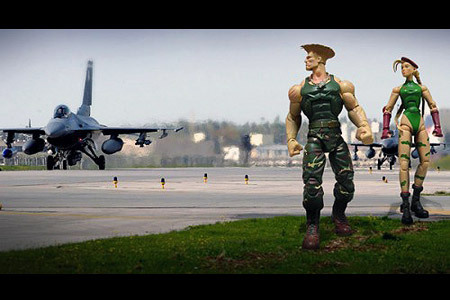
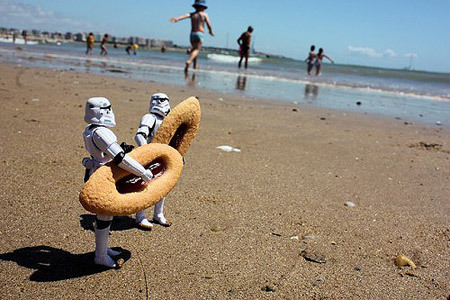
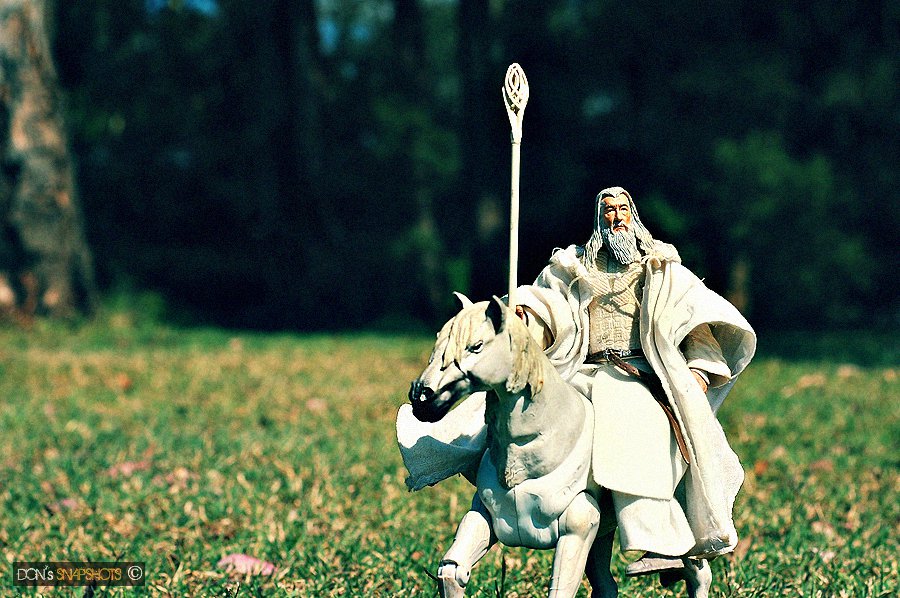
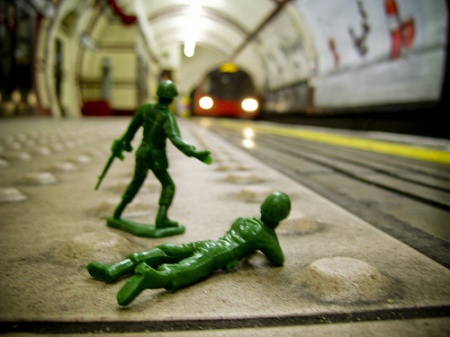
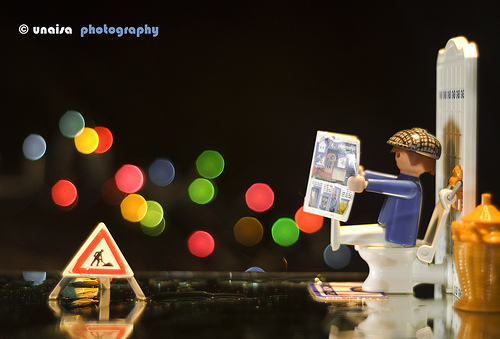
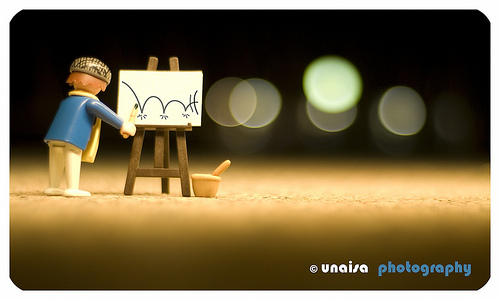
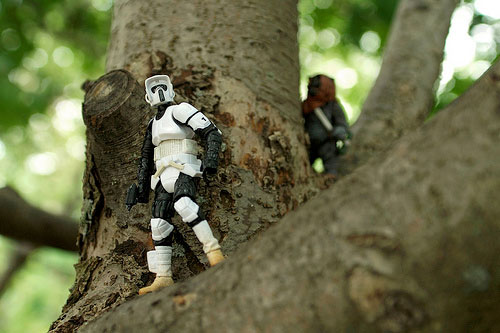
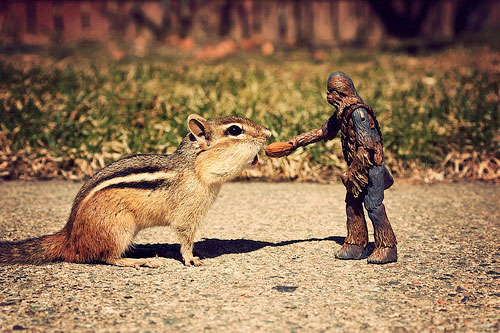
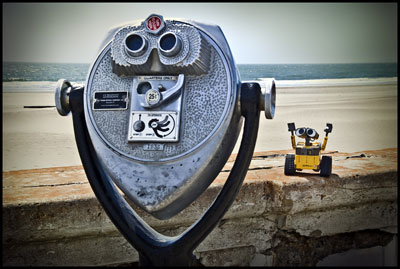
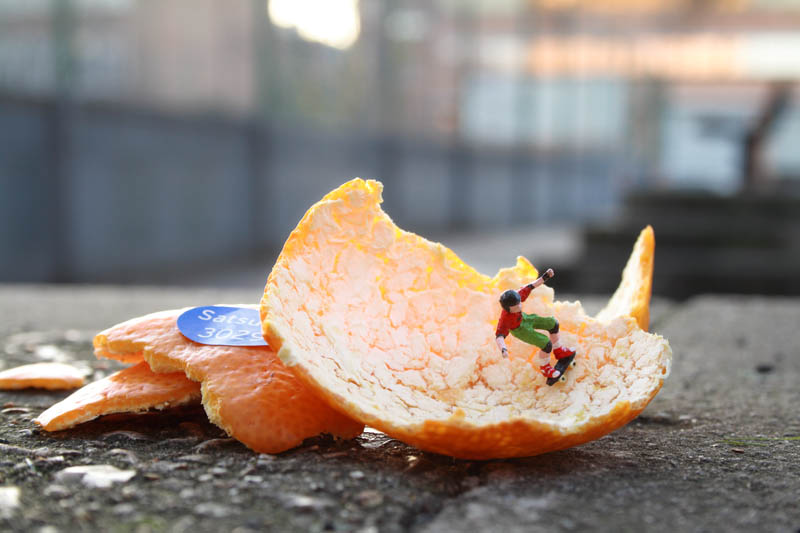
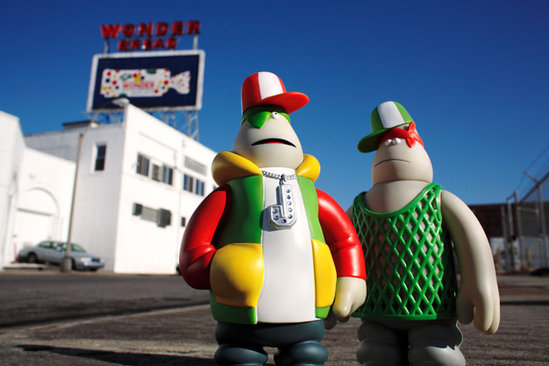
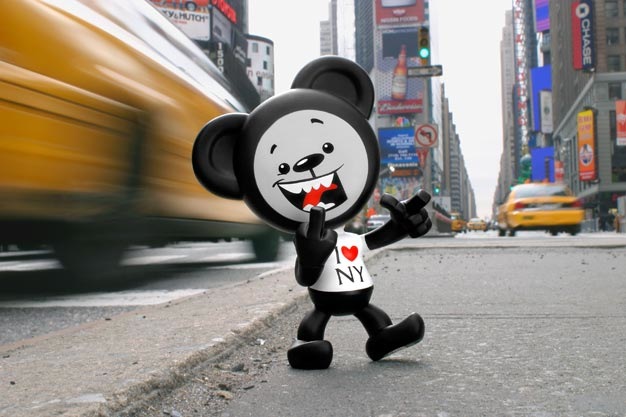
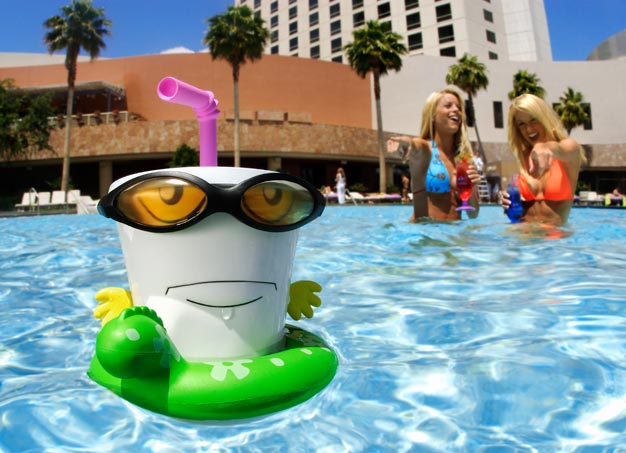
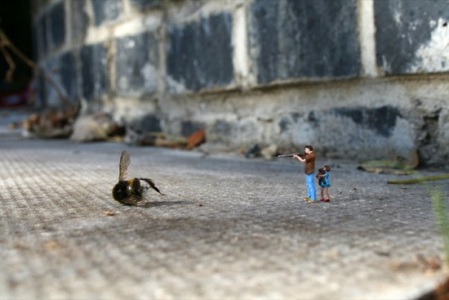
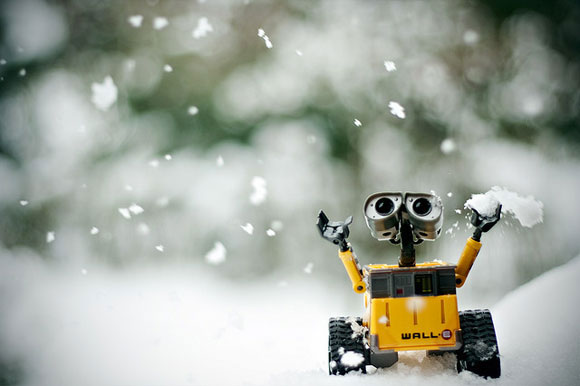
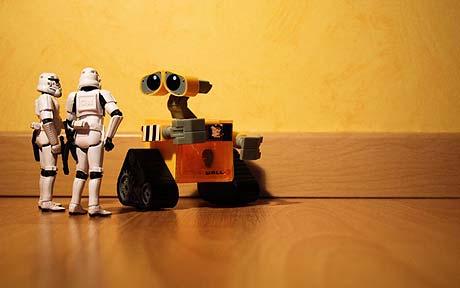
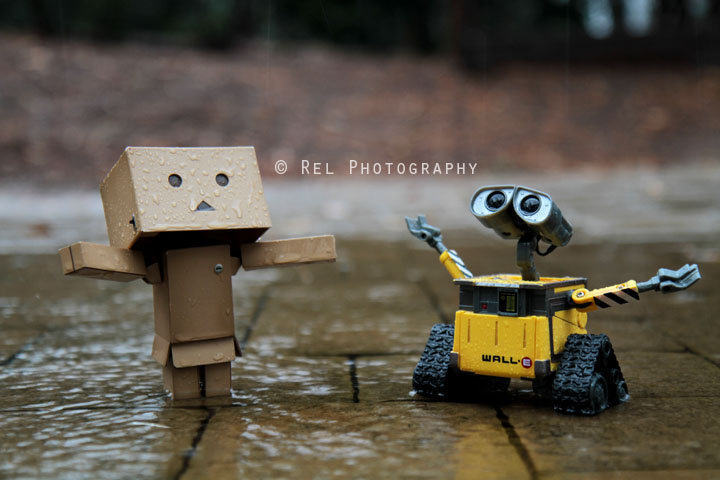
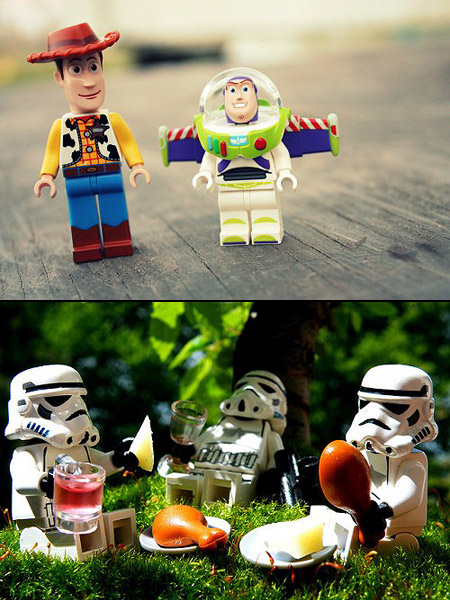
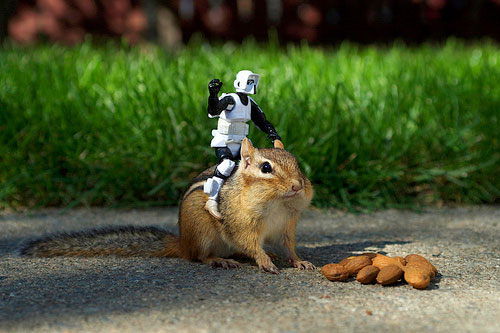
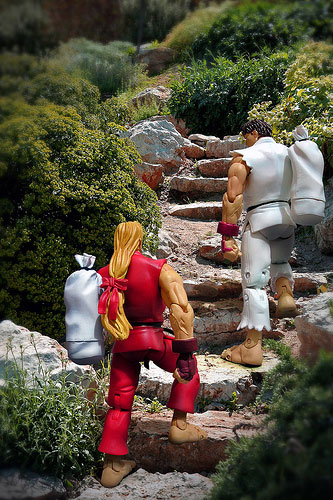
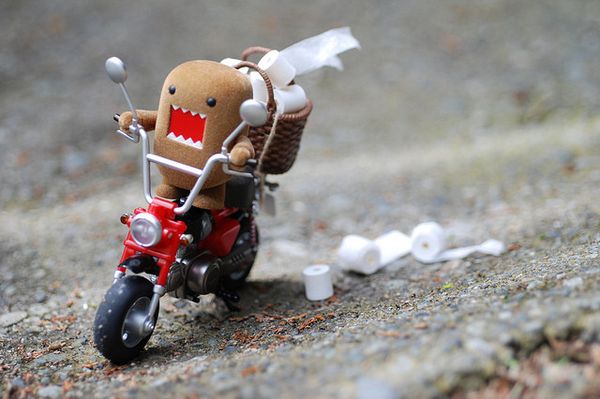
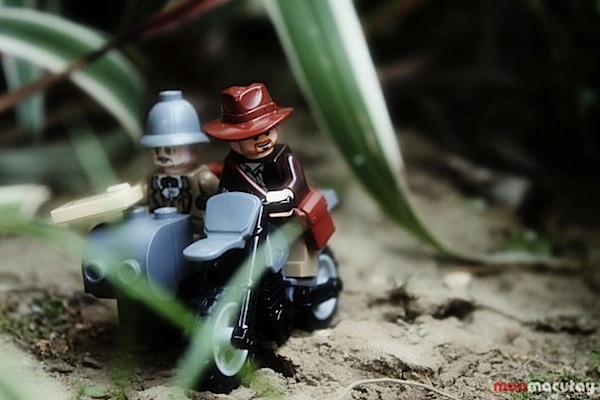
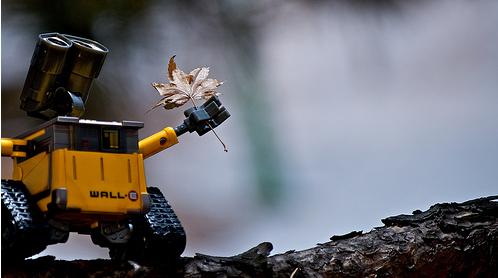
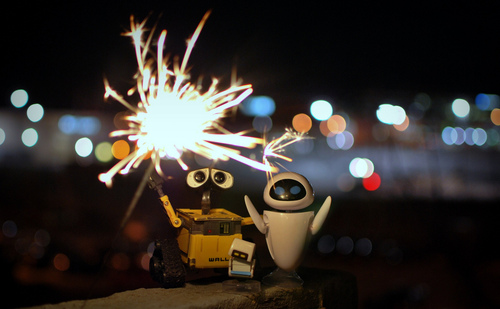
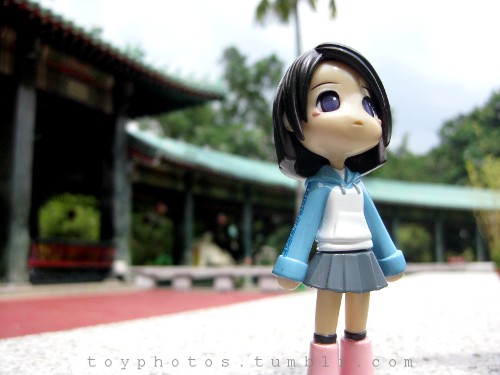
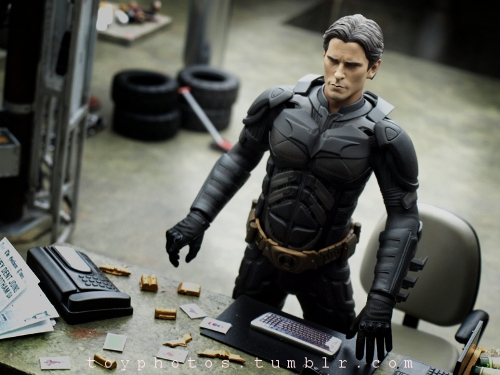
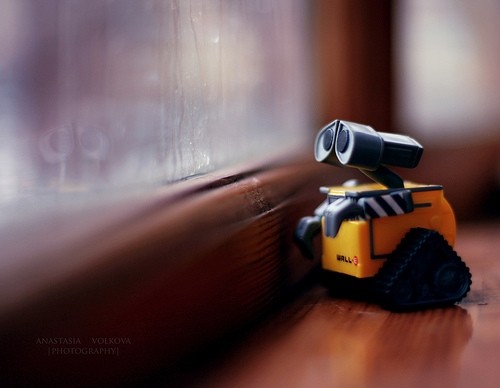
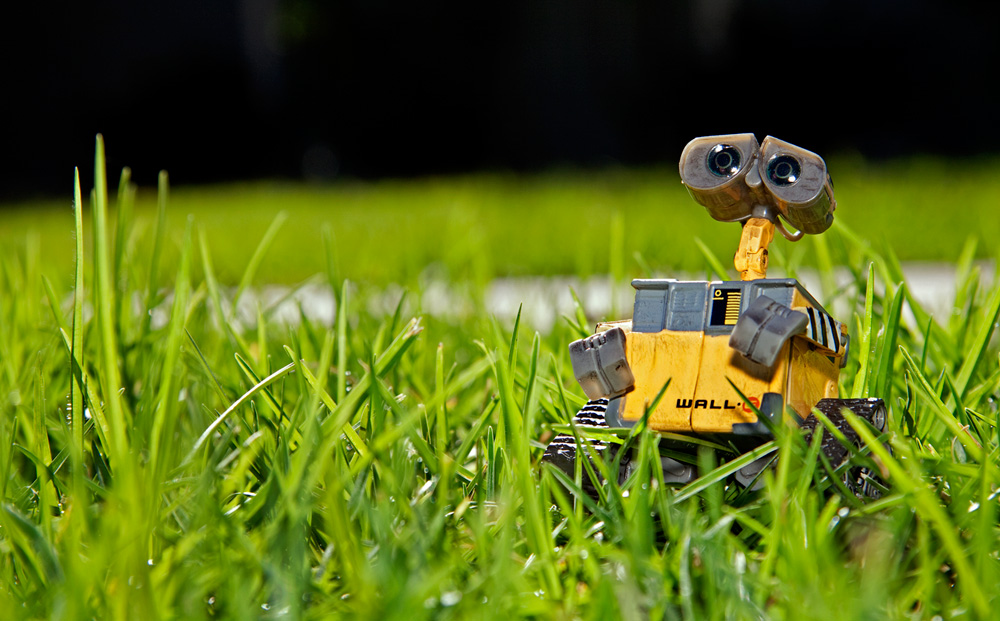
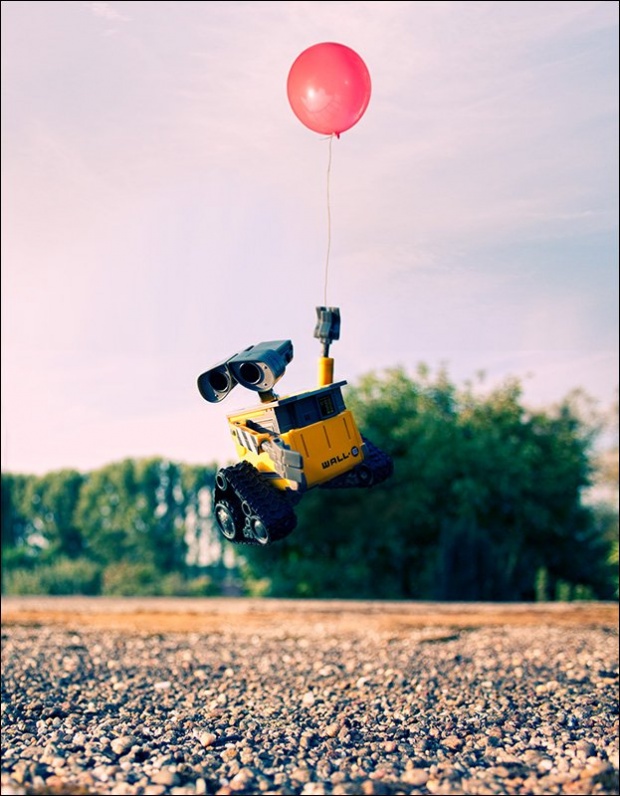
MAY 15 | "DON'T TOY WITH ME"- Macro Project
SOME TIPS:
Photographing toys can be lots of fun. You will learn a lot of things while practicing it. As you are in control of everything, you will not only learn about composition and lighting, you will also acquire some skills of staging and story telling. You don’t need sophisticated equipment to achieve great results. You can do wonders with natural light and a point and shoot camera with a macro option. It all really lays on your imagination and of course your “models”. All you need to do is grab a toy, a camera and to just have fun. Make Them Look Big Since you are photographing tiny objects, it will be more interesting to give those toys a human dimension and to make them seem bigger than their actual size. In order to achieve such an effect, you can use the simple technique of getting close to your subject as much as possible to fill the frame with it and to take the photo from a low angle to give it that ant’s eye view effect. You can also place your toys in an environment that would help in making them look bigger. For example, you can place them inside a miniature scale model of a building, or a doll house. Tell a Story Taking simple direct shots of your toys is not as interesting as playing the role of a film director and creating a whole scene where the toys are your actors. It might be hard at the beginning but once you start letting your imagination loose, you won’t be able to stop. A good way to start is by trying to recreate a scene you encounter in your everyday life. After that you can move to the recreation of a movie scene, or the representation of an idiom. Once you grow comfortable with staging and story telling, you will begin innovating and creating fresh and new ideas. PROJECT OUTLINE: Choose your 5 strongest photos to hand in. Your photos should have a variety of themes, objects, location settings, camera angles, and compositions. Make sure you've taken time to work on your focusing, depth of field (narrow), and composition (rule of thirds). Start thinking about the objects you want to use. Put some thought into it, do not show up to class and wing it by looking around my classroom for something to use last second. Save your work as toy_yourname01.jpg, etc... |
CAMERA SETTINGS
|


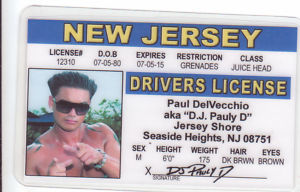
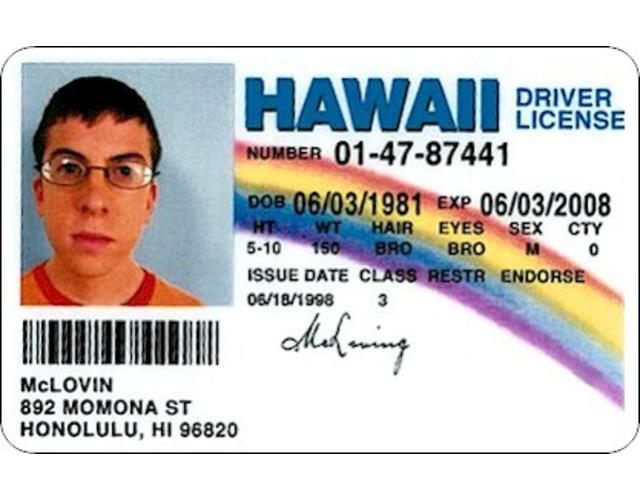
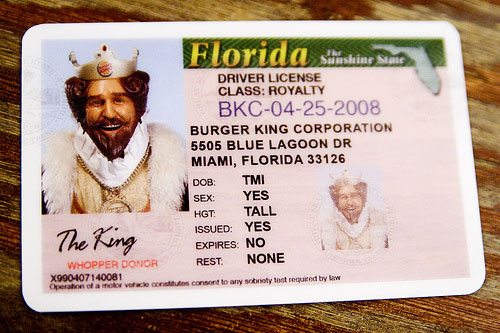
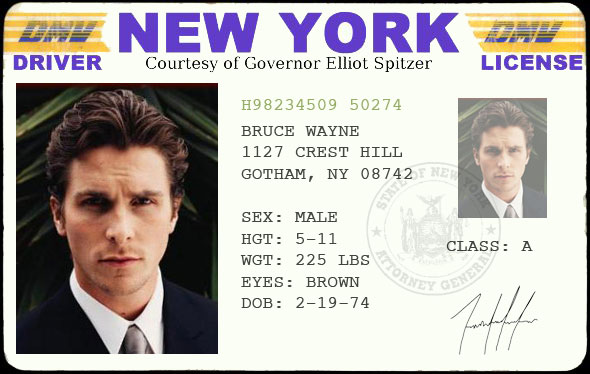
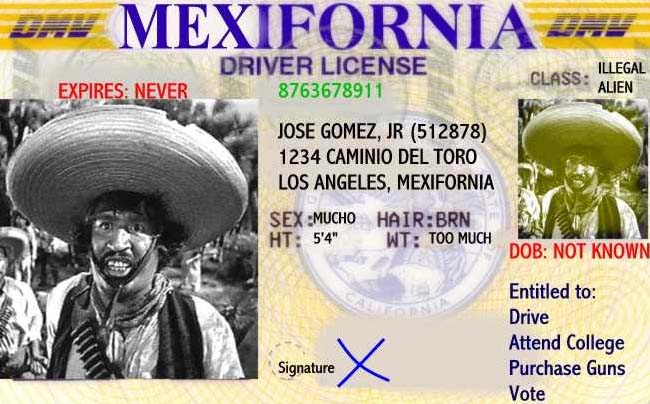
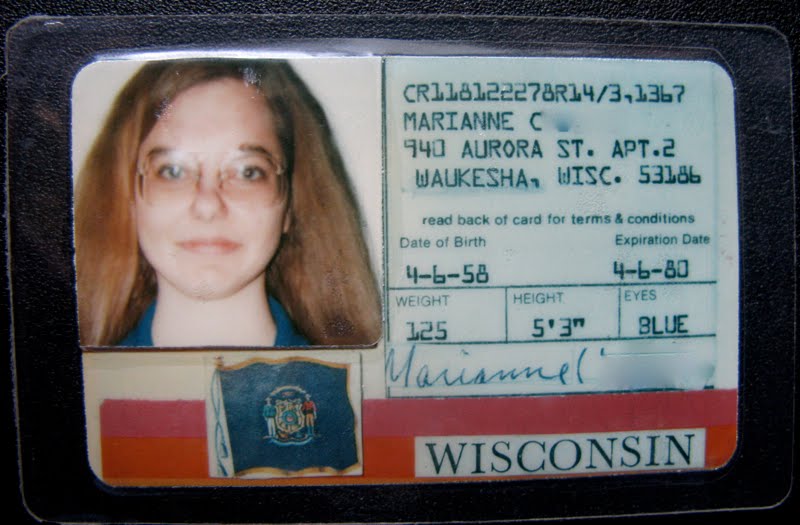
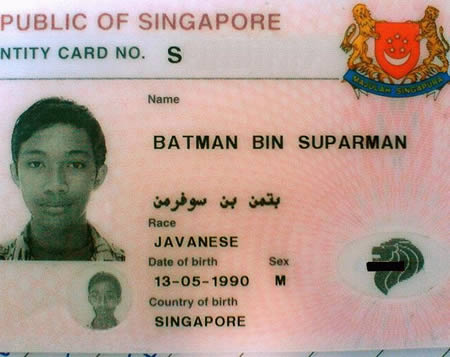
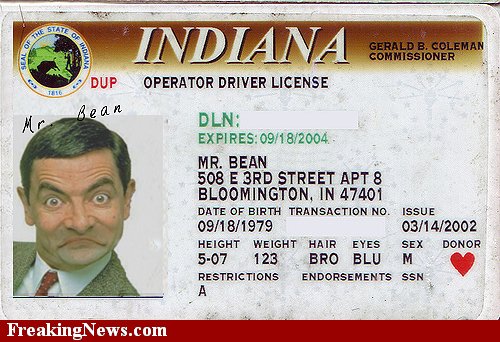
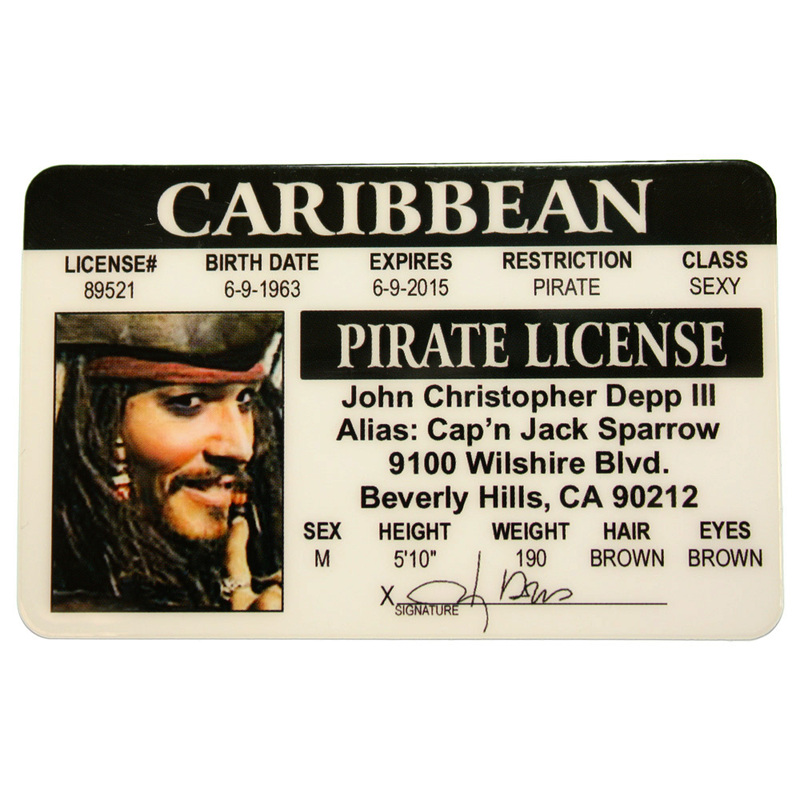
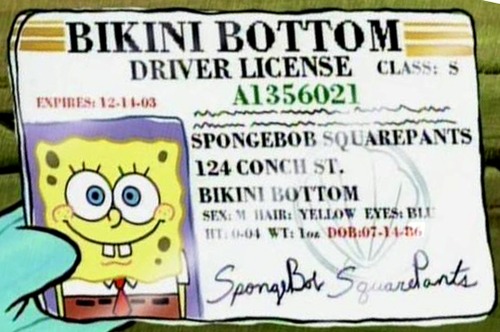
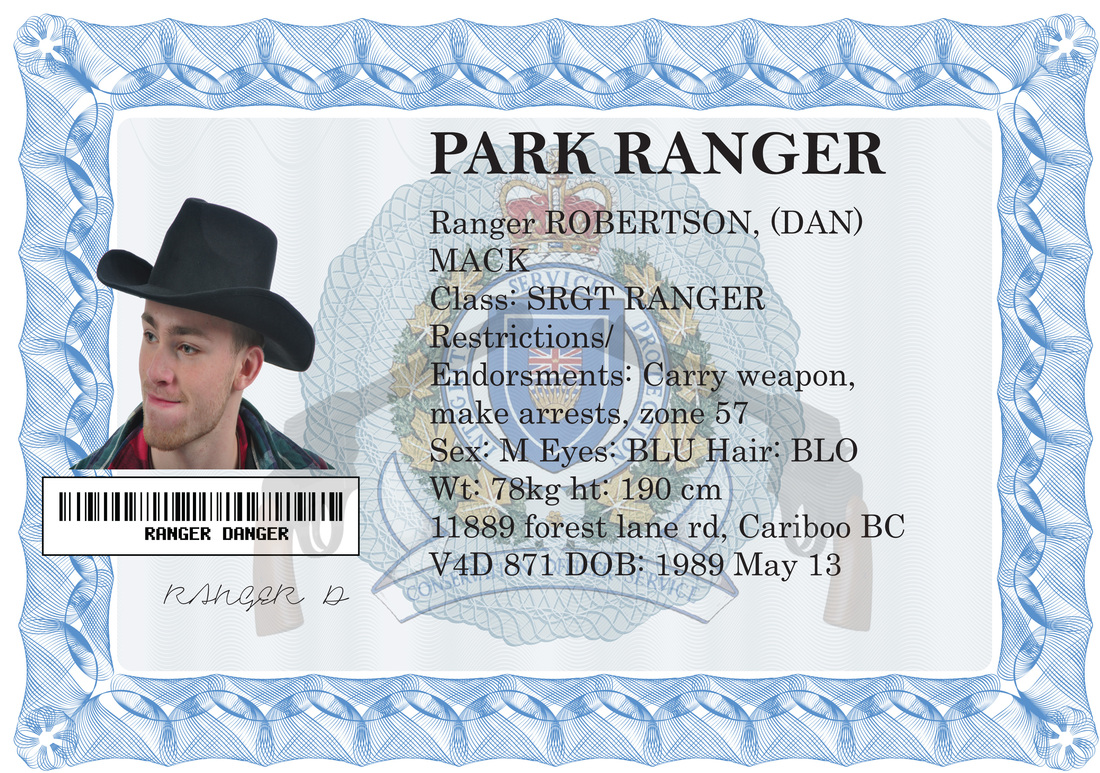
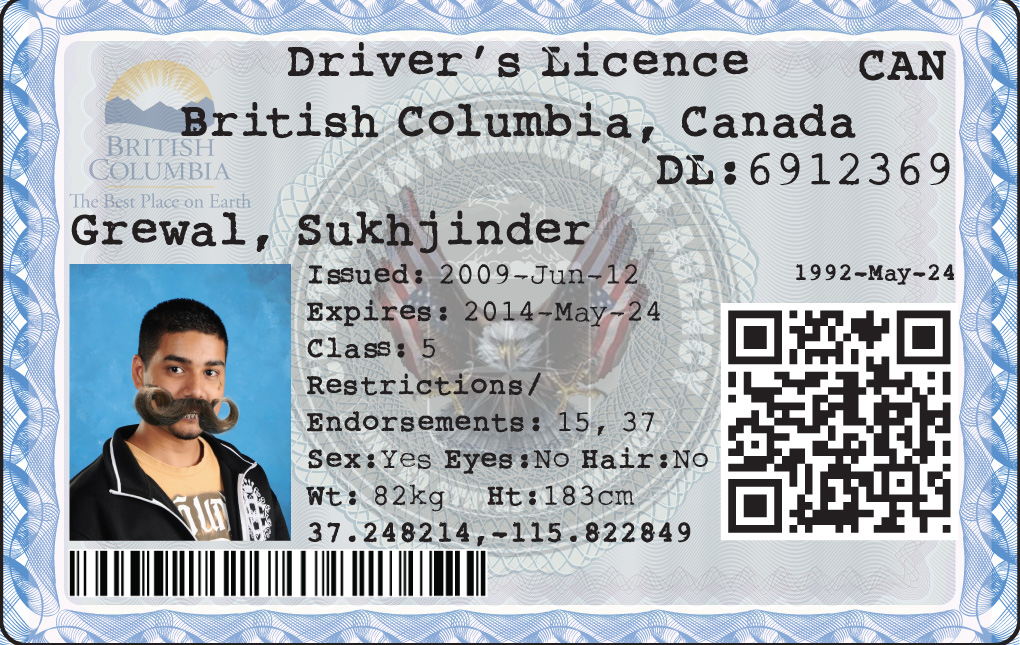
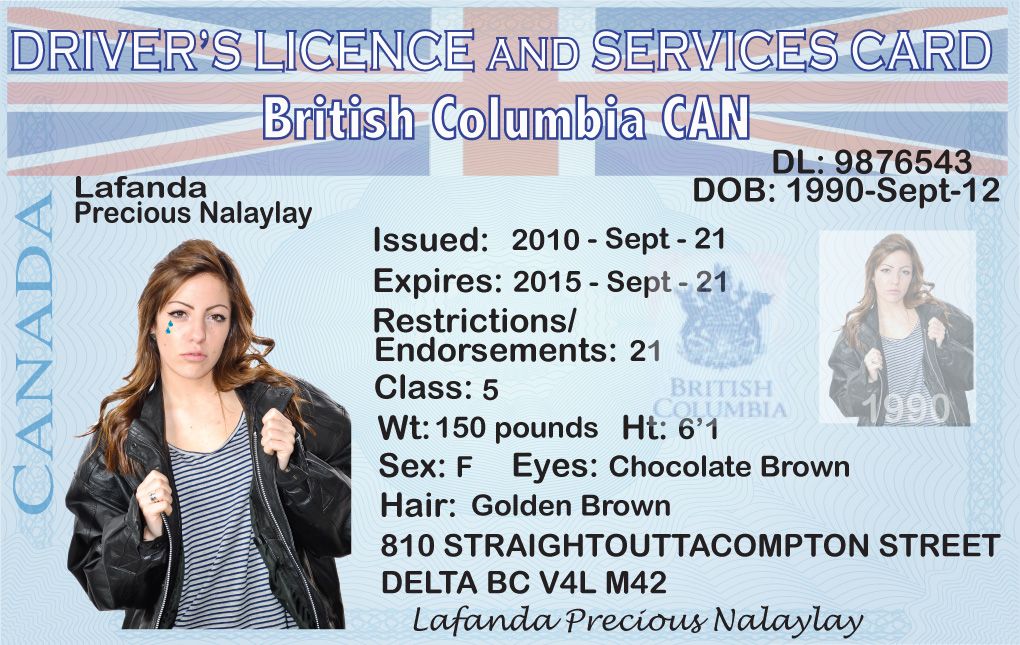
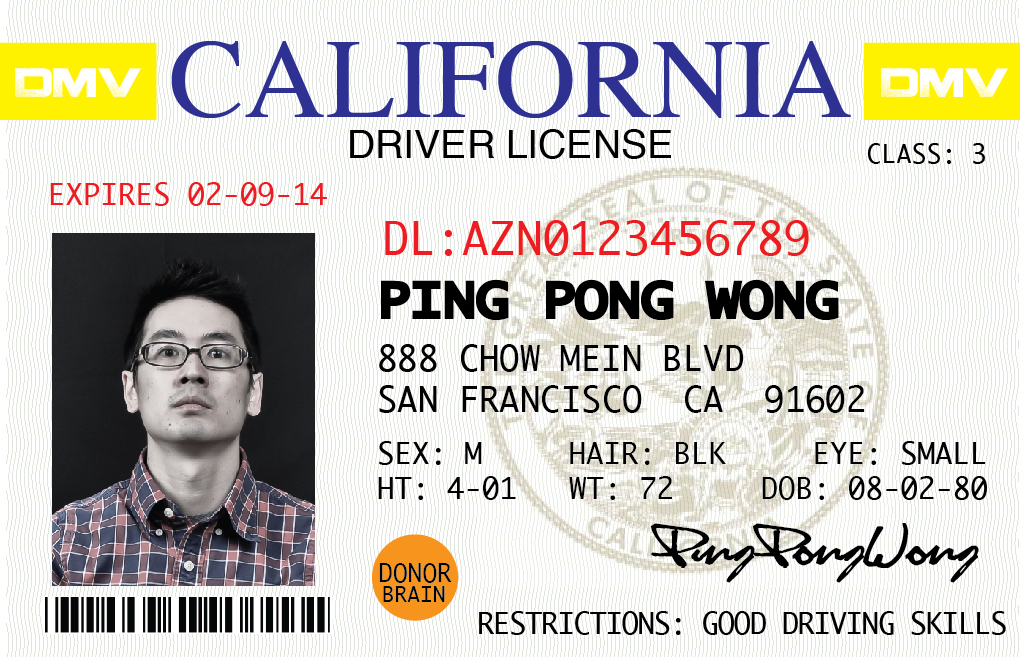
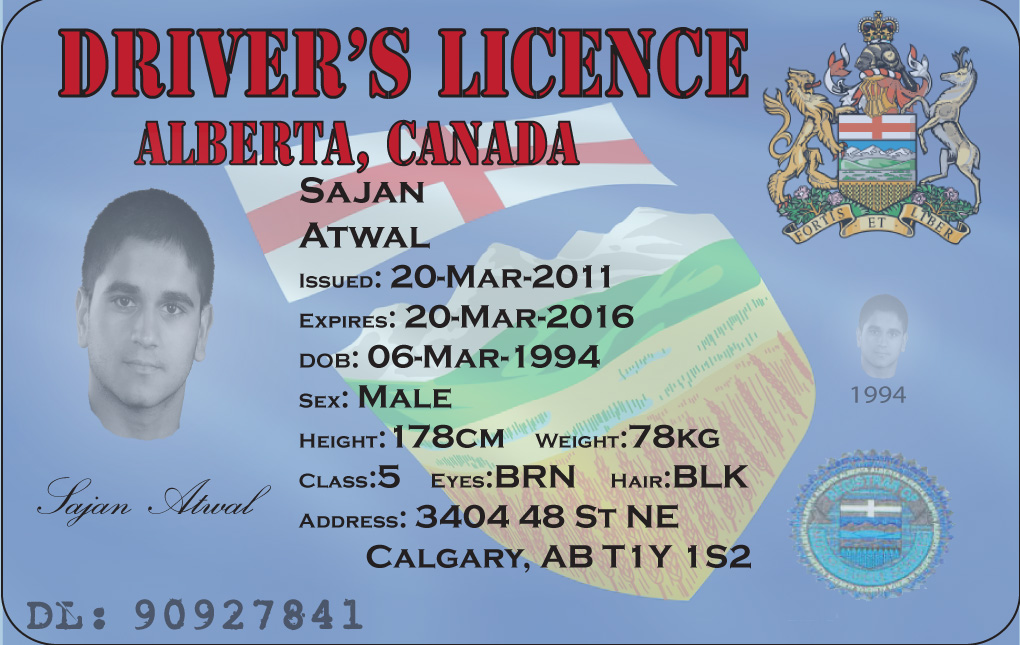
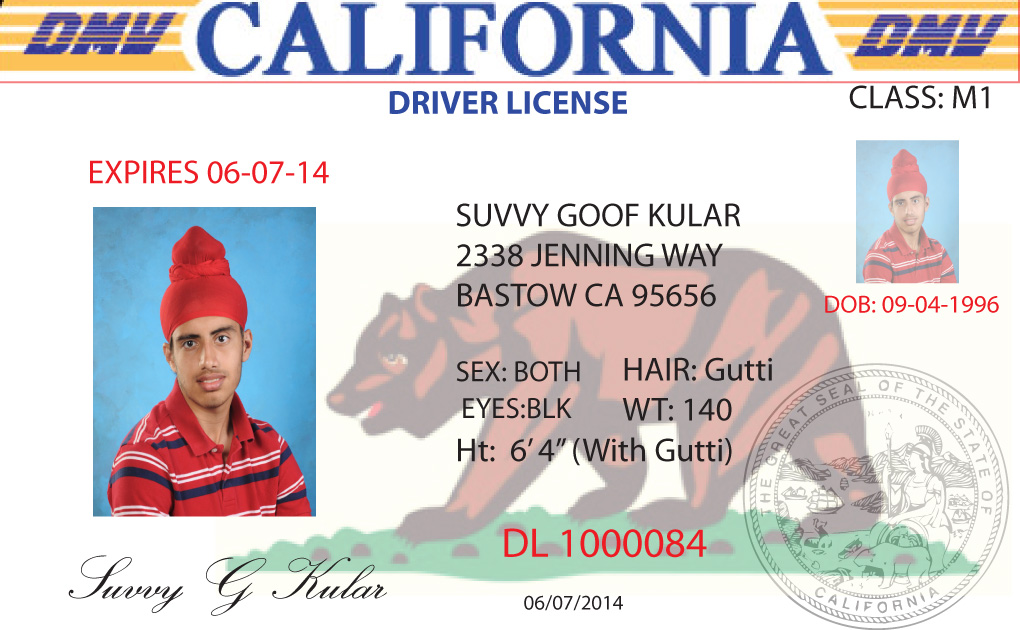
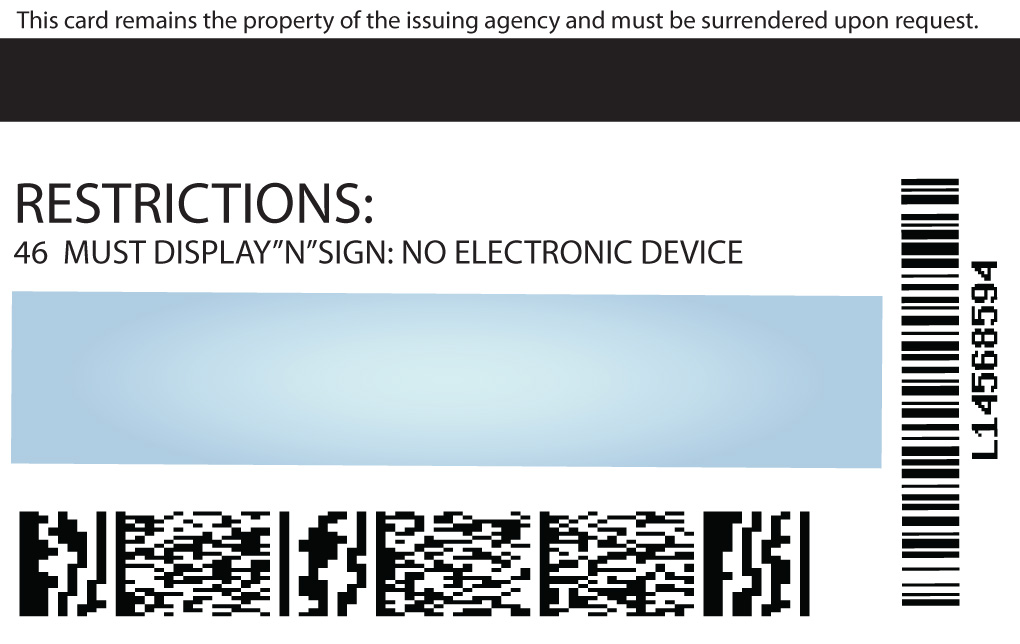
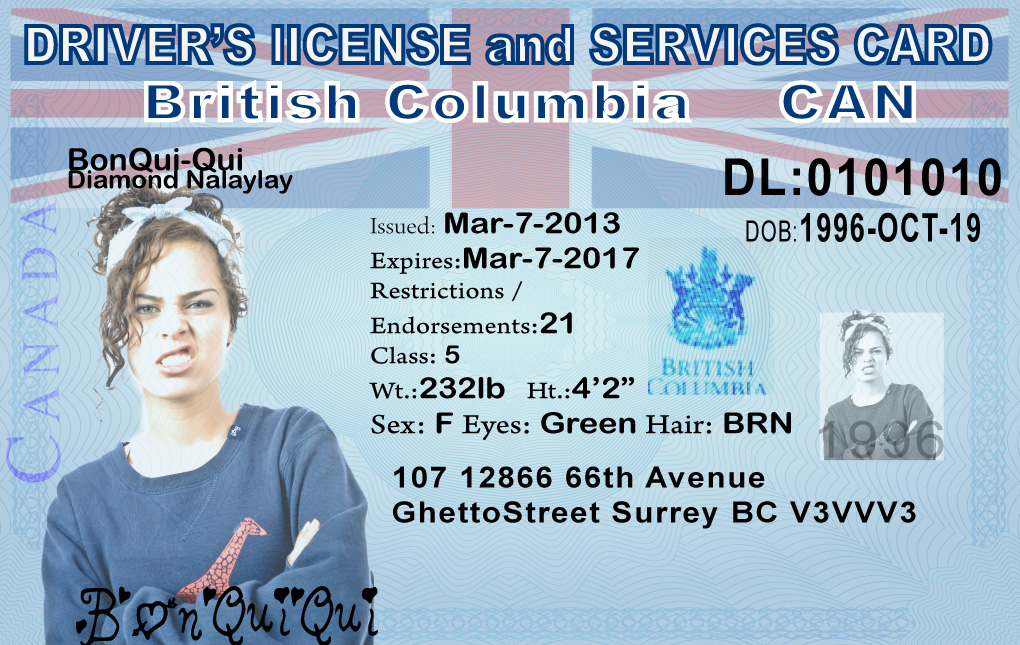
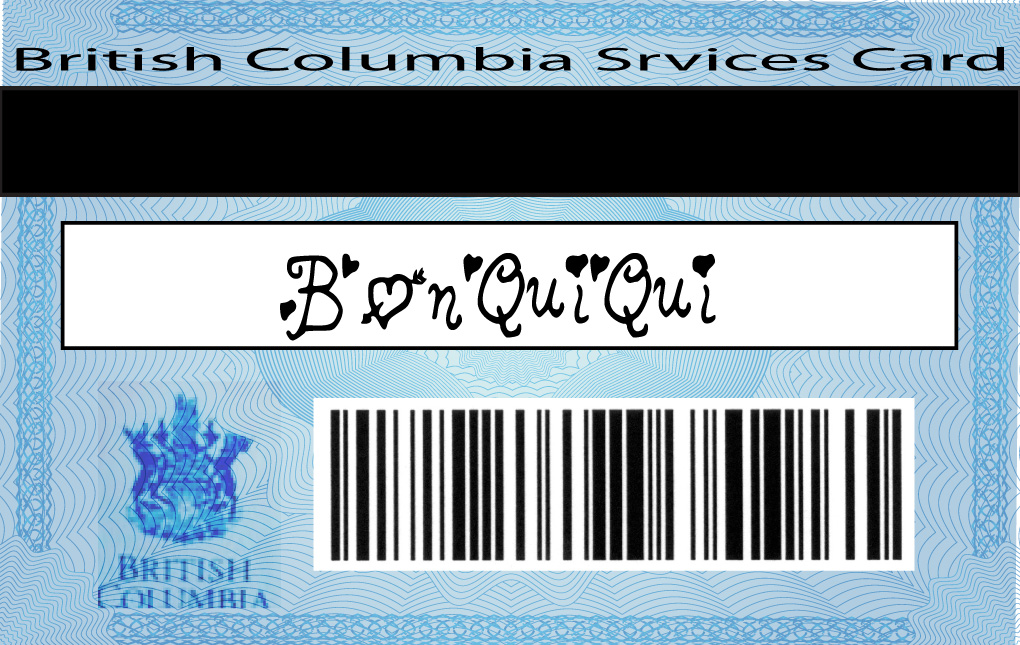
JUNE 9 | "SO YOUR NAME IS JUST McLOVIN?"
Create a "fake" driver's license for a fictional "character". The photograph will be of you, except not the "real" you.
The objective is to make it look authentic and show that the Illustrator and Photoshop tools you hold can be put to use. Here are the items to consider when designing your license: 1. Make a list of "elements" and items that are needed in the driver's license (example: barcode, stats, signature, info, etc...) 2. Brainstorm and idea for your character (think of props, makeup, costumes) 3. Your character needs a name 4. Drive license needs a design layout. Figure out where do all the elements and parts go? 5. Canvas size should be 3.4 inches x 2.15 inches 6. Card rounded corners 7. Some sort of security design device (watermark, official seal) The layout design should be made in Illustrator. The photo portion will be done in Camera Raw and then Photoshop. SAVE YOUR FILE AS DL_yourname.pdf (FILE>SAVES AS - change format to PDF) *we will not be making fake IDs to be used for the participation of illegal activities |
| ||