Class photo tumblr
LOGIN: tumblr.com PW: yohcrm
OUR SITE: delviewmedia.tumblr.com Remember that you are frequently uploading your projects onto our site. This allows our class to share and view each others work. |
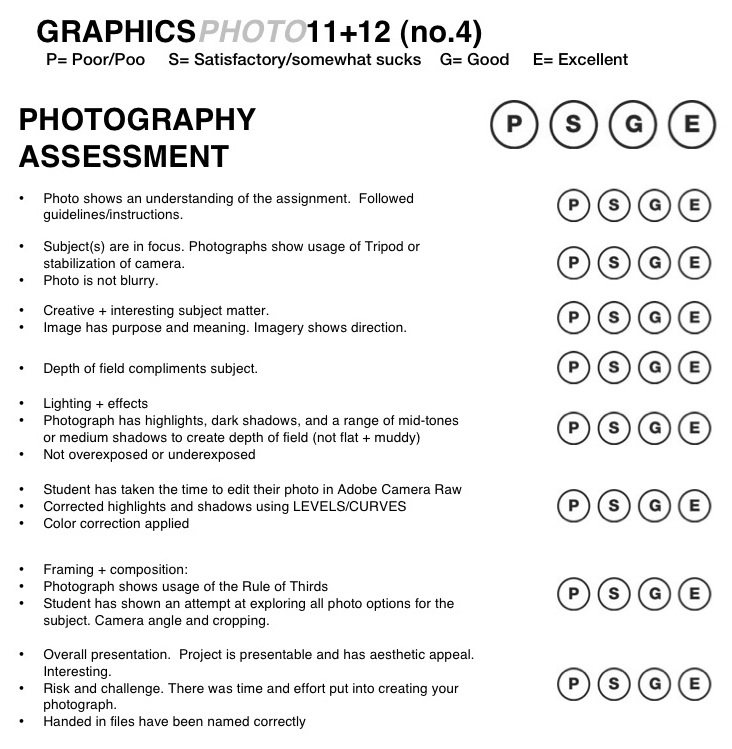
PHOTOGRAPHY ASSESSMENT CRITERIA
Click on image to enlarge
These are the guidelines and criteria that you should be considering when working on your photo projects. Remember photography is not as simple as walking around and winging it. Thought and careful consideration to your subject matter and the technical aspects are needed. |
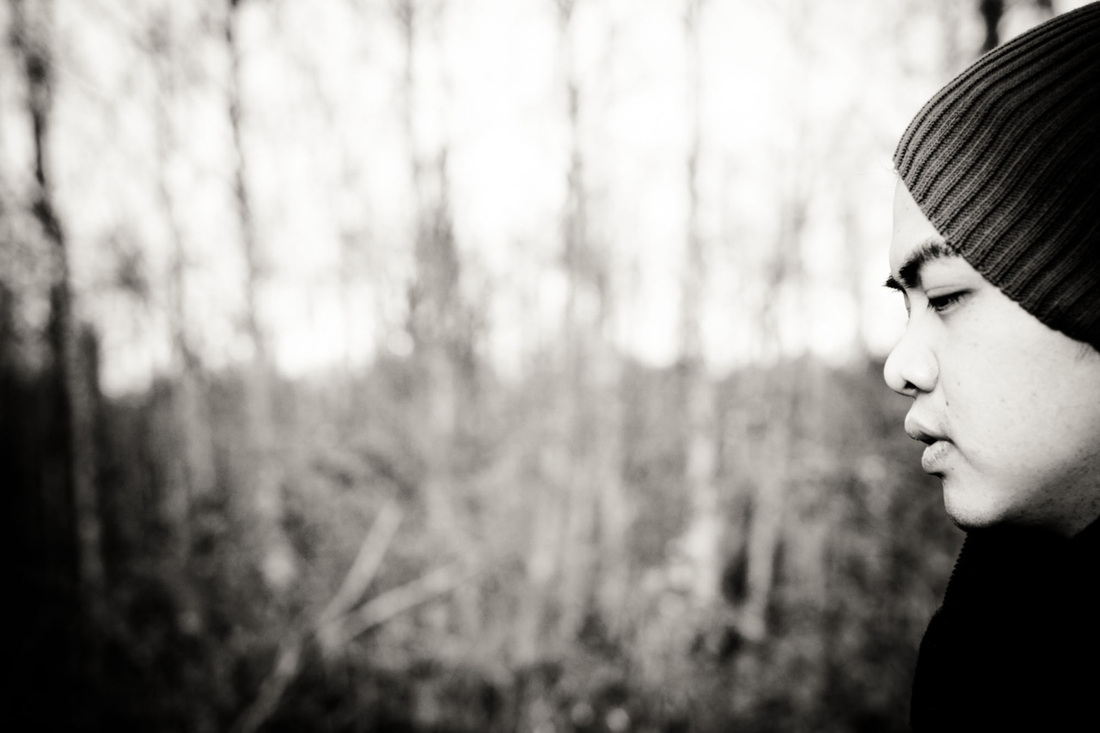
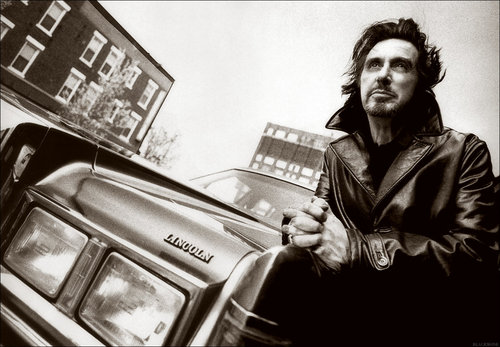
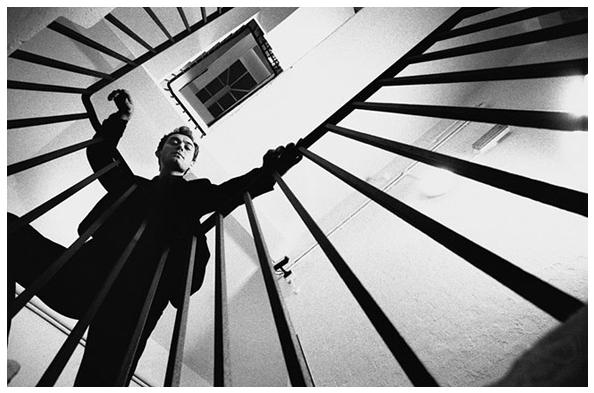
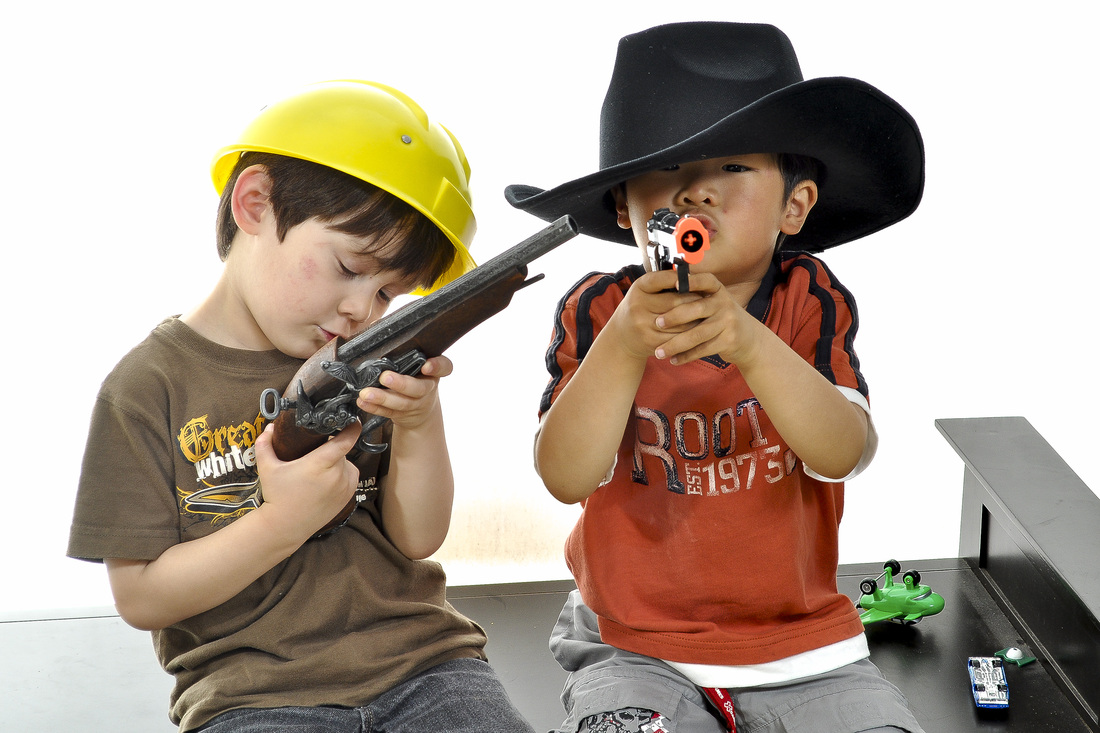
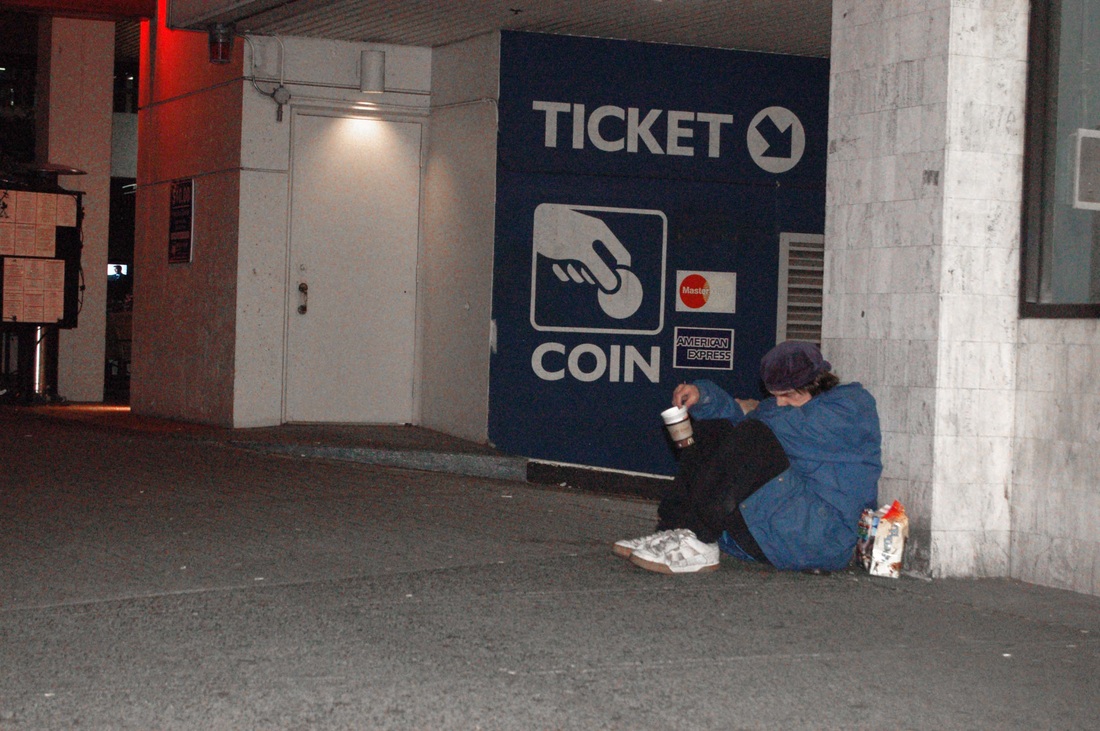
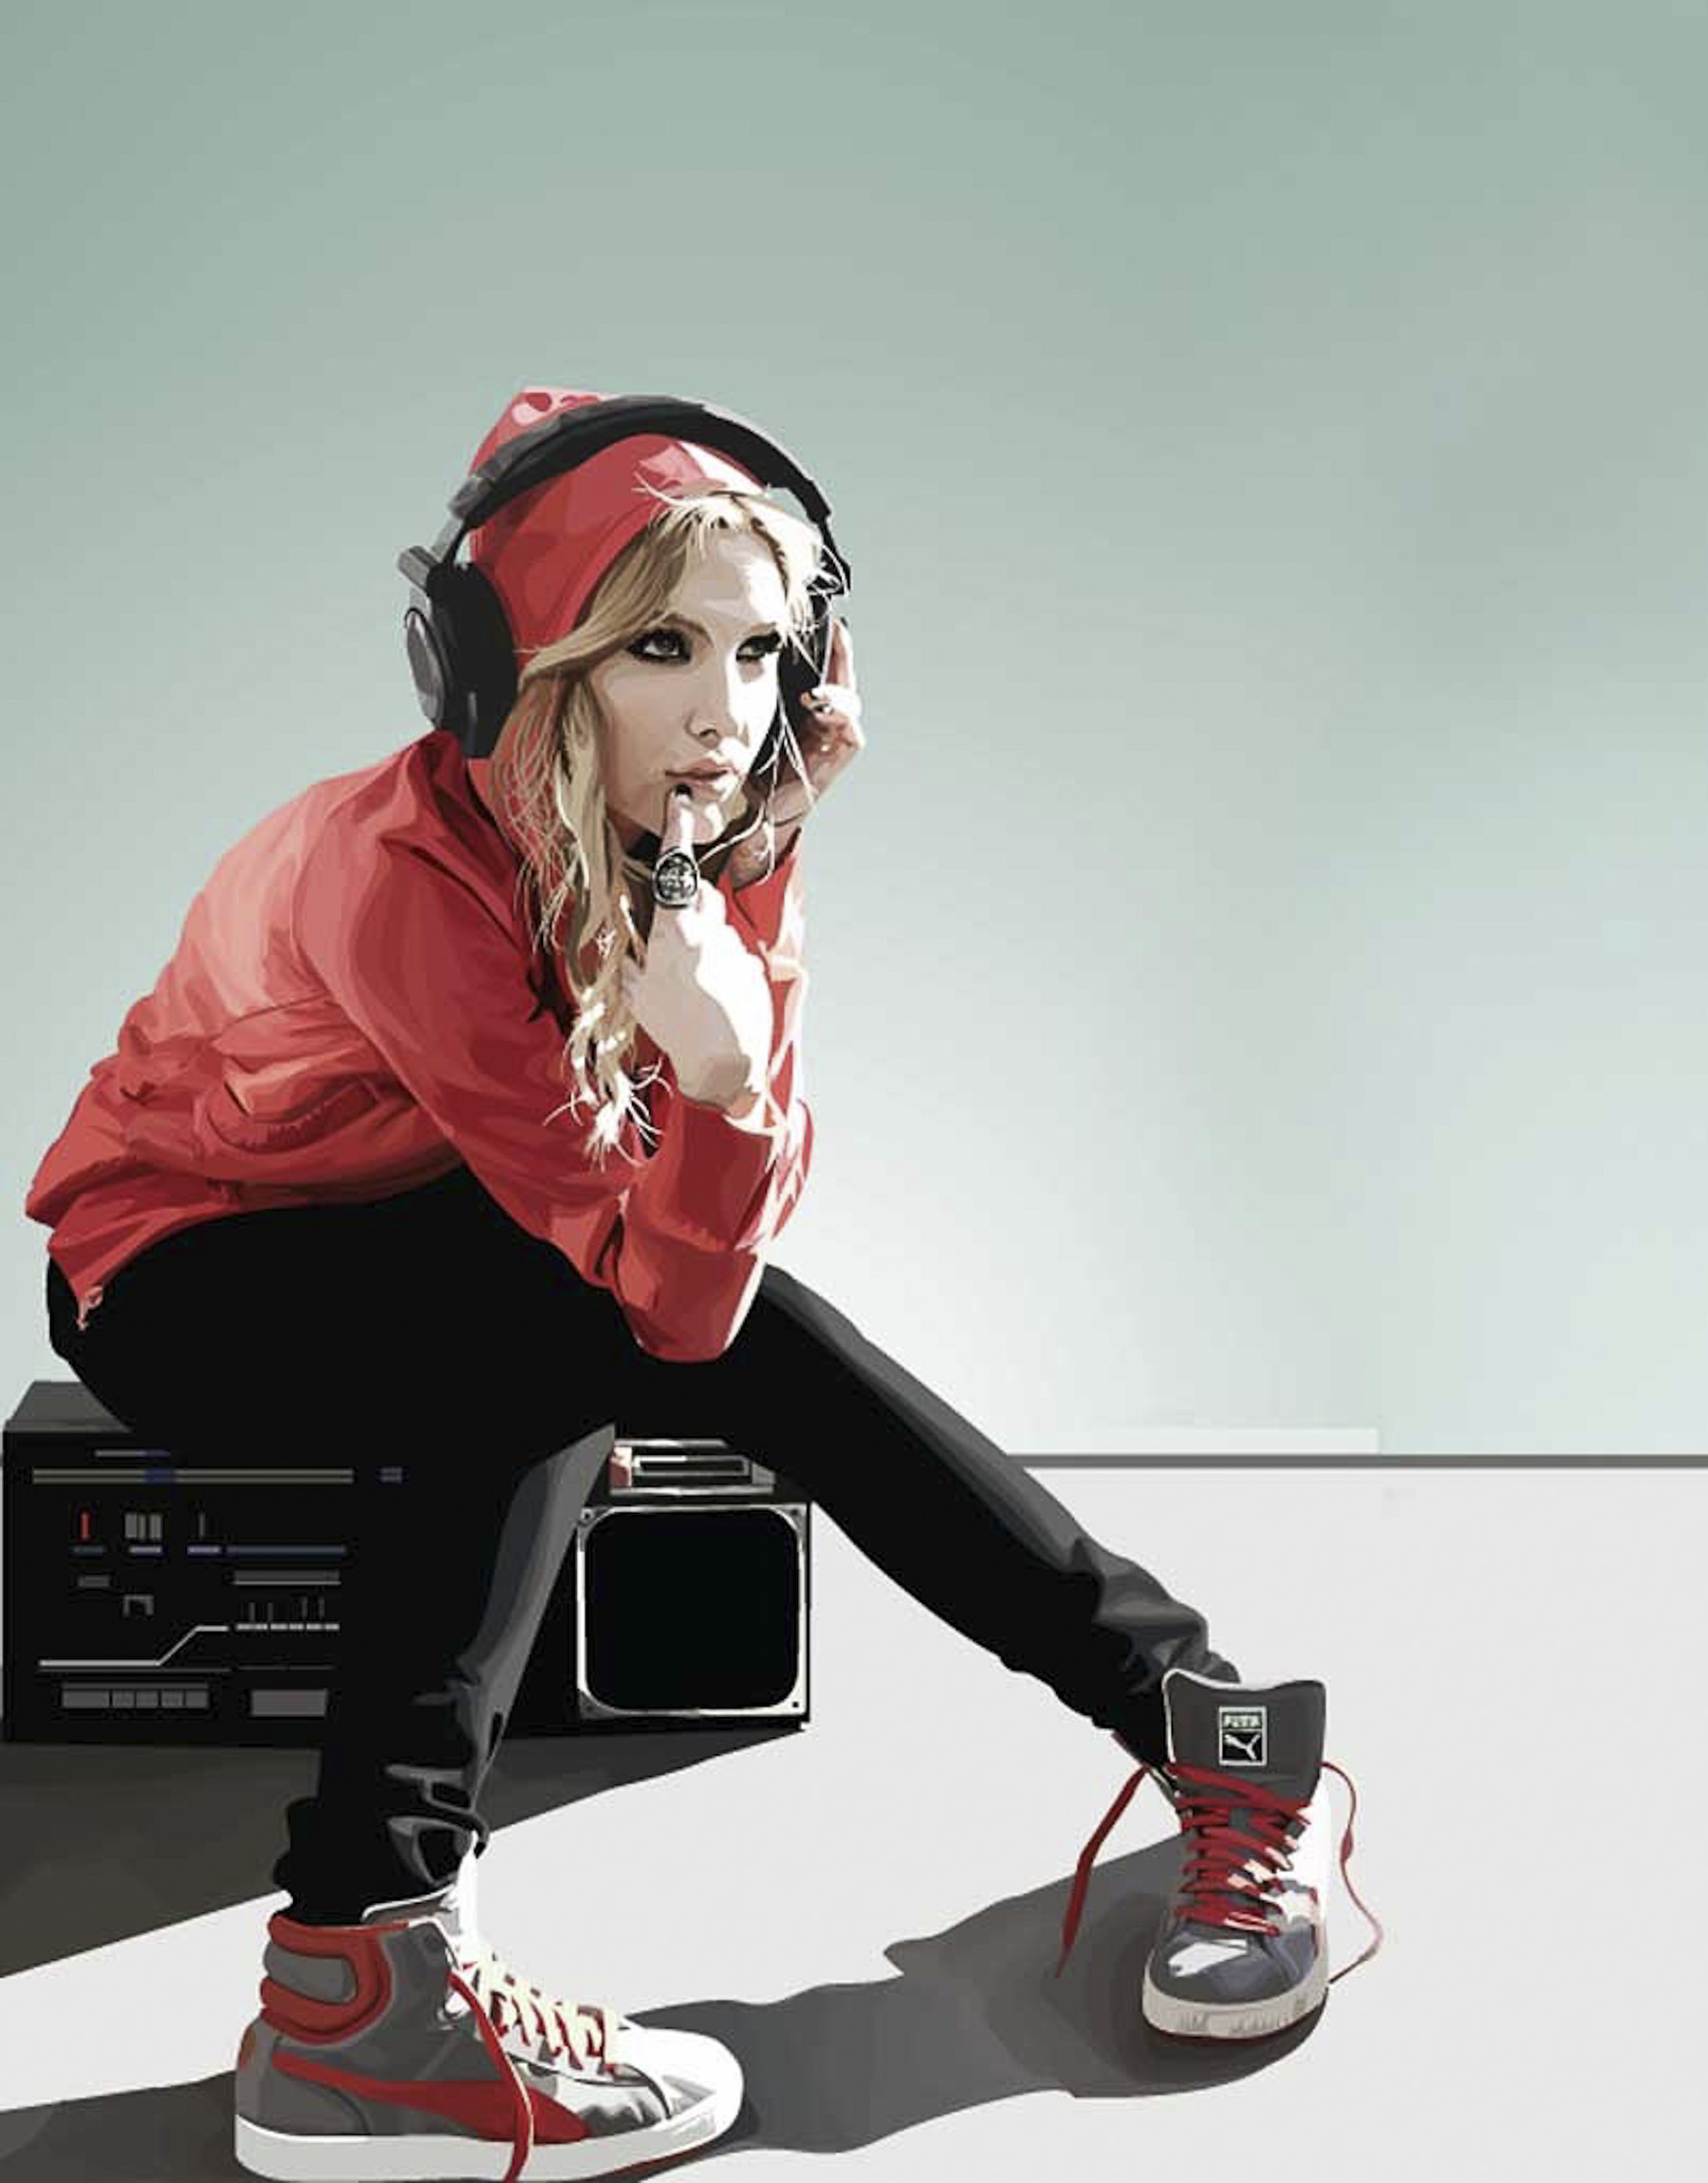
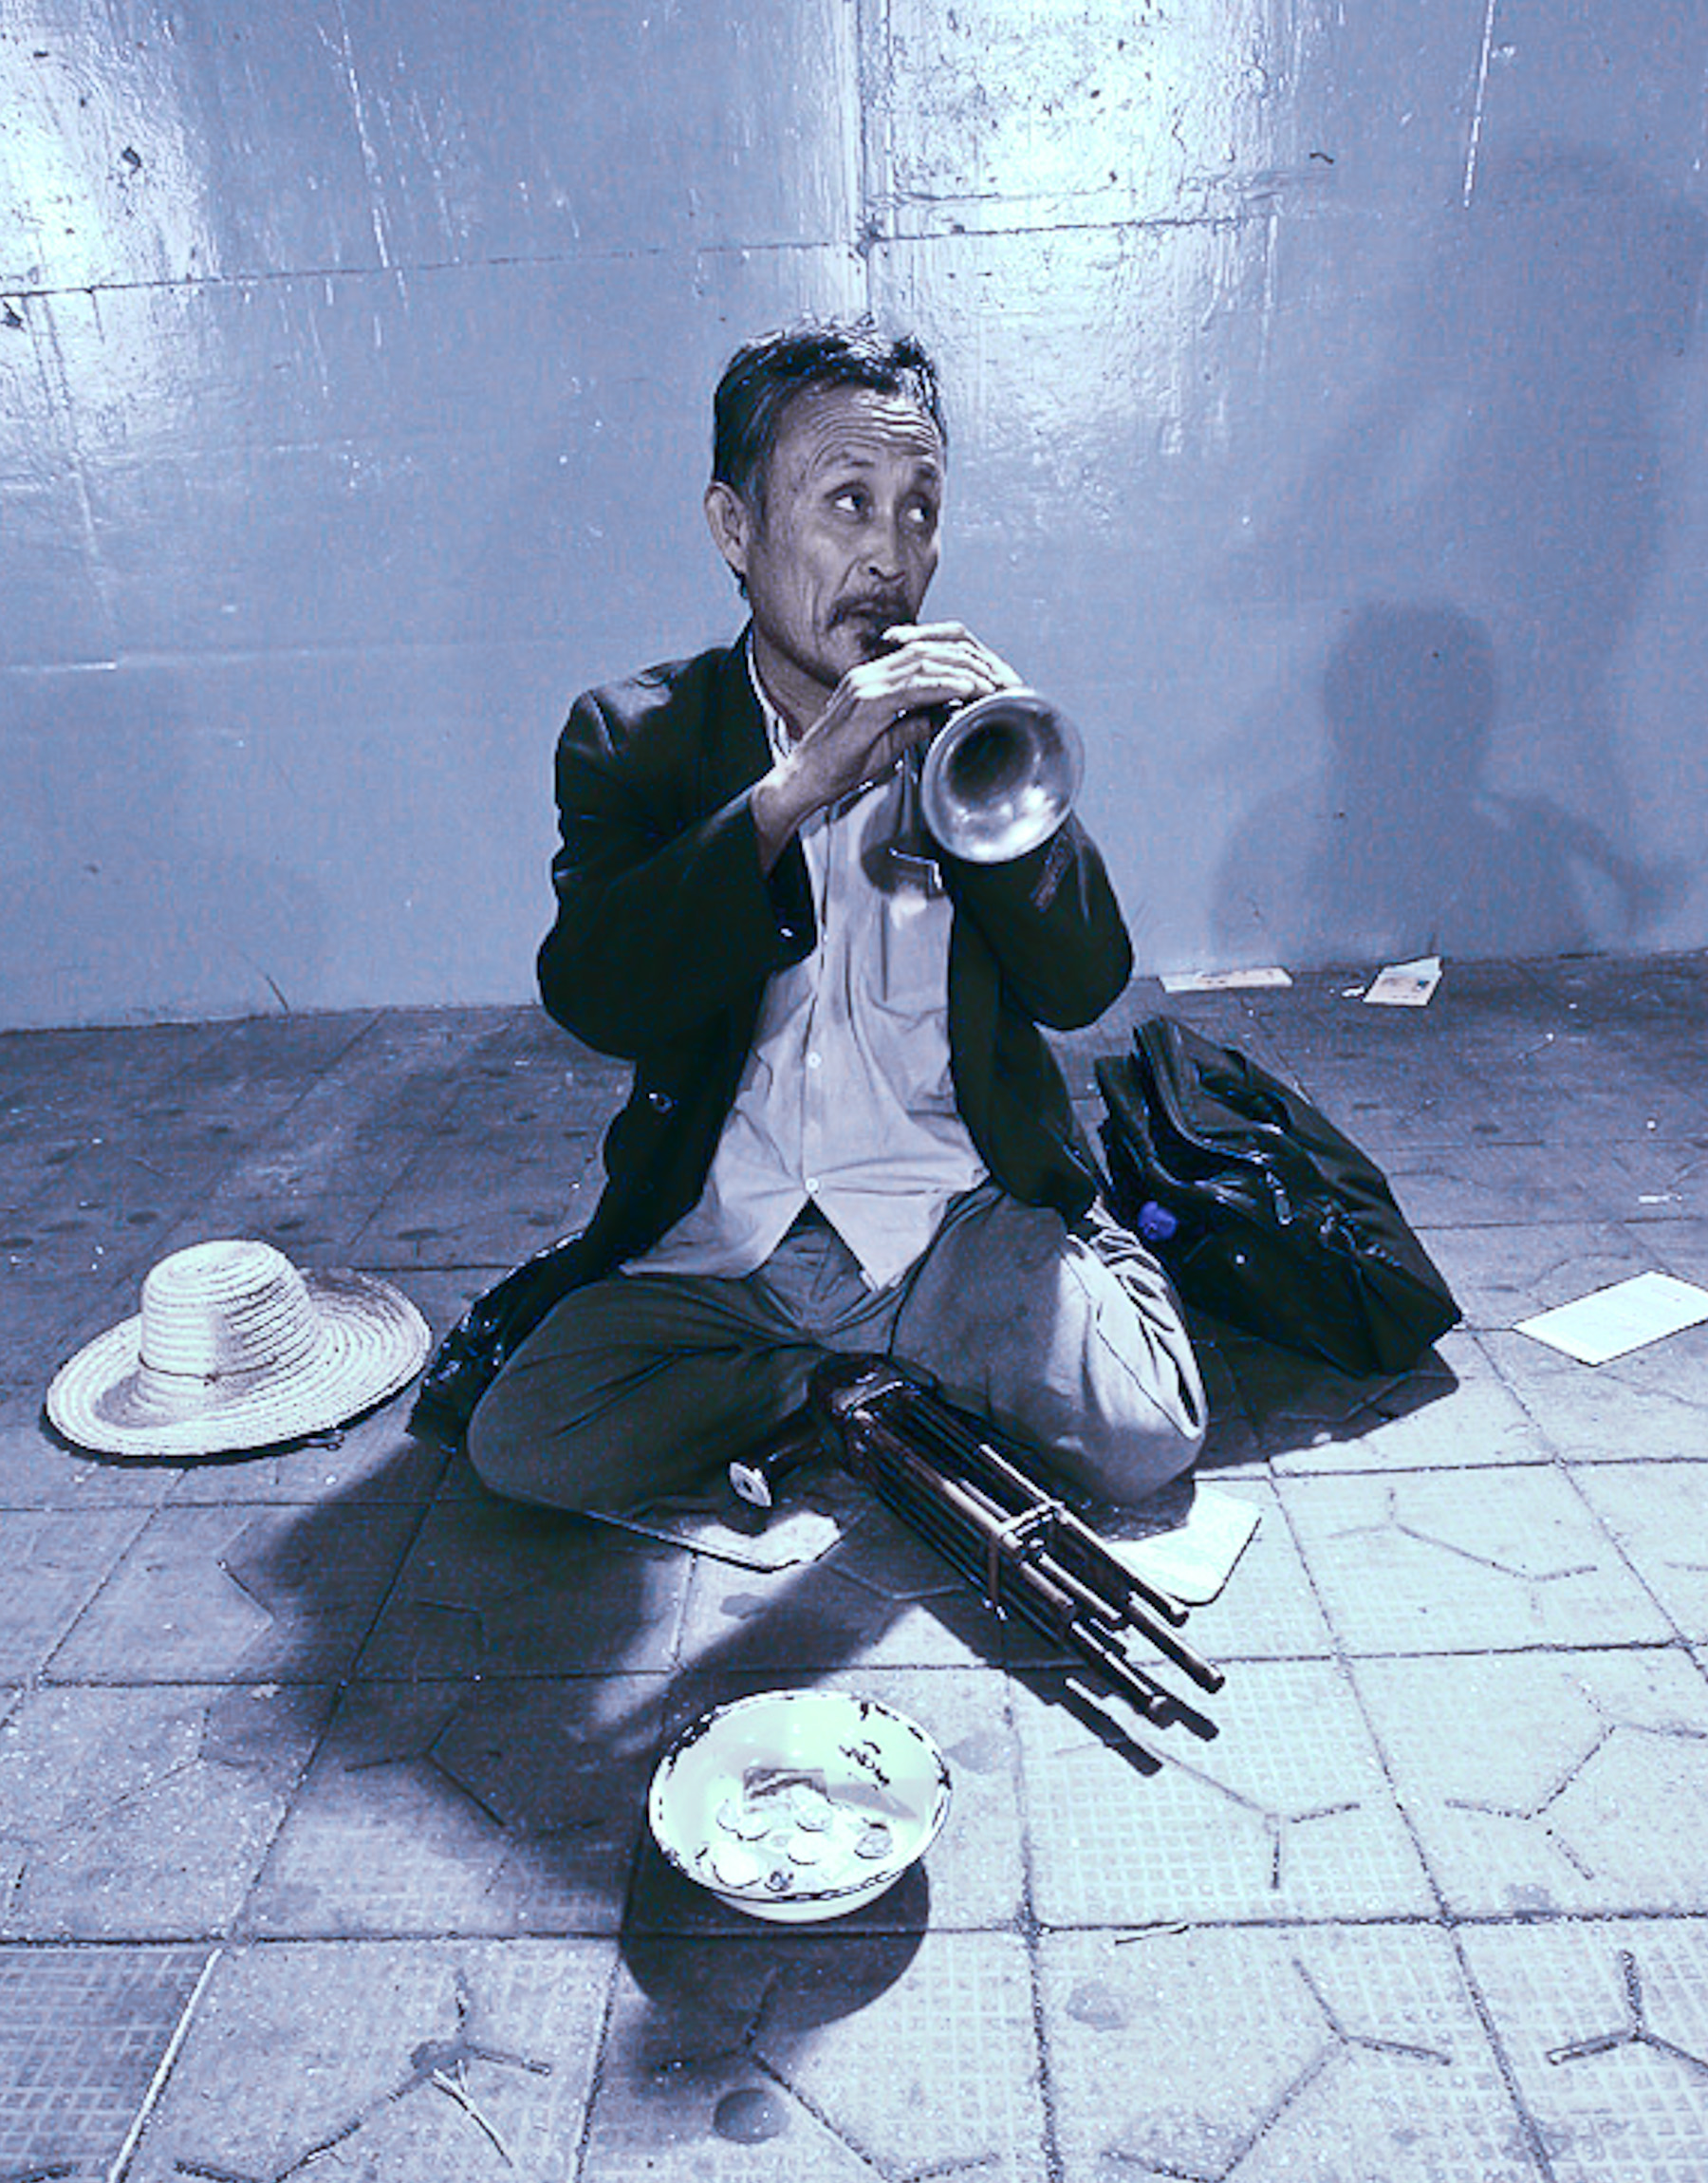
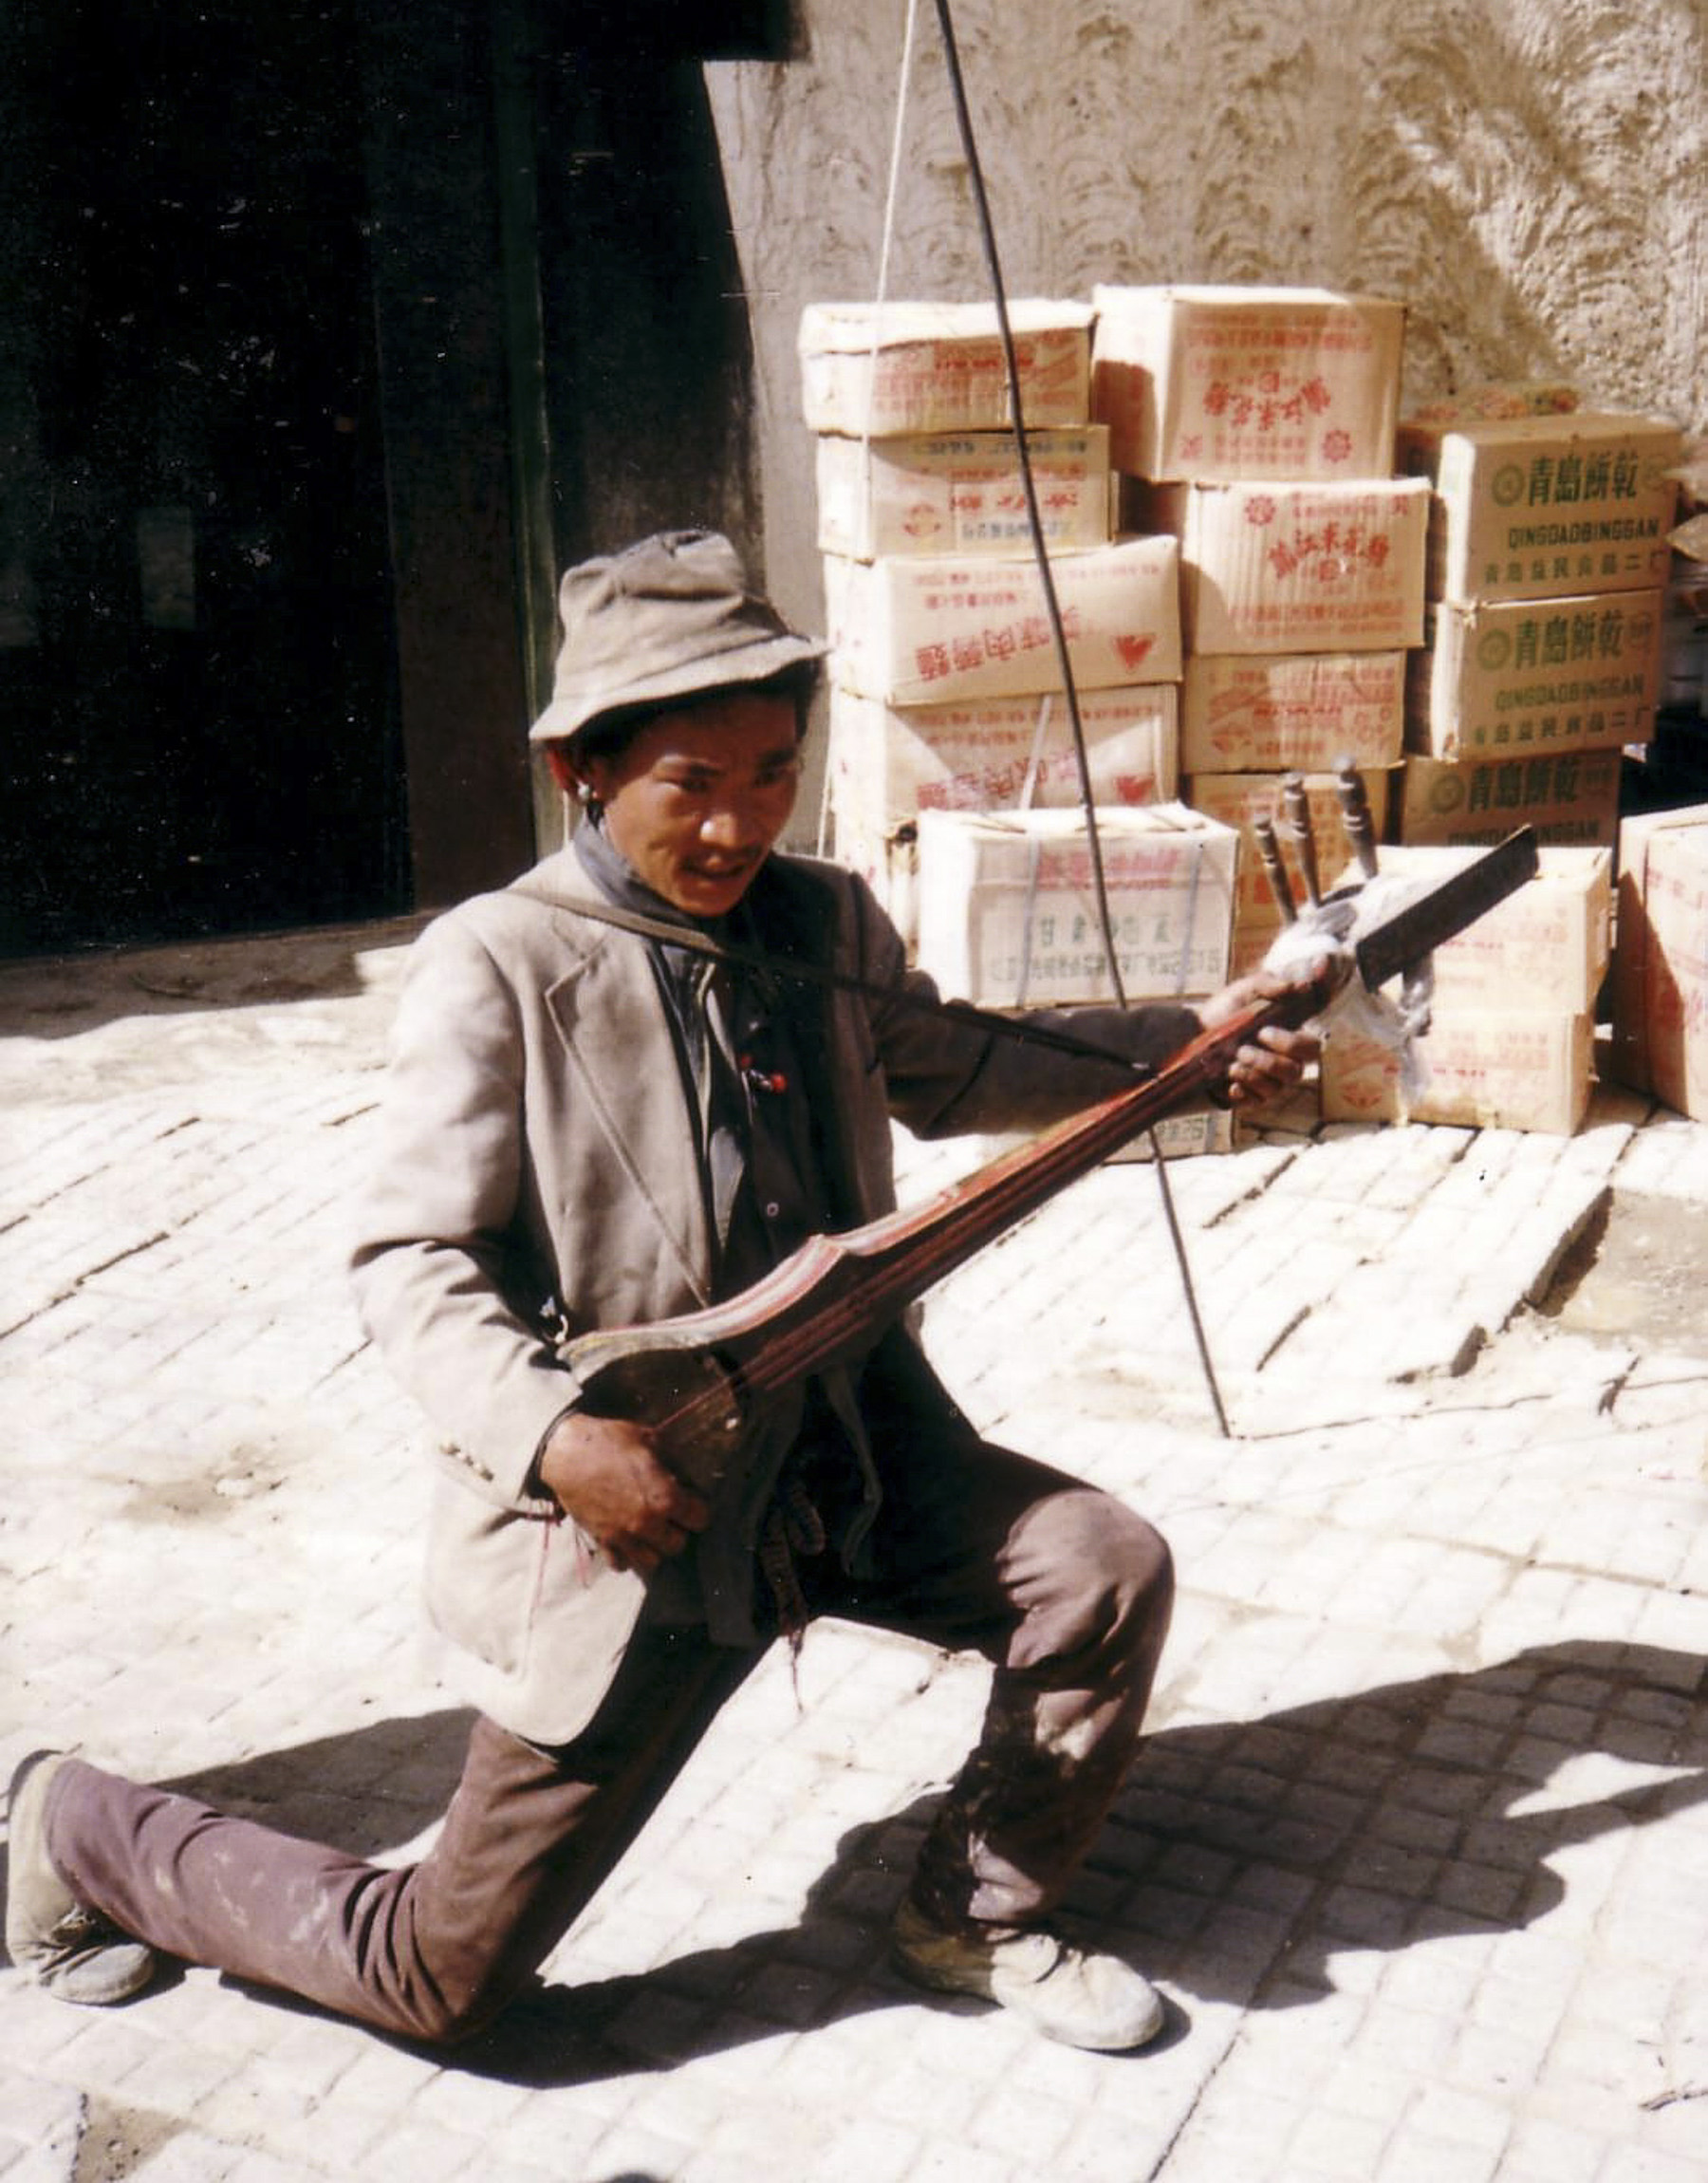
JAN 4 | Portrait Photography
Shooting portraits is a really important skill to have as a photographer.The
key thing when you're photographing a person is to help them be relaxed
so that they appear natural. You can achieve this in a number of ways.
Hypnosis, narcotics and alcohol are not one of the ways. Portraits don't
have to be formal, with people looking into the lens, so try to shoot
people doing something if you can. If people are performing an action,
they will be taking less notice of what you're doing. Another good trick
is to get your subject engaged in conversation. If you have a person
mid-sentence, they will not be as conscious of the way they are looking.
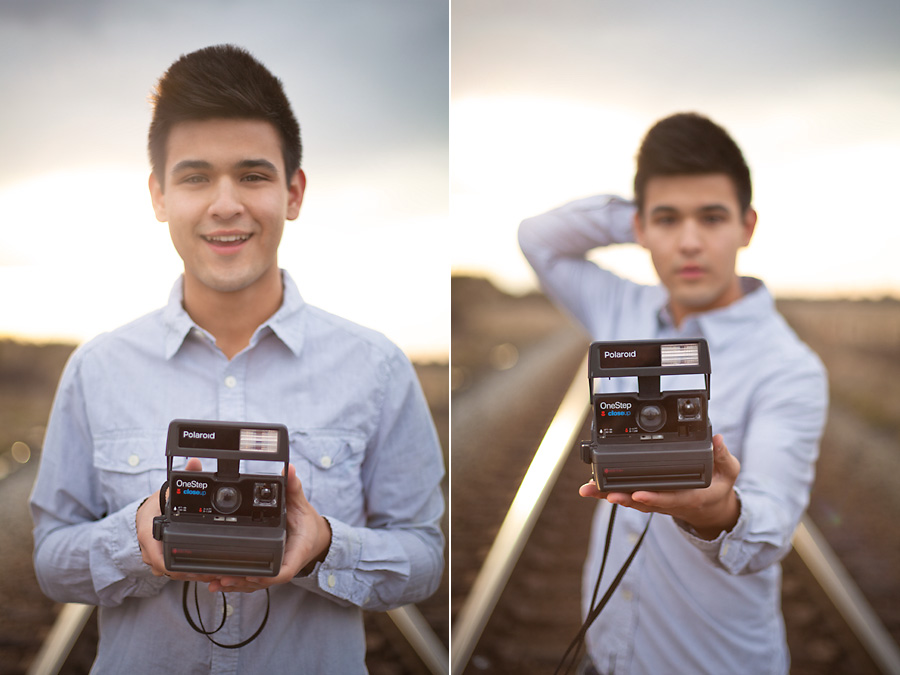
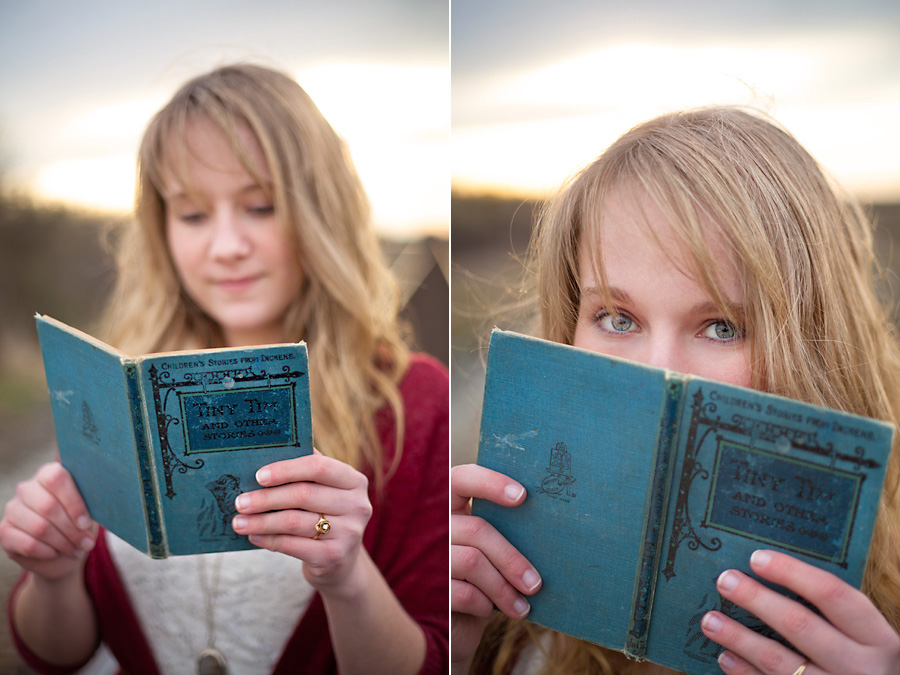
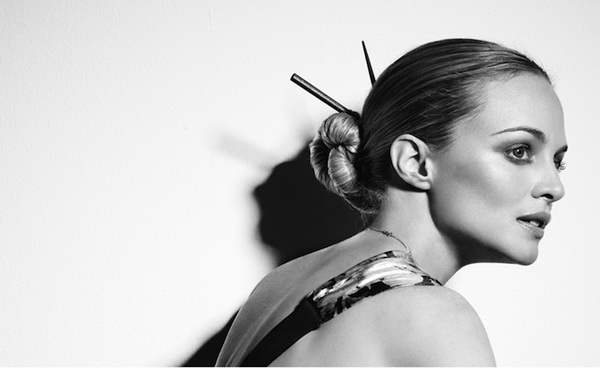
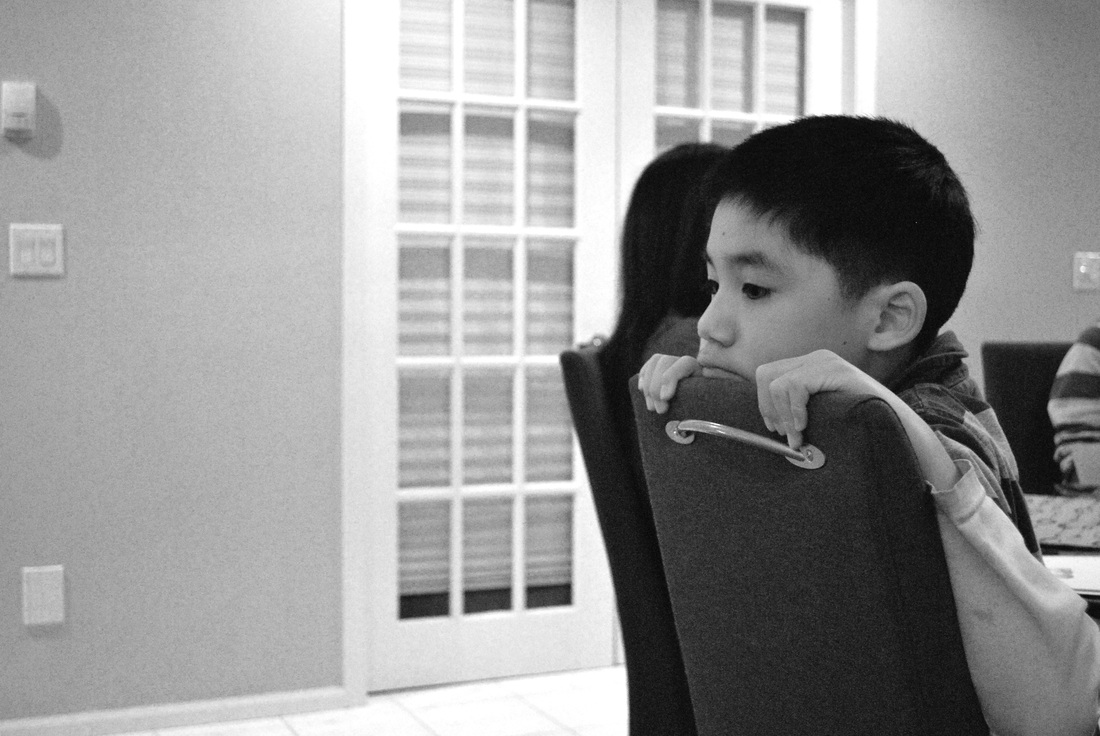
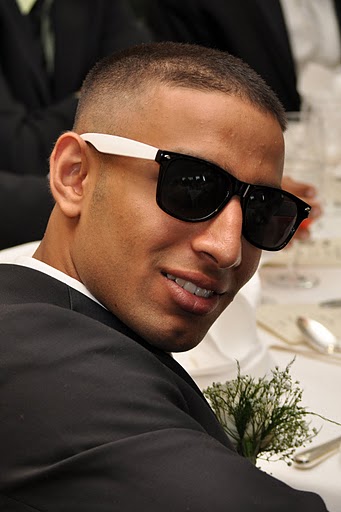
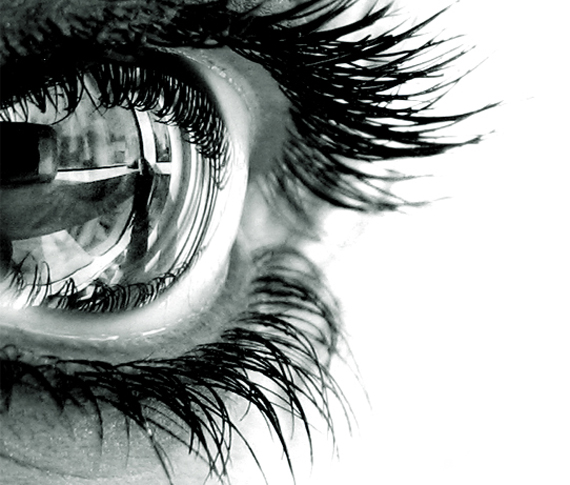
Focus can be key when you are shooting a portrait in which the subject's face is prominent. In this case make sure you focus on the eyes. If a subject's ears or nose are out of focus it's not really a big problem- most people viewing a picture of a person will look straight to their eyes- but if the eyes are slightly out of focus the image will seem odd. Portraits don't have to include the whole person; you can crop in and concentrate on one particular detail. This shows enough of the person without giving away the whole story and so preserves some mystery. PORTRAIT TIPS
|
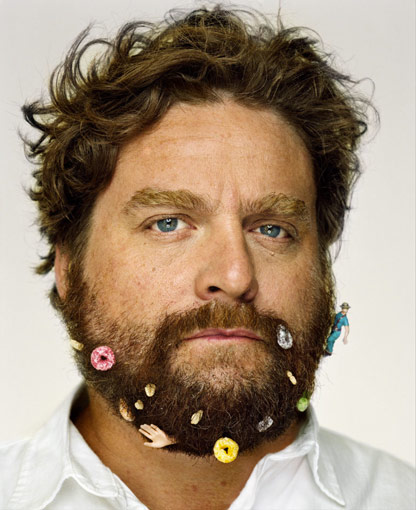
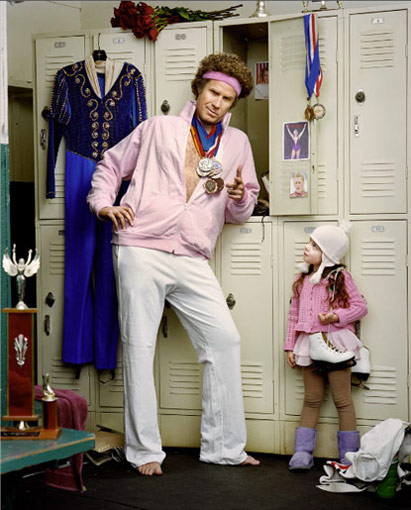
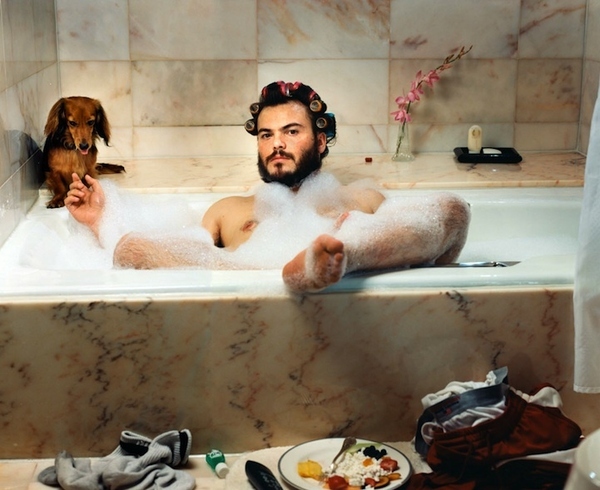
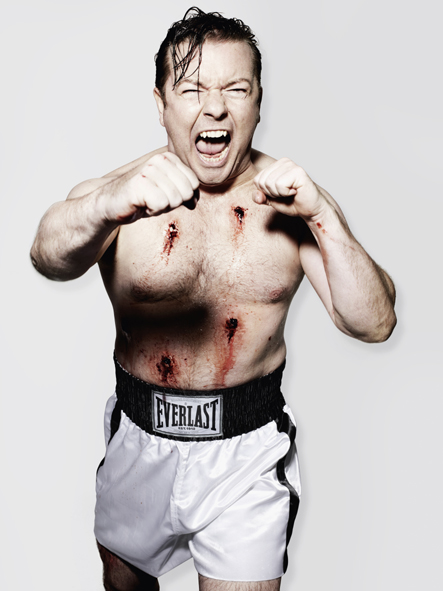
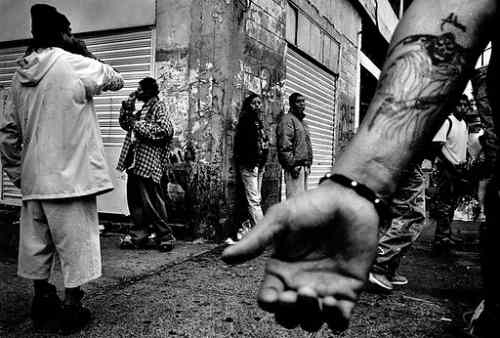
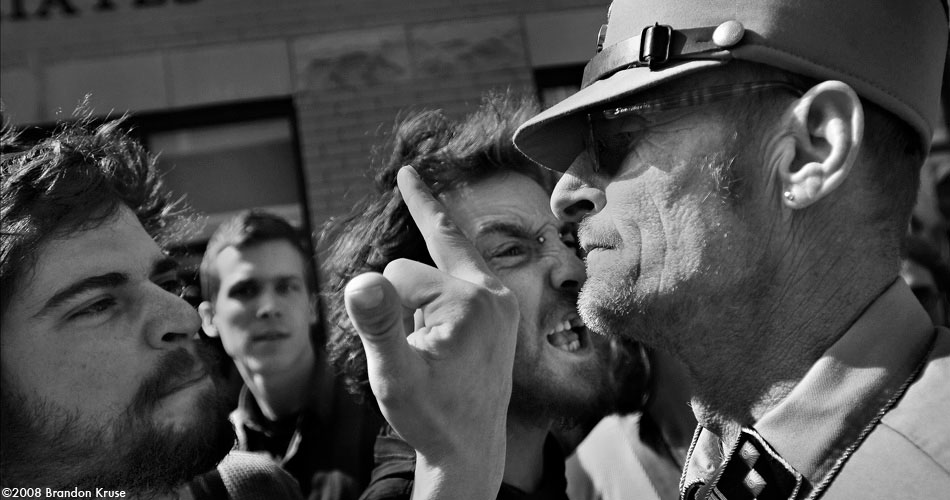
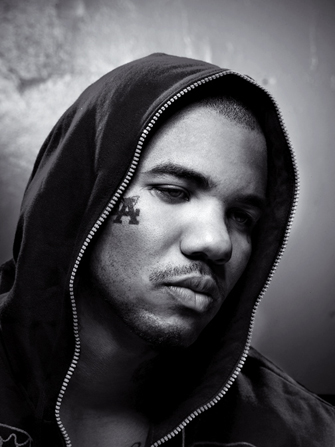
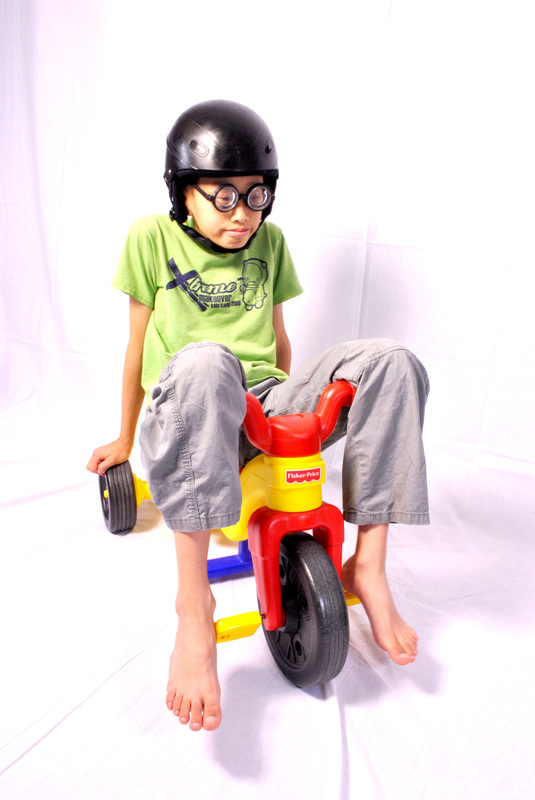
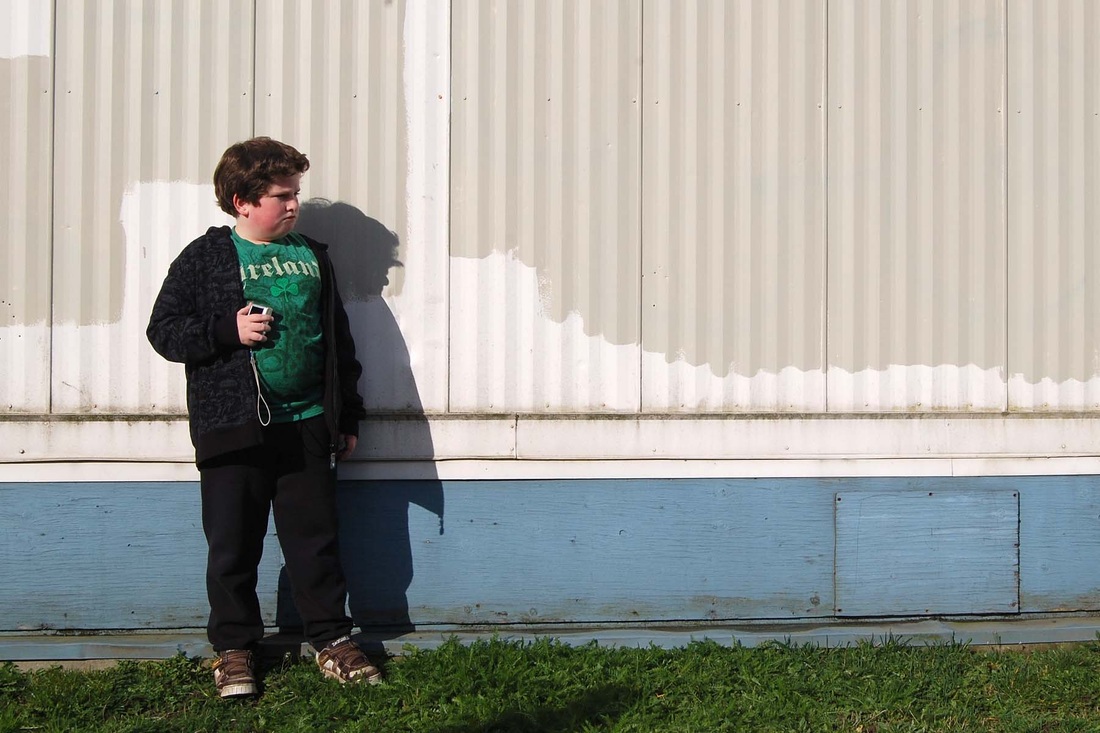
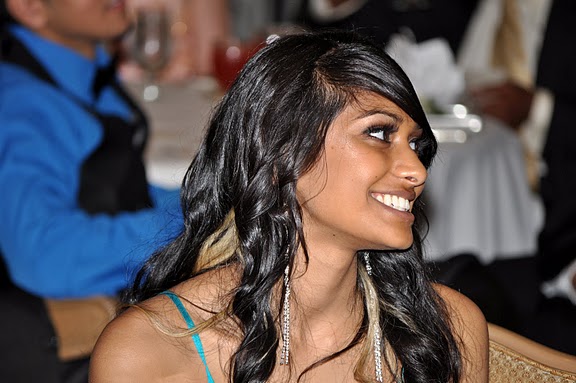
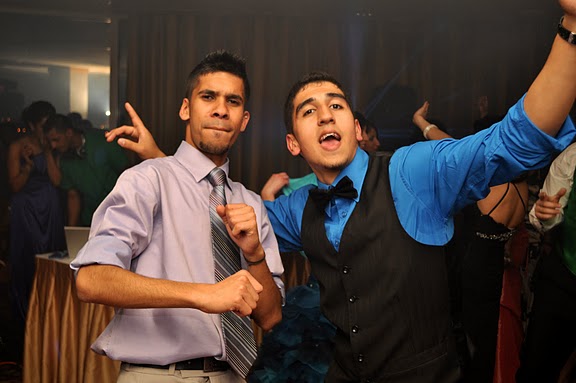
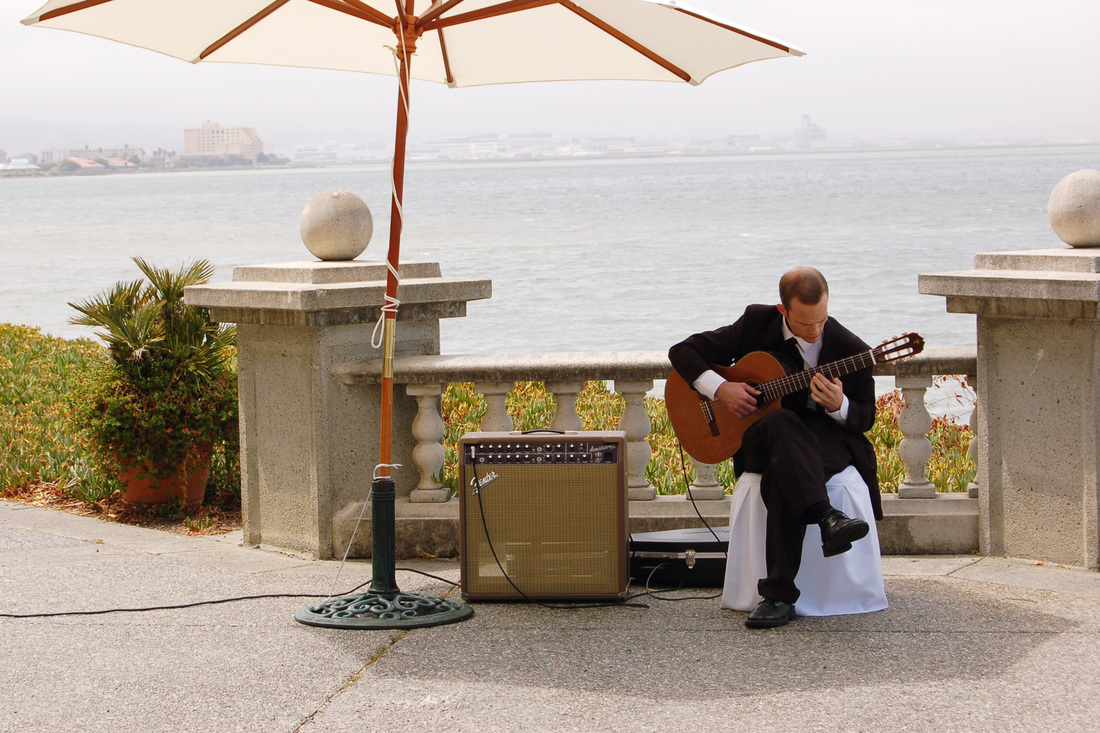
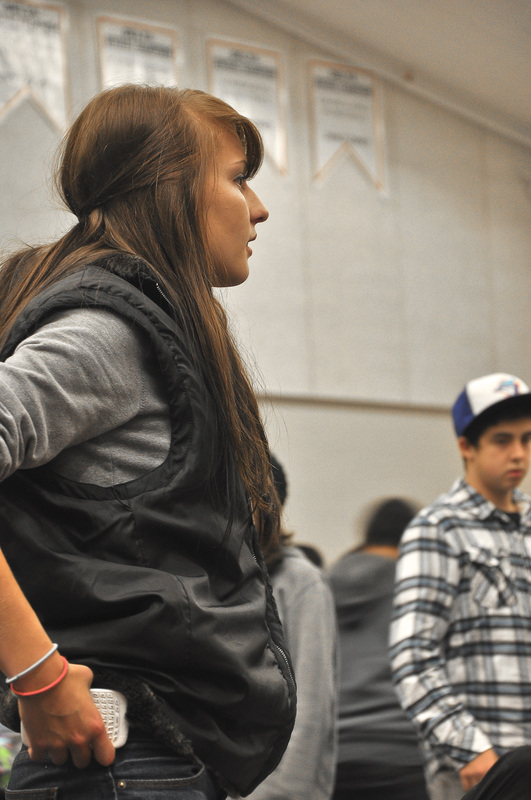
Portrait Examples
Mr. Choy's Examples
|


The Project:
You will be creating a portrait photo series based on a combination of
Lighting Techniques and Tips for Stunning Portraits. The same guidelines
from our previous projects apply here: proper exposure, appropriate
depth of field, levels adjustments, focus, steady camera, creativity,
and composition.
6 Photographs: Must use all 3 lightning techniques twice, combined with a different shooting tip/ideas for each one. Do some planning ahead of time. Brainstorm ideas + come up with your combinations this way. Winging it and coming up with your shoots on the spot will not work well. The planning sheet will be part of your mark. Please hand in all your photos as JPGs. I will let you choose the names, just make sure your first name is somewhere in the file name. |
3 Lighting Techniques + Equpiment
- Tripod - Reflectors + Diffusers - Lightstands + Umbrellas - a Brad or Abu - External Flash - Props - Backgrounds - Creativity |
Portrait Photographers
|
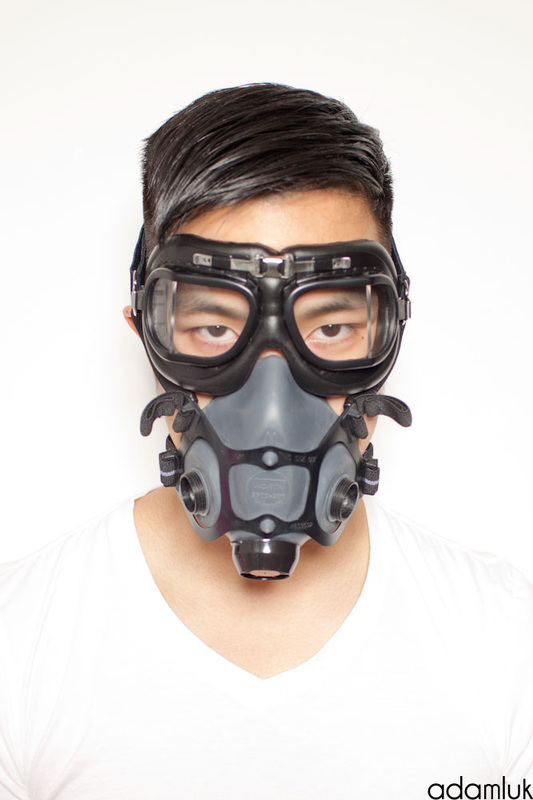
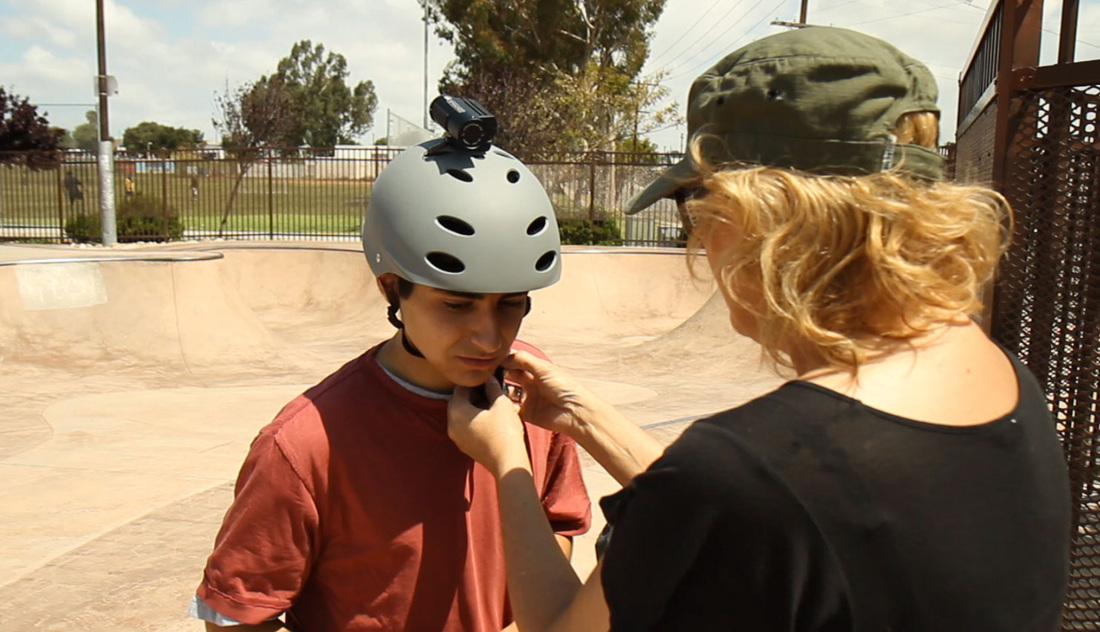
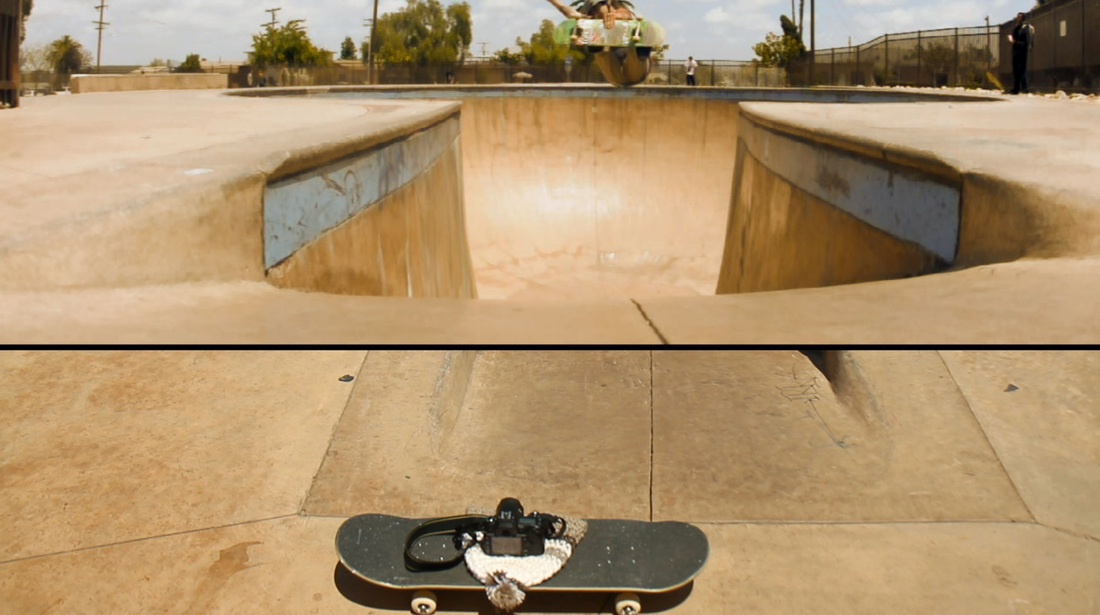
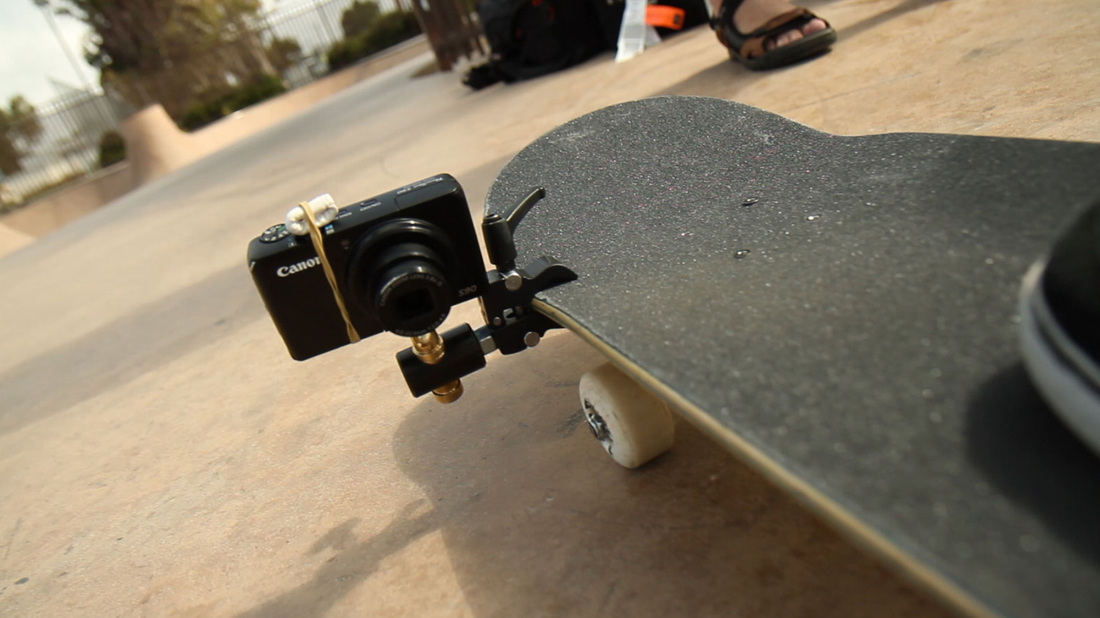
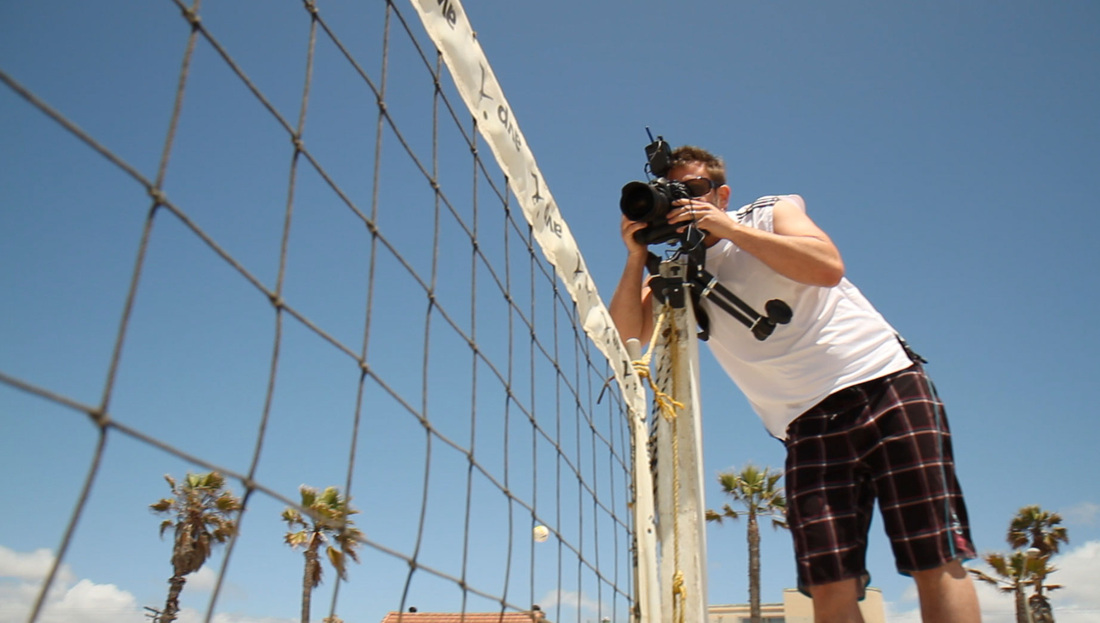
DEC 5 | Shooting Challenge #2: DIY Camera Point of View
Award winning photographer Chase Jarvis gives us 12 tips for better
images using a variety of gear from point + shoots and natural light to
high end DSLRs and strobes.
Your challenge is to create your own device that will capture an unusual or uncommon point of view of your subject. It can be a series of photographs that work in a sequence or as separate individual subjects. Using the brainstorming sheets, sketch out your ideas. Make a draft drawing of what you are going to construct. This challenge will be marked on risks taken, time invested, and quality of photographs submitted. |
|


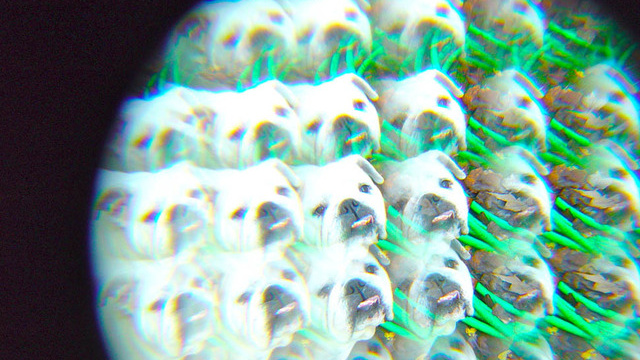
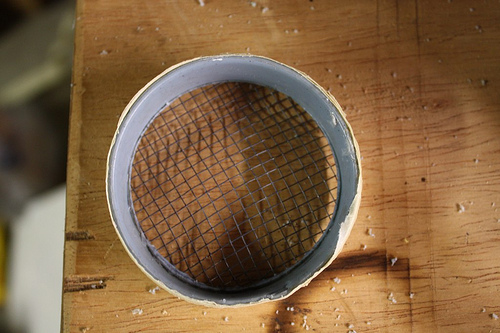
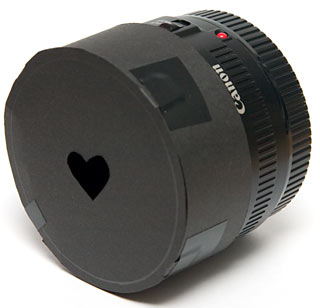
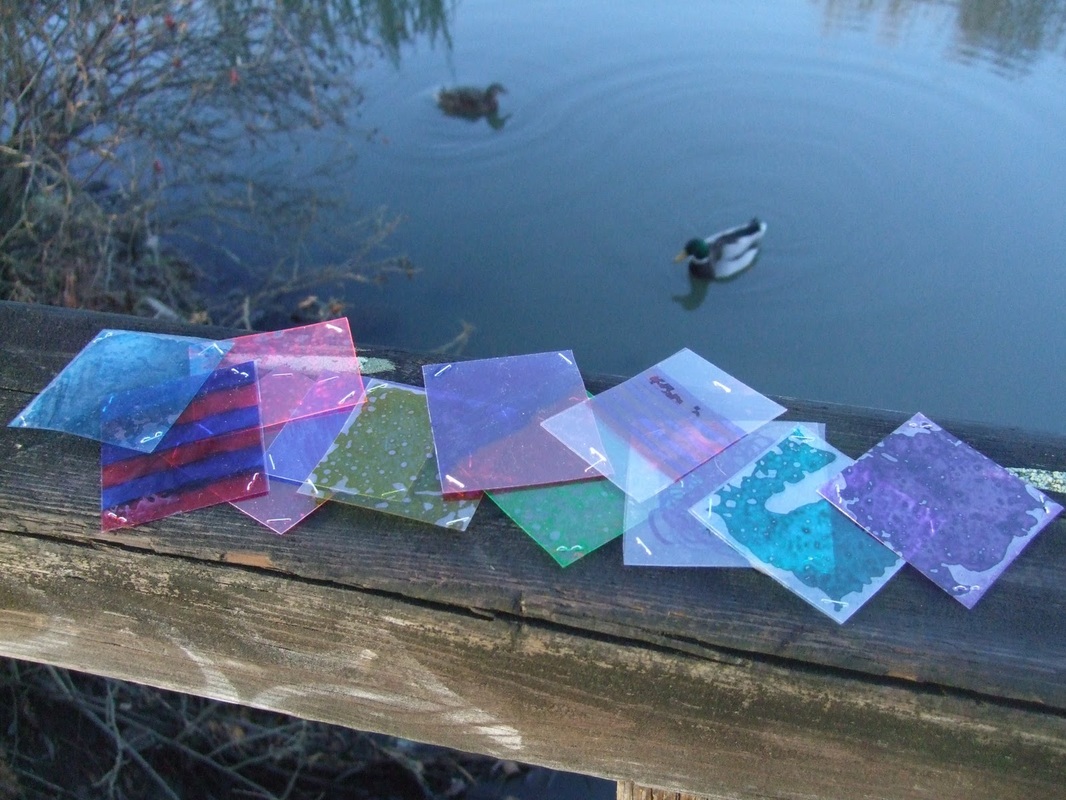
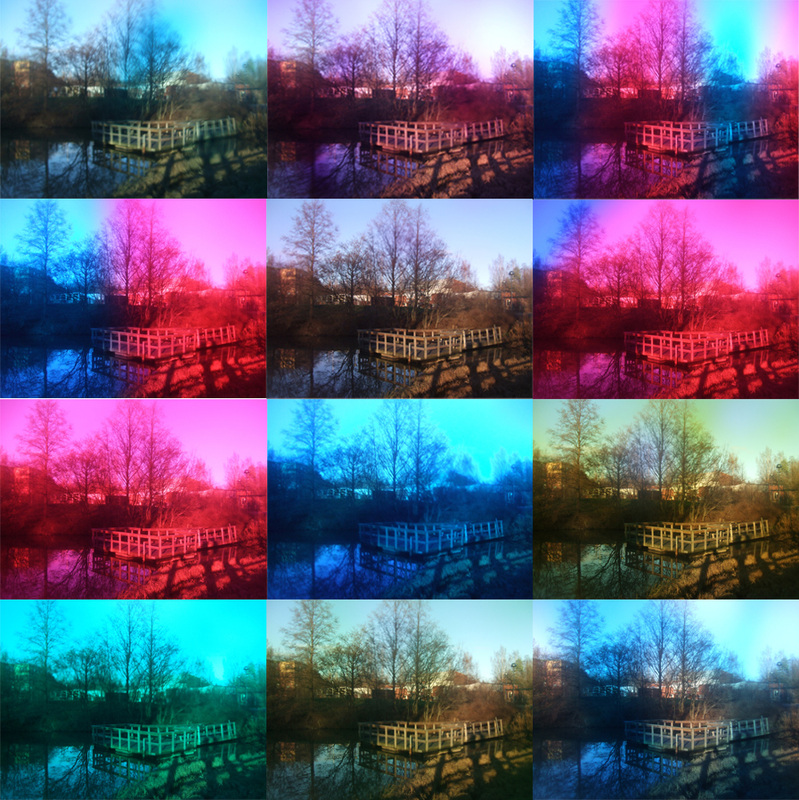
Nov 23 | Shooting Challenge #1: Homemade Lens Filters
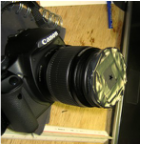
GIZMODO.com had a shooting challenge to it's blog readers. Create homemade filters and adapters for your camera and submit the photographs with a description of how it was done.
Here is the blog entry of the results + gallery Your challenge is to come up with your own homemade photo filter using materials around you. Just remember to take good care of the camera's lens. |
|


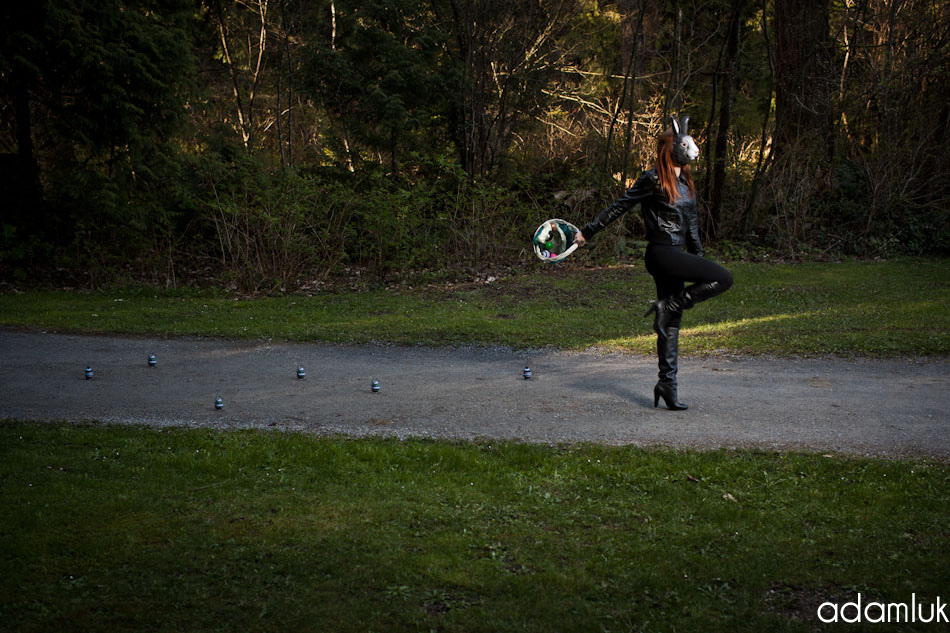
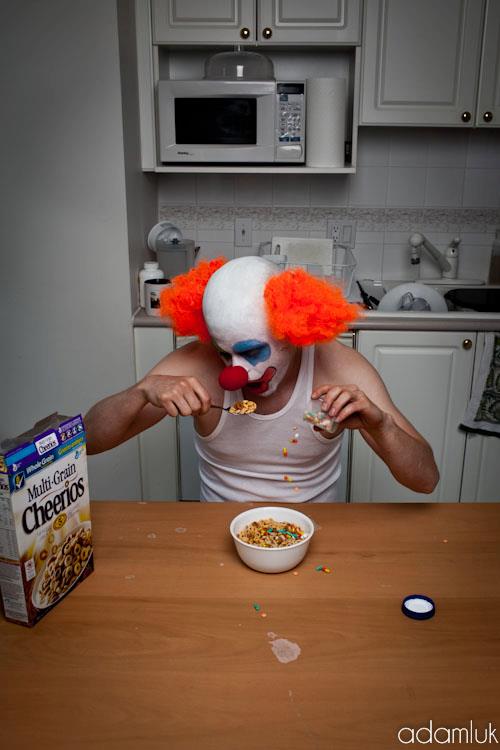
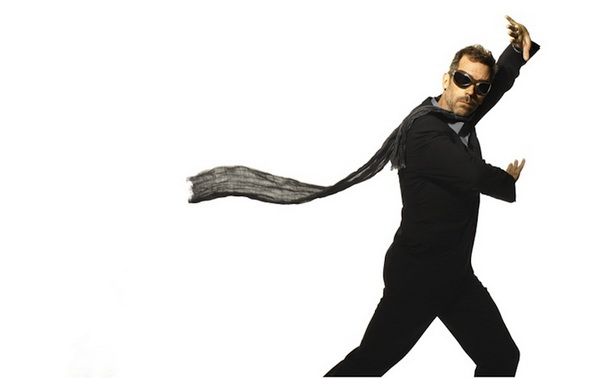
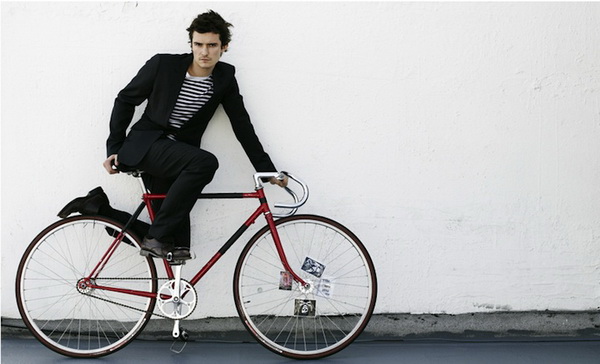
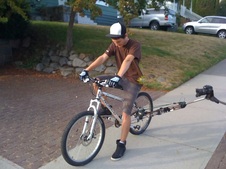
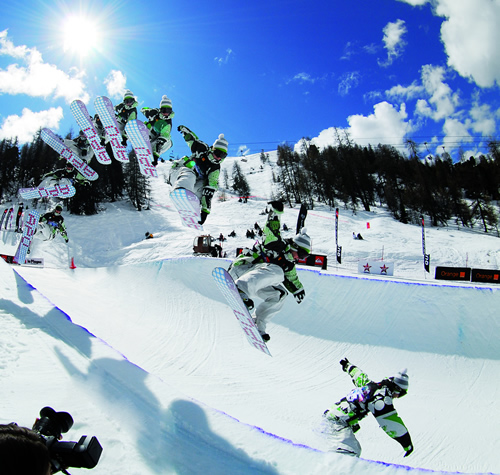
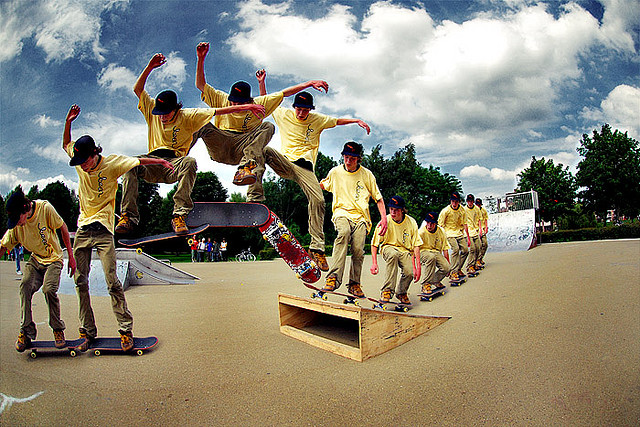
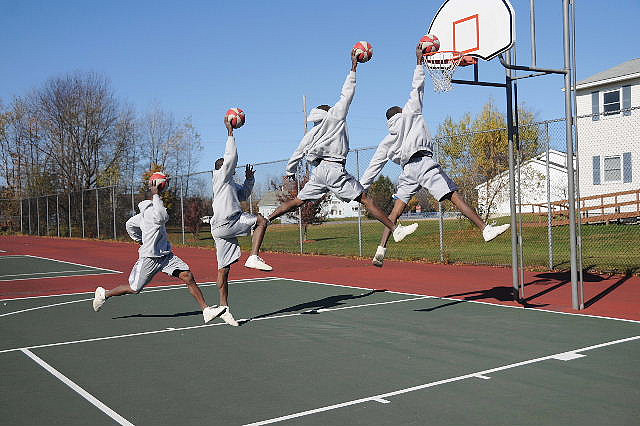
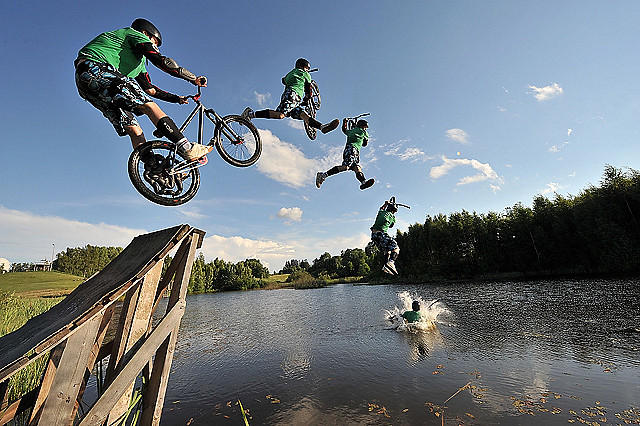
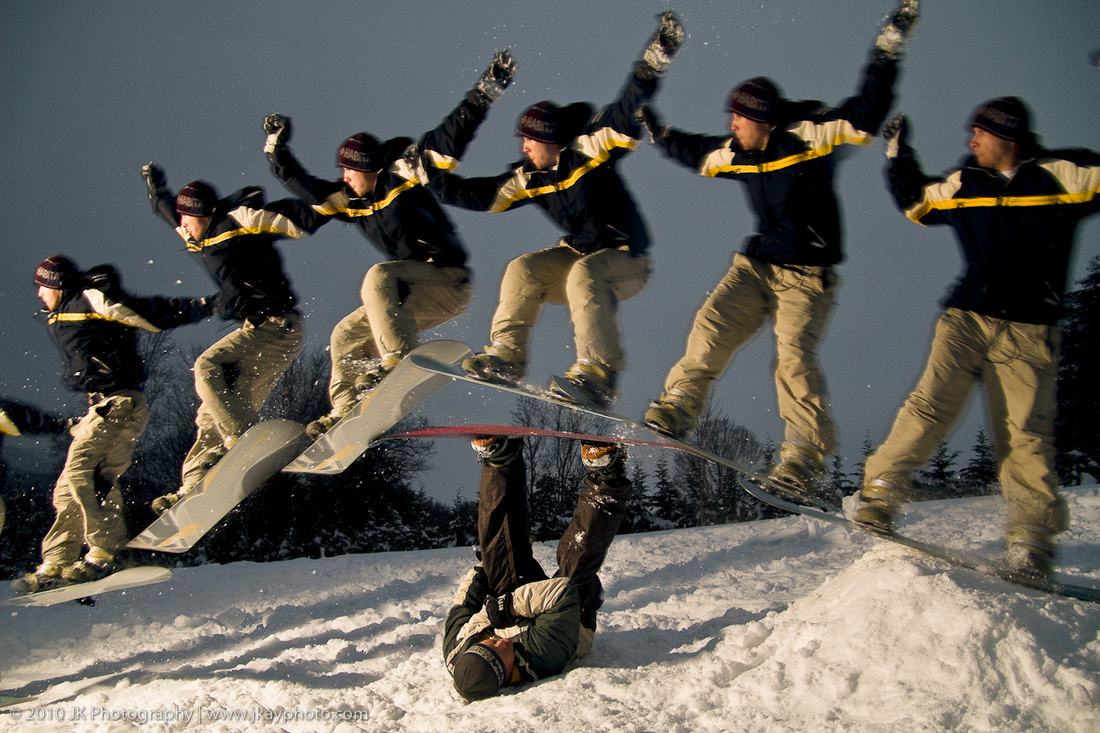
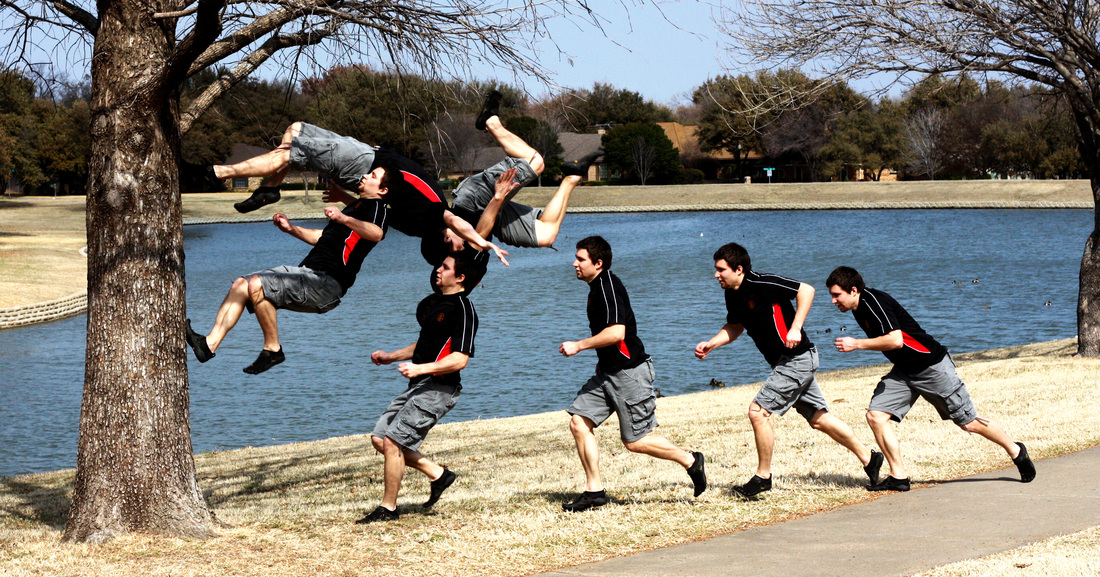
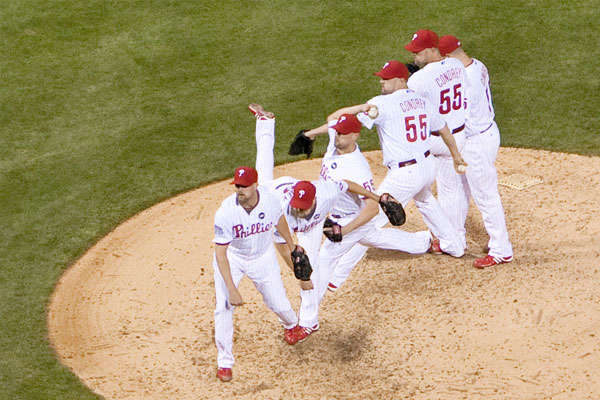
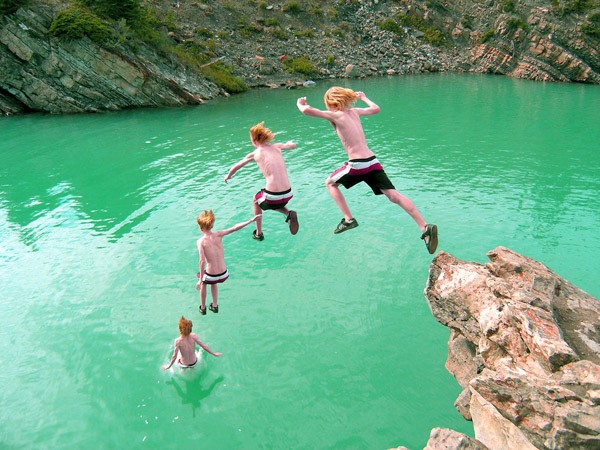
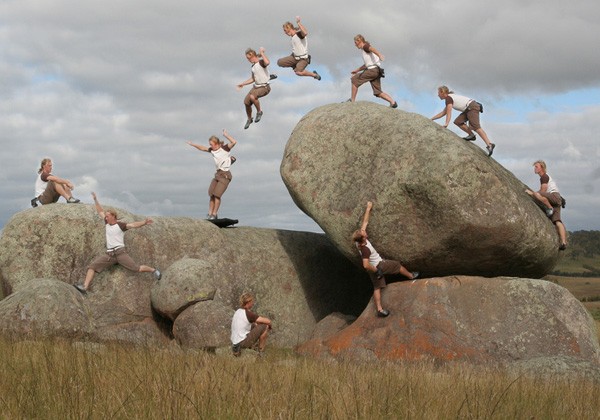
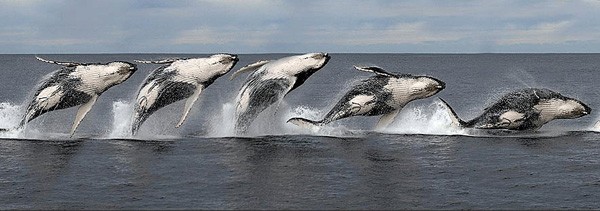
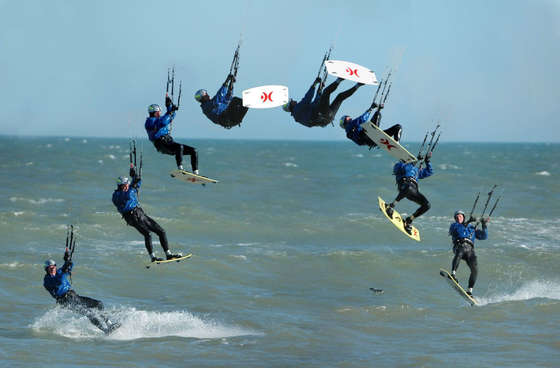
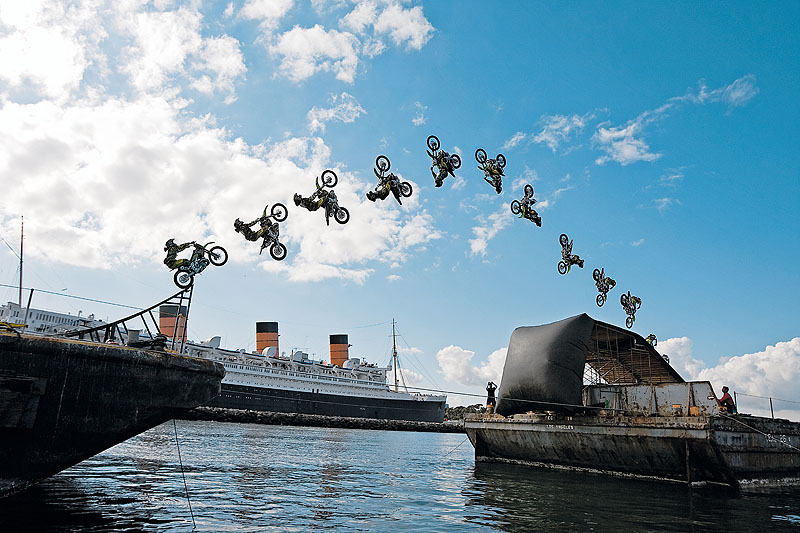
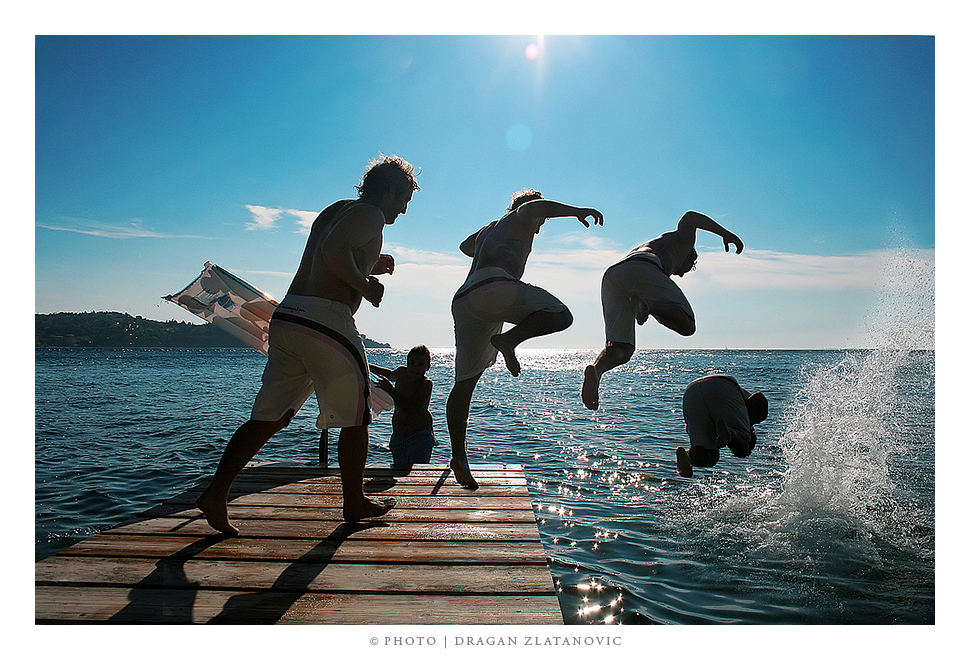
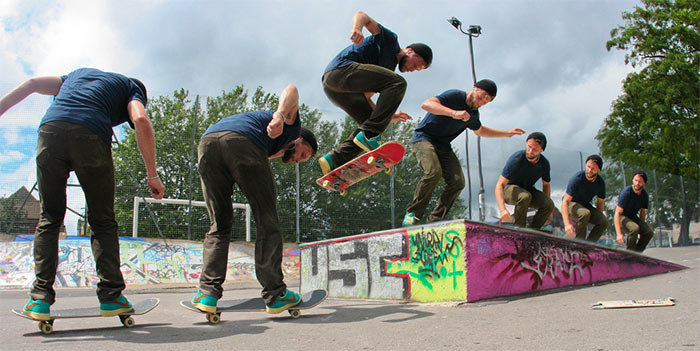
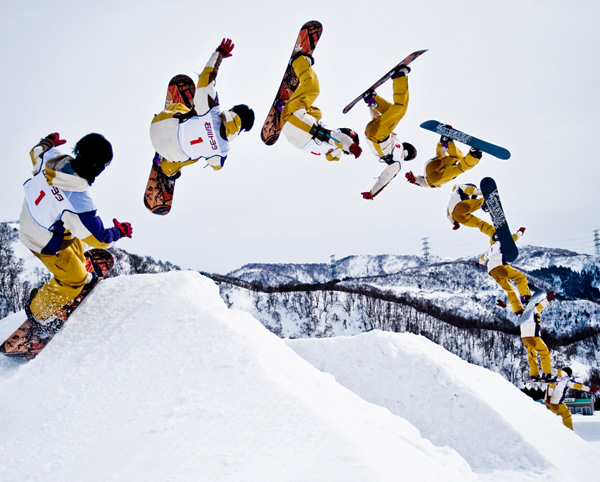
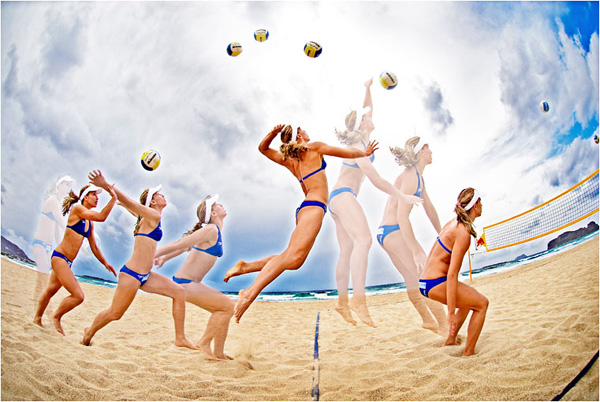
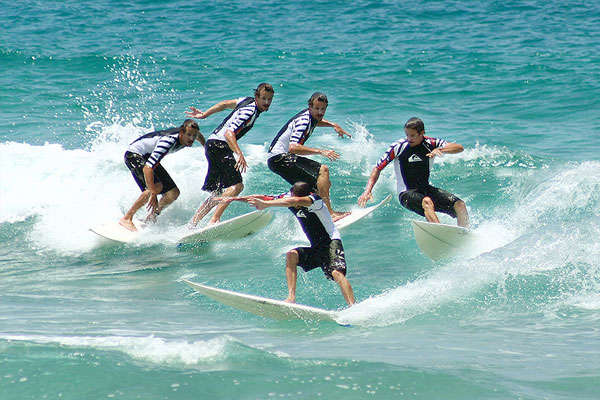
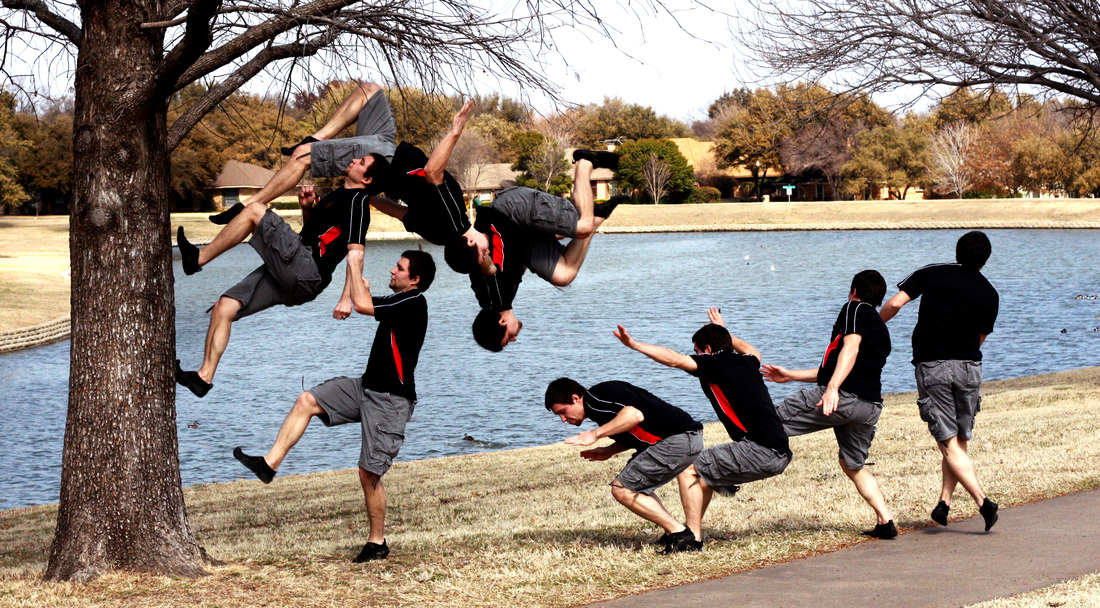
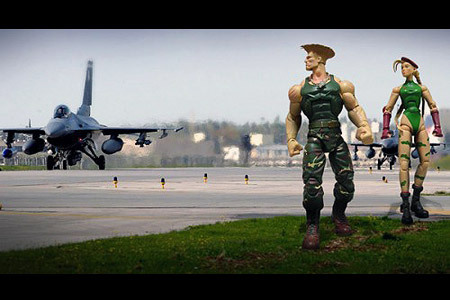
Nov 14 | ACTION HEROES SUPREMO SEQUENCE
For this photography project you will be creating an action sequence. Brainstorm and come up with a plan and idea for your photo opp. Do not just blindly go out and wing it. Put some thought into it before executing the photo. You will talk with Mr. Choy about your ideas before taking out a camera.
You will need a tripod, camera, and a good "moving" subject to do this assignment. Make sure the camera is on a tripod and the tripod does not move. It will make life much easier when you move into post-production in Photoshop. STEPS: 1. Brainstorm your idea and plan it out 2. Set up for the the photo outdoors 3. Make sure camera is set on "continuous shooting", MANUAL or PROGRAM mode 4. Shutter Speed: 1/320 or faster 5. Aperture: f7-f10 (you want a large depth of field) 6. ISO: 400-800 7. Take 6 or more photos for the Action Sequence 8. Merge the photos together in PHOTOSHOP first (use MASKING TOOL) 9. BLACK BRUSH- Deletes WHITE BRUSH- Brings Back (use <60% hardness) 10. Save as a PSD file (to keep your layers) and as a JPEG. 11. Open the JPEG file in CAMERA RAW and do your edits (levels, color etc...) 12. Save project as action_yourname.jpg |
|
Nov 4 | INDESIGN HAIR CUTS

Use the short cuts file on the side to help you figure out some of the applications for InDesign.
Short cuts make life easier. Short cuts are also nice because there is less hair to wash + groom. |
| ||
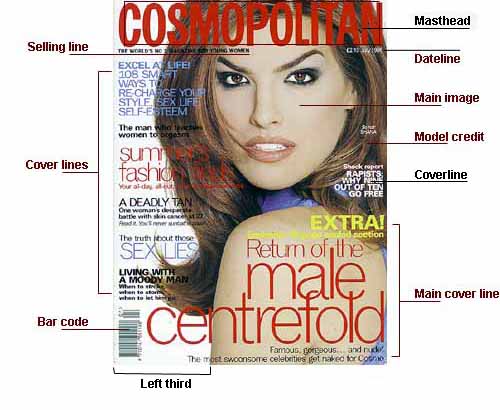
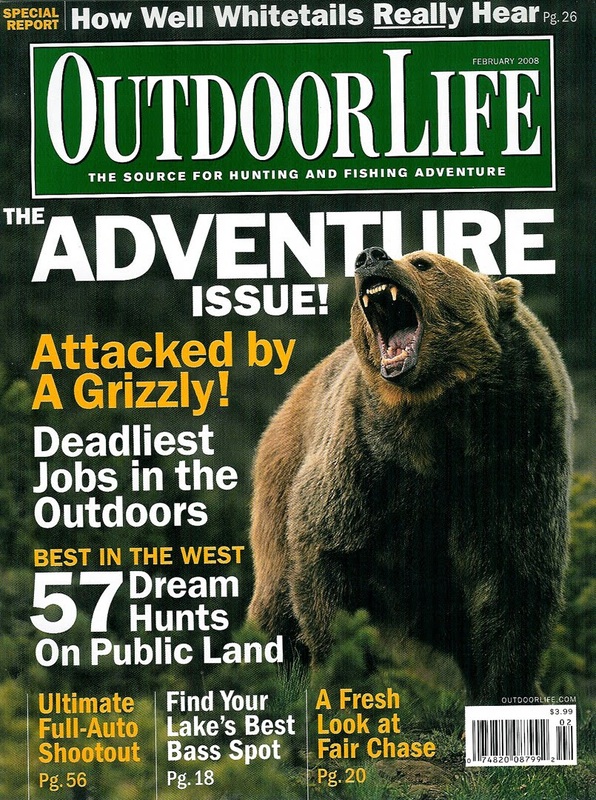
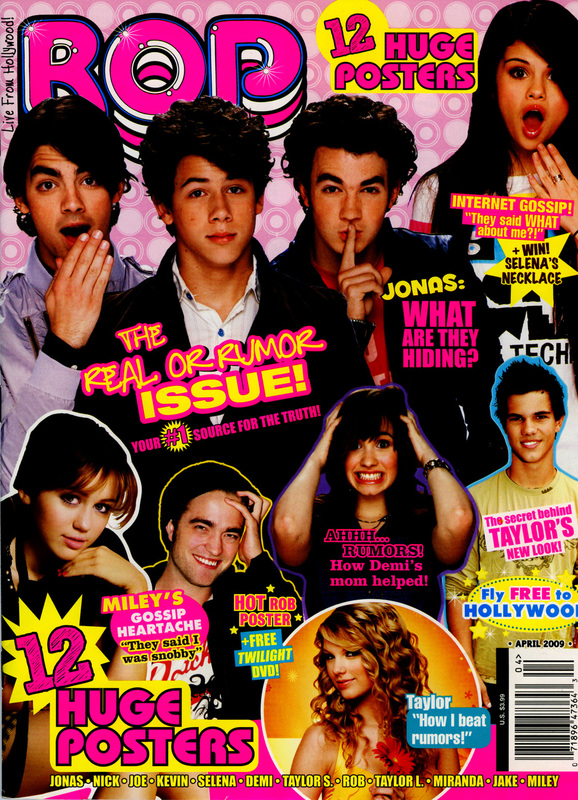
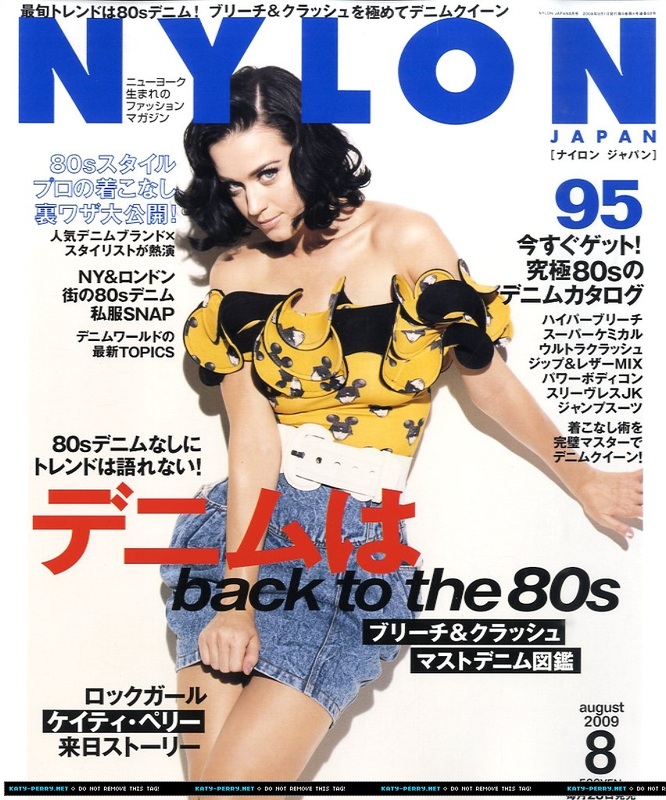
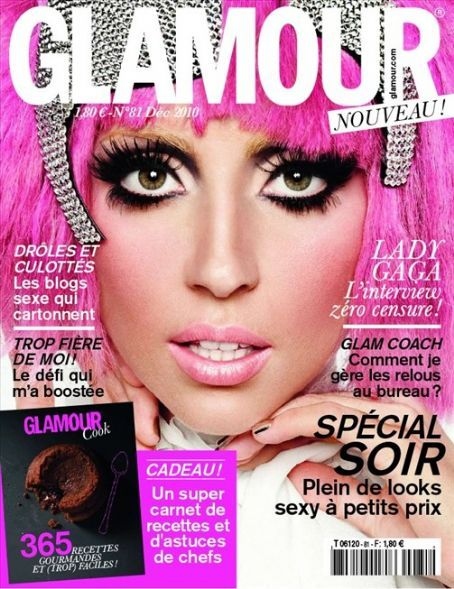
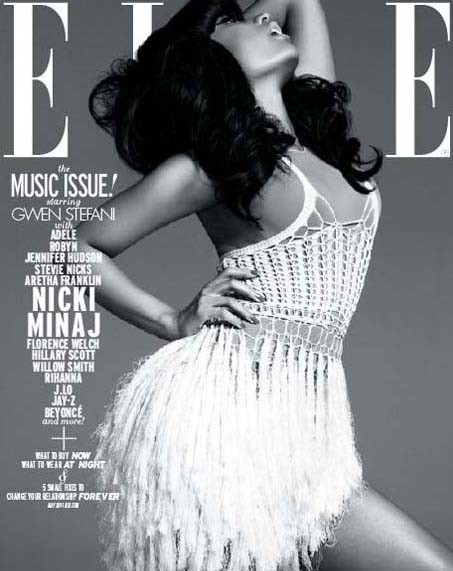
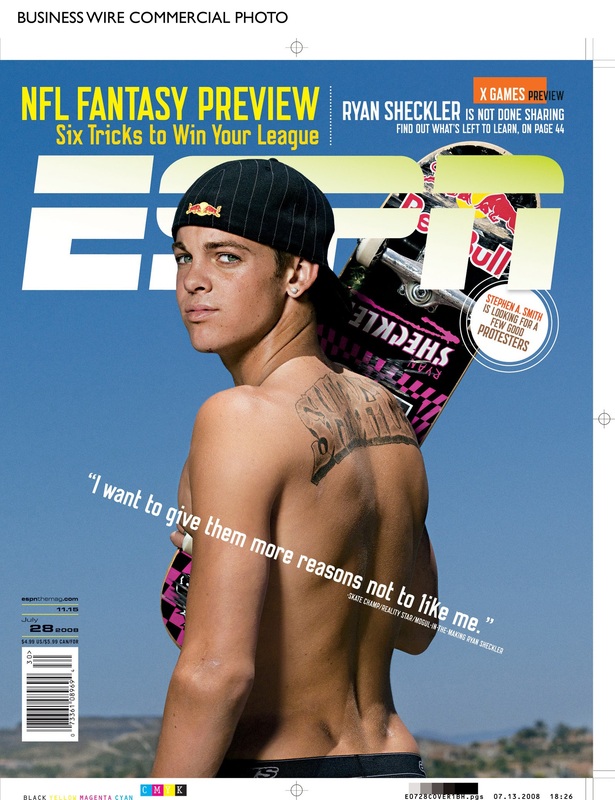
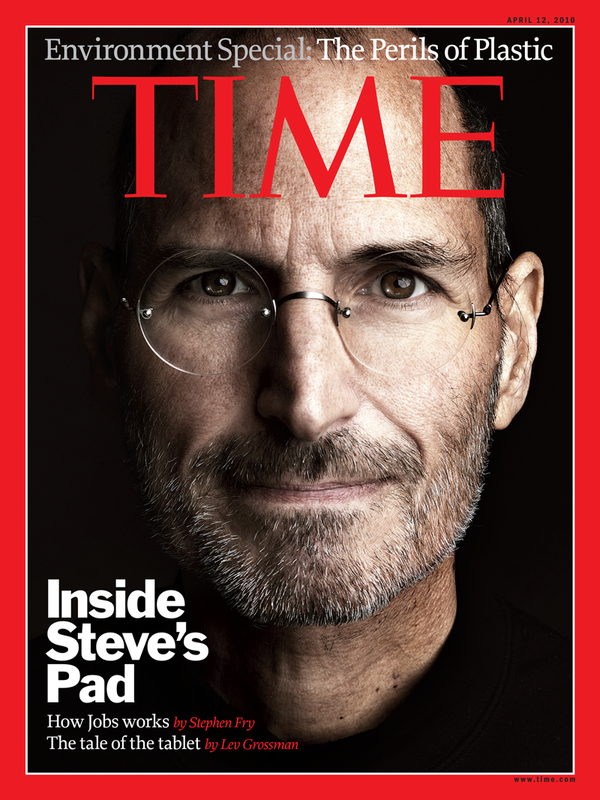
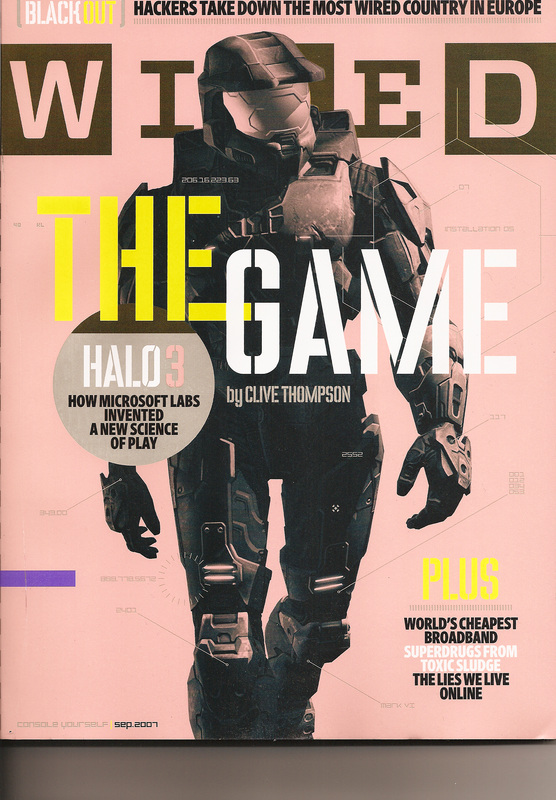
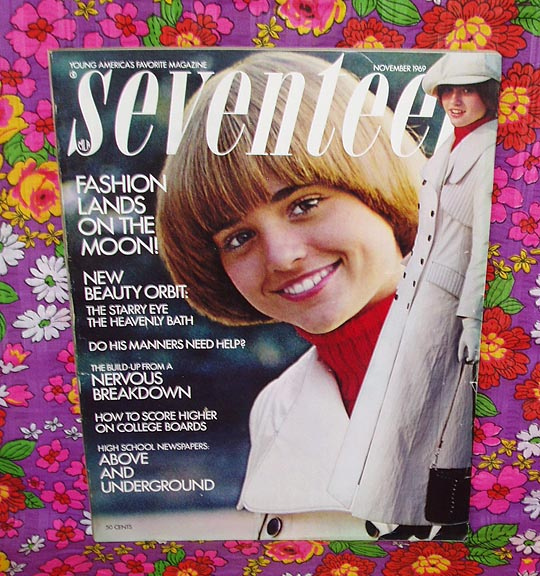
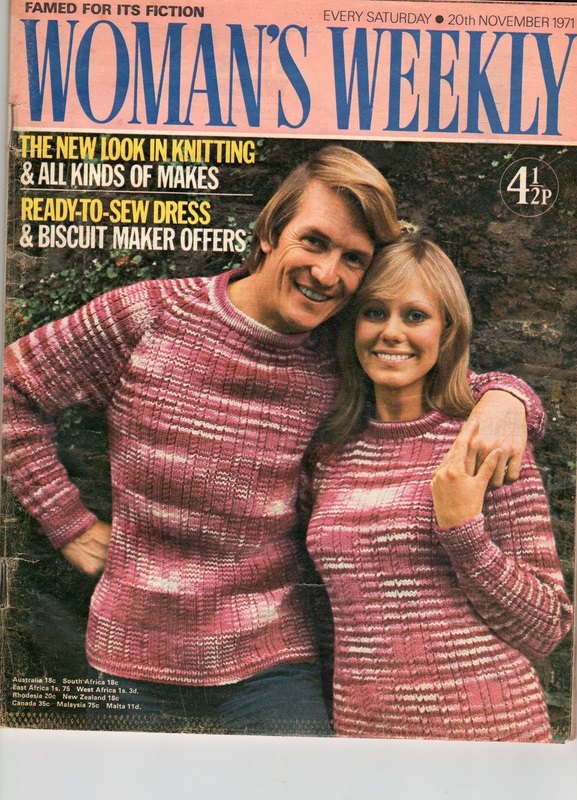
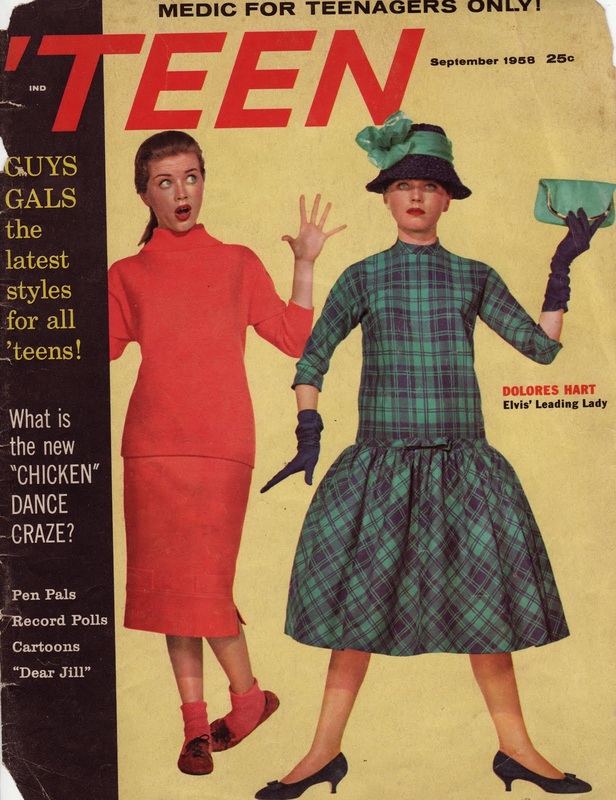
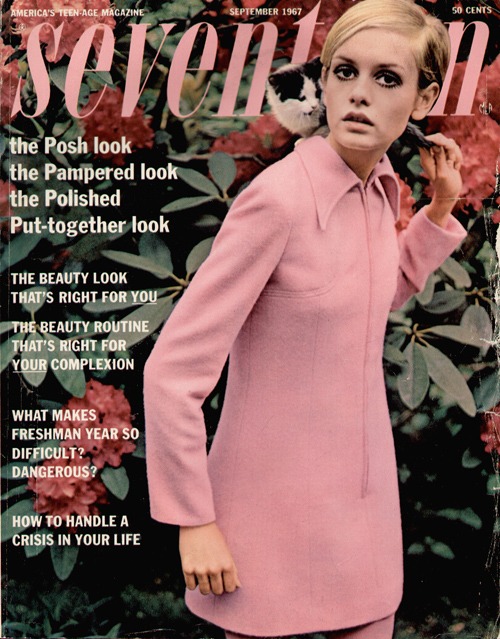
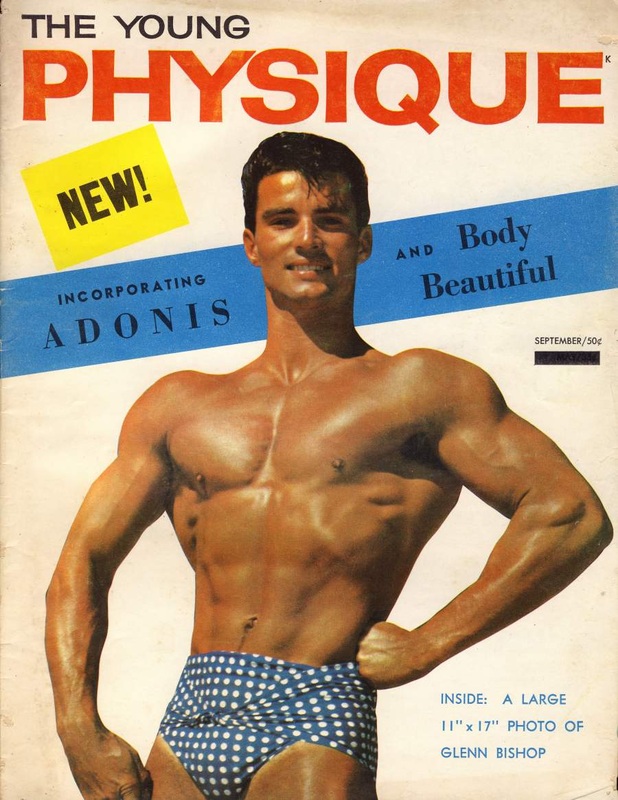
Oct 25 | "COVER ME UP"- Design your own magazine cover

Now it's your turn to create your own cover for a magazine. I will leave it up to your creative minds to come up with the genre and style of magazine. The design and photo is totally up to you. The only conditions of this projects is that you've spend some time sketching and designing your magazine cover on paper first (for marks) before beginning on the computer. And you can show you've learned from the tutorial. So surprise me.
The first image in the picture gallery breaks down the different sections and elements that go on a magazine cover. Save your project as magazine_yourname.indd and magazine_yourname.pdf. Hand in only the PDF version. |
|
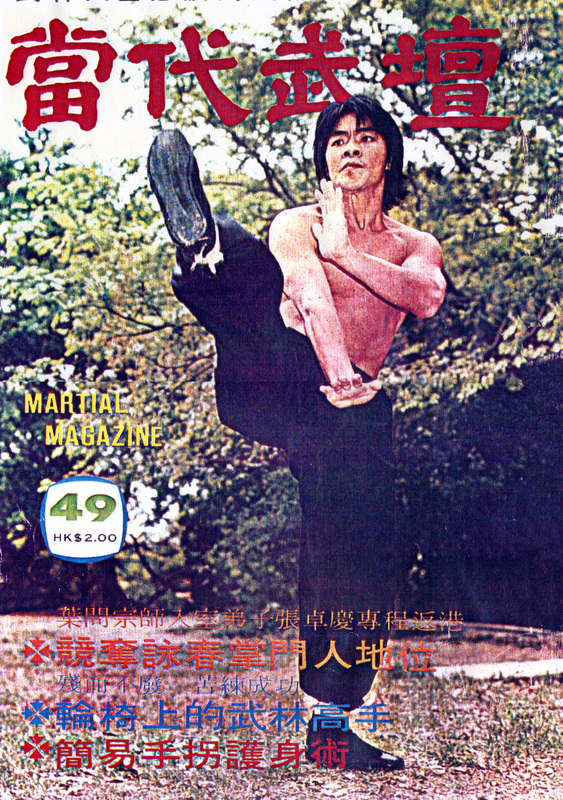


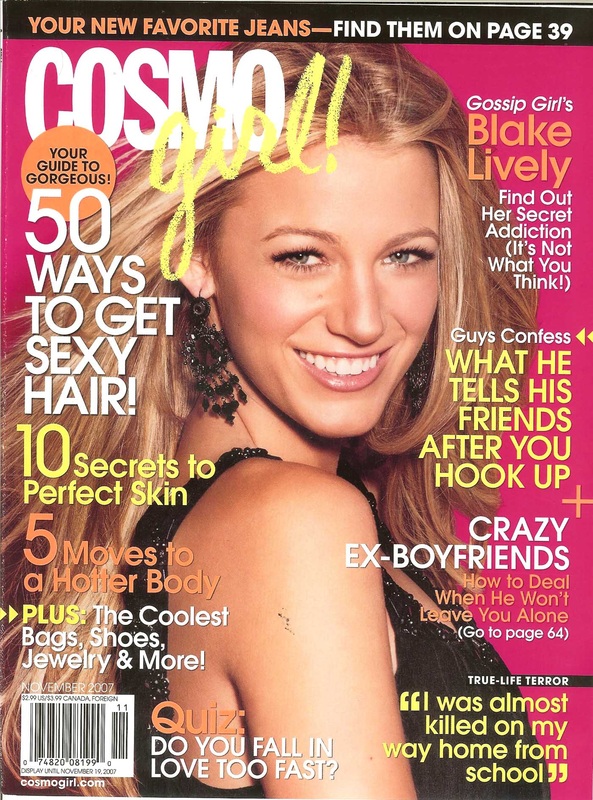

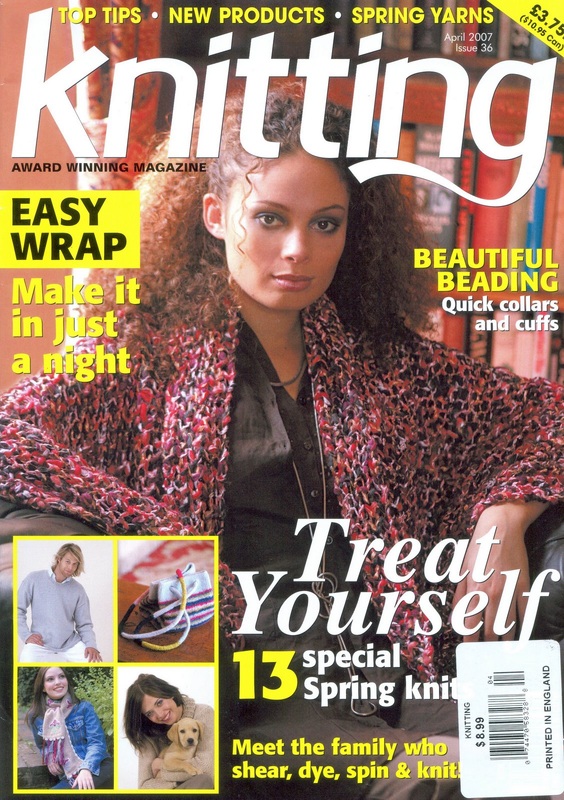


Oct 20 | InDESIGN TOOTSIE-ROLL {InDesign Magazine Cover}

Click here for the TUTORIAL
Complete the tutorial in InDesign to learn how to do layout designs with photographs and text. This will be a lead up tutorial for your next project which is to create your own professional magazine style cover. The image they use in the tutorial is not available. Please only use one of the images posted on the right side. That way we can just stick with high resolution images. I have also uploaded the fonts for you so you don't have to go to the website www.dafont.com to download it. When the tutorial is completed, please save as covertuts_yourname.indd, and covertuts_yourname.pdf. Hand in only the PDF file. |
| ||||||


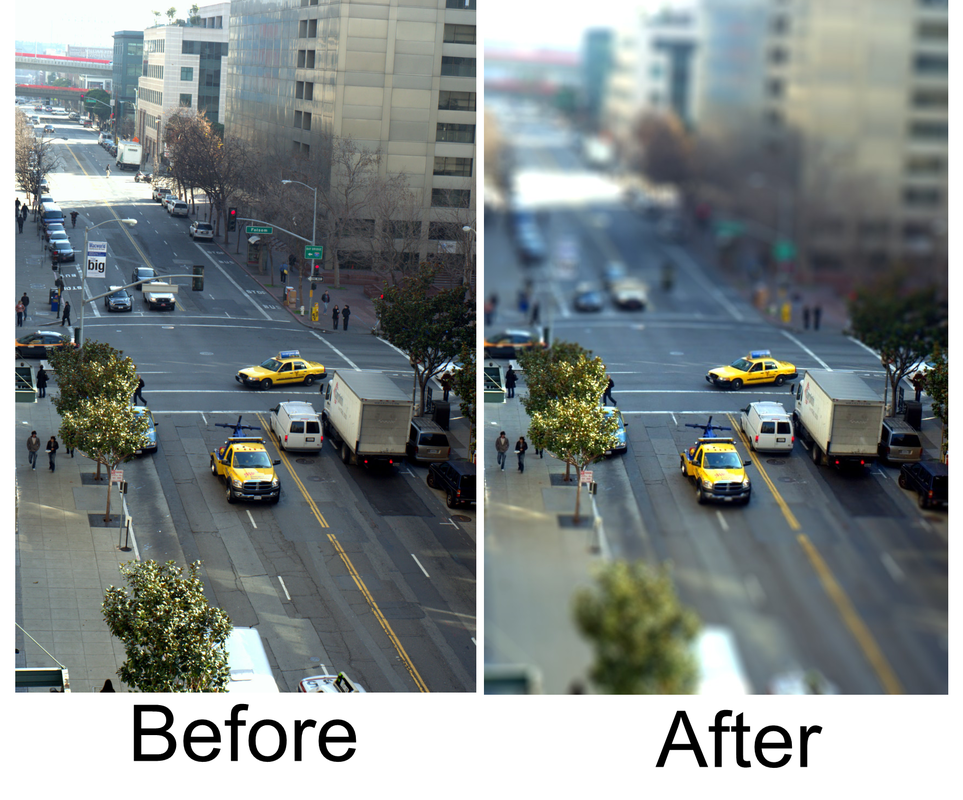
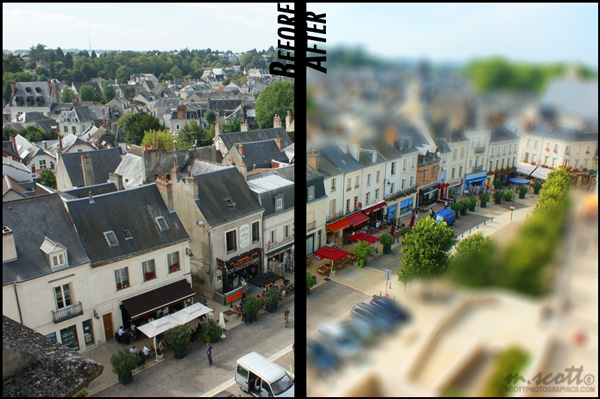
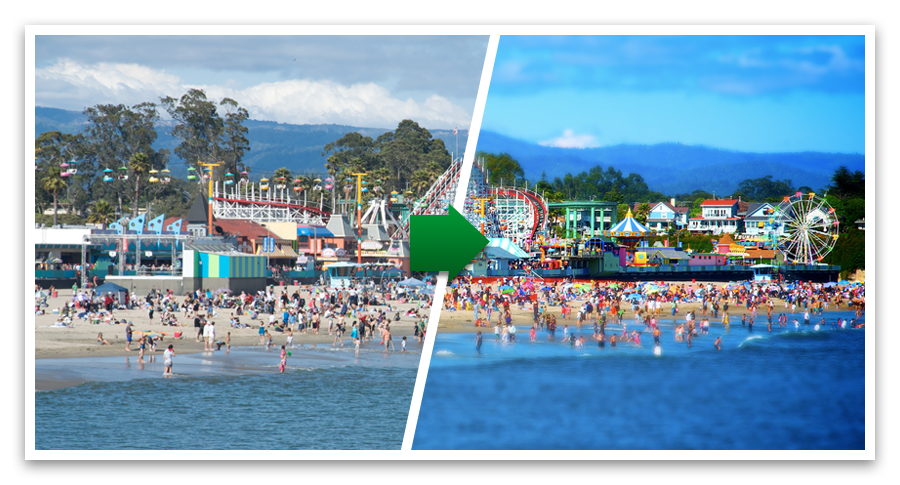
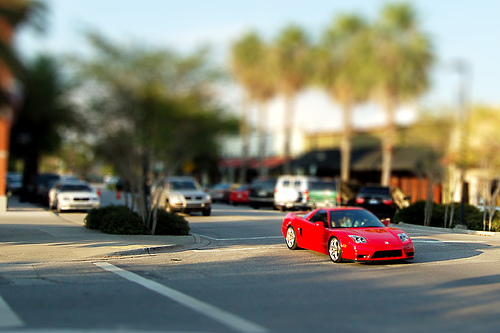
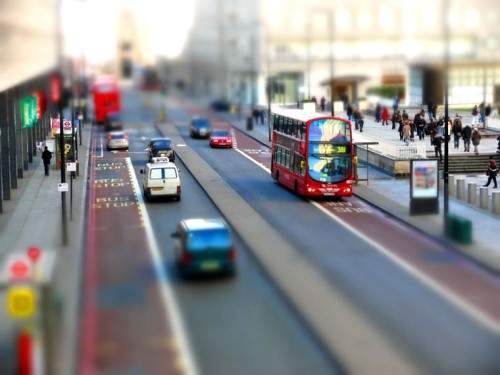
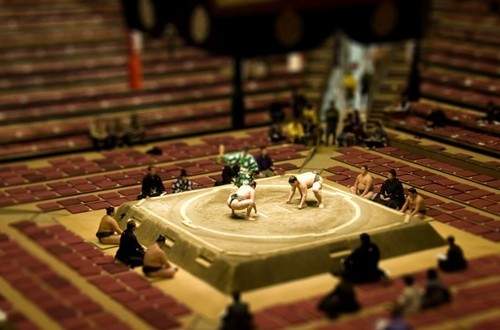
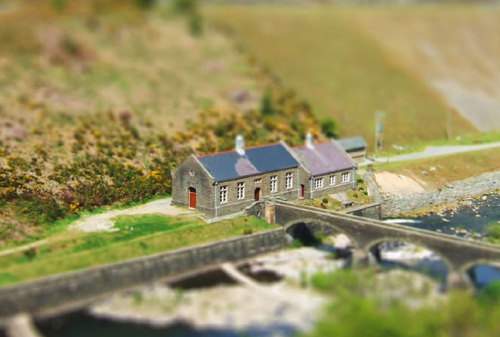
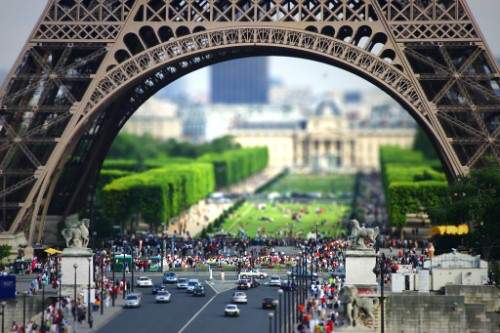
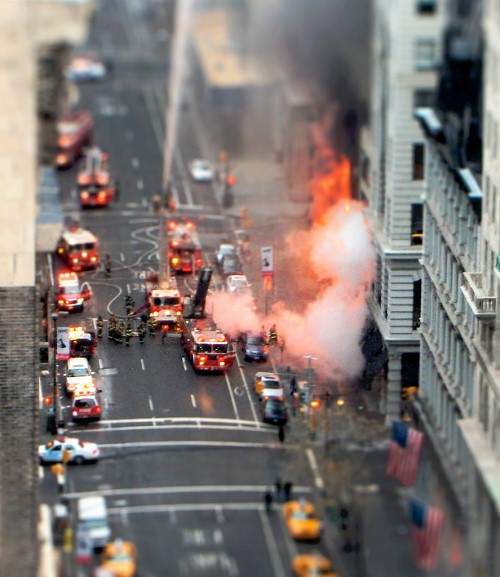
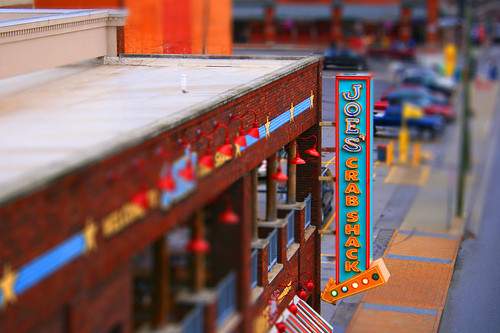
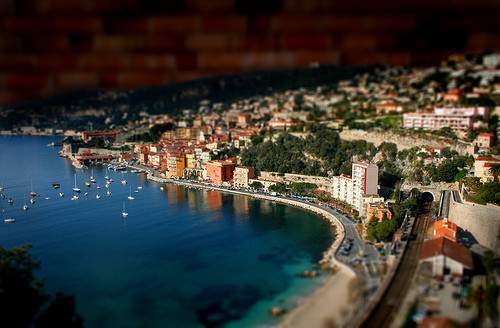
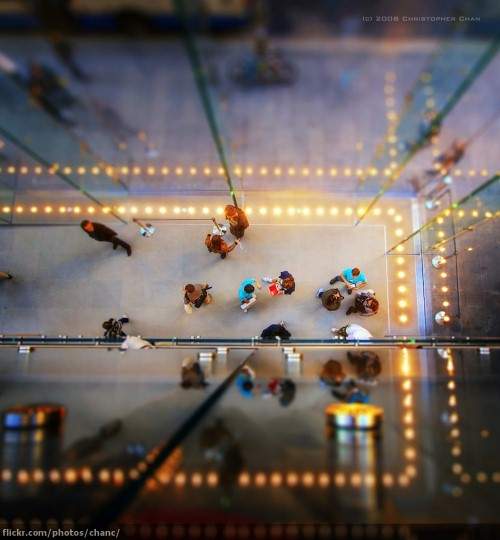
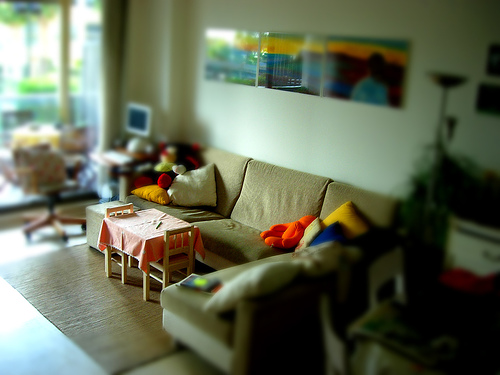
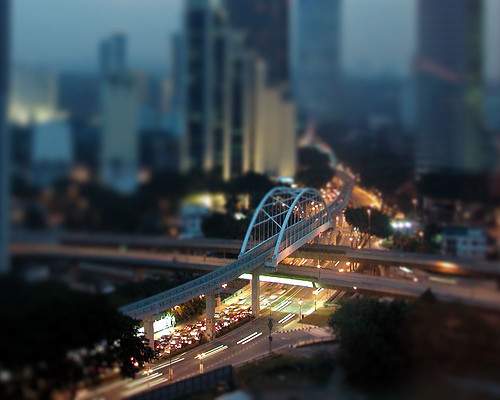
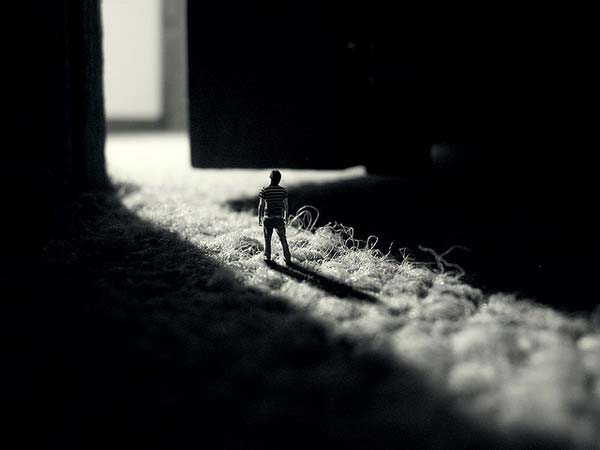
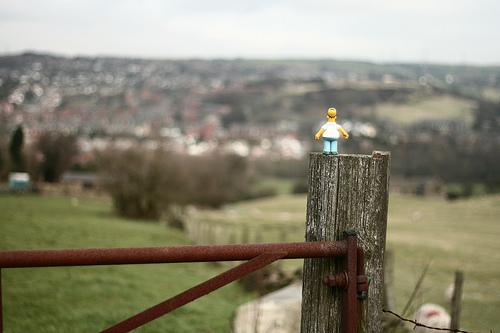
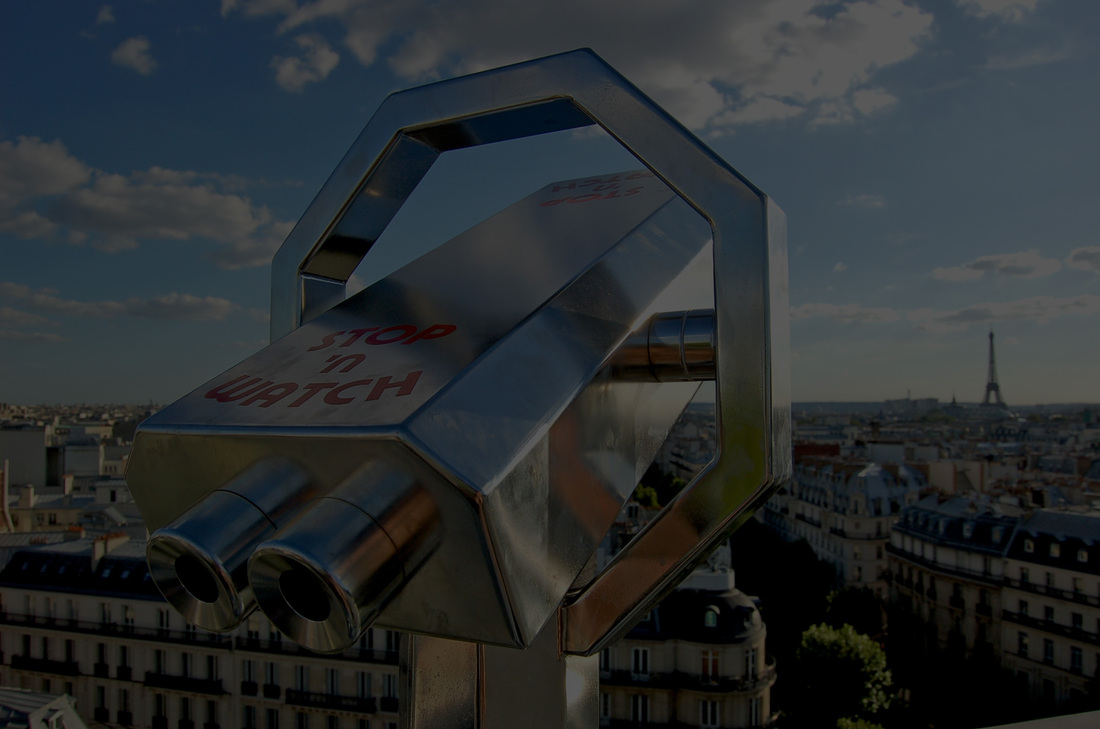
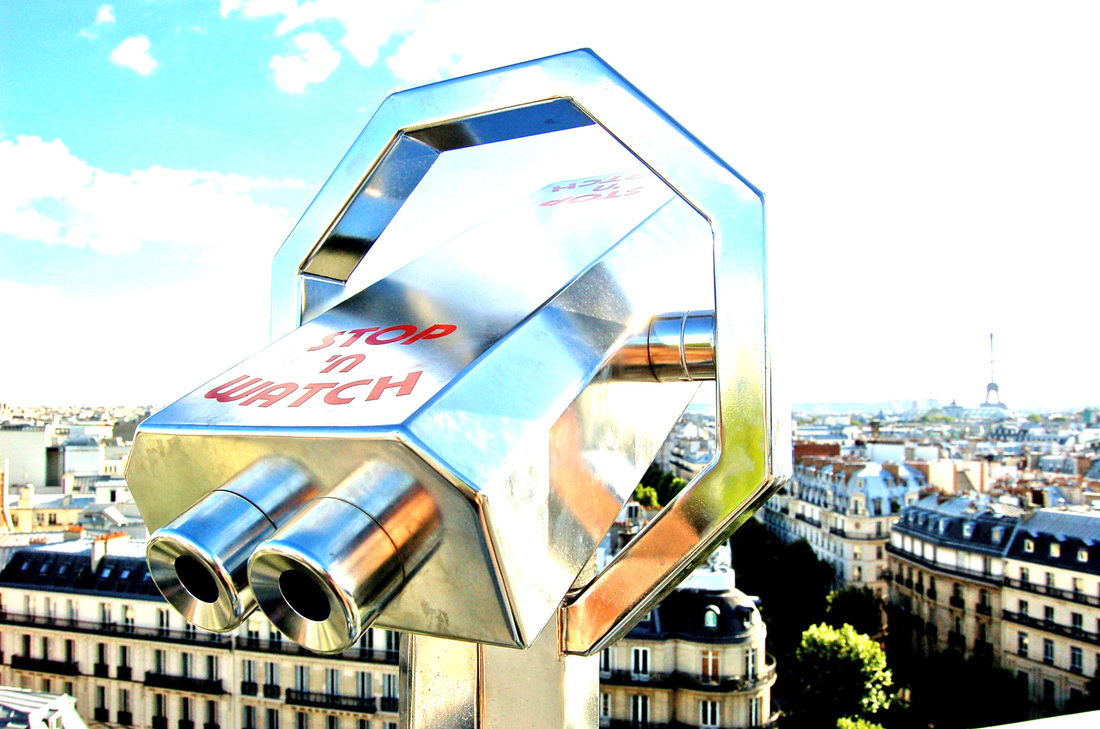
Oct 5 | "SHIFTY LIL' GUY" {tilt-shift photography}
"Tilt-shift photography" refers to the use of camera movements on small- and medium-format cameras, and sometimes specifically refers to the use of tilt for selective focus, often for simulating a miniature scene. Sometimes the term is used when the shallow depth of field is simulated with digital postprocessing; the name may derive from the tilt-shift lens normally required when the effect is produced optically. Below are some tips for choosing a good photo to use.
STEPS:
|
click here for the TUTORIAL
|


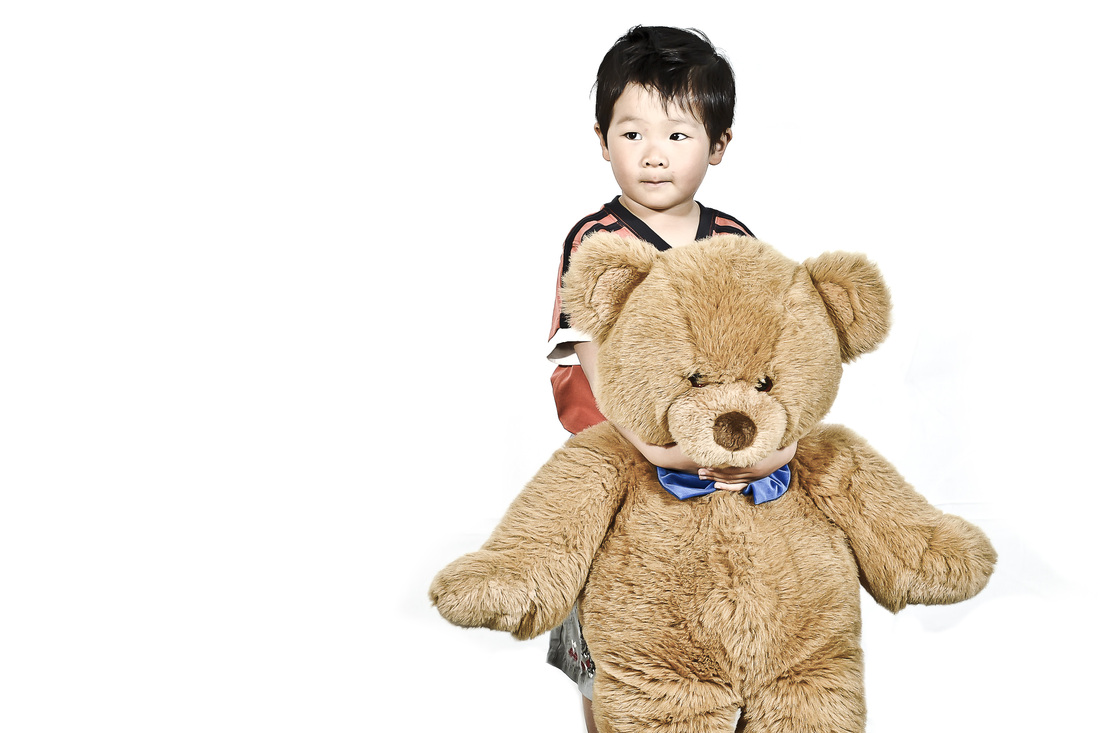
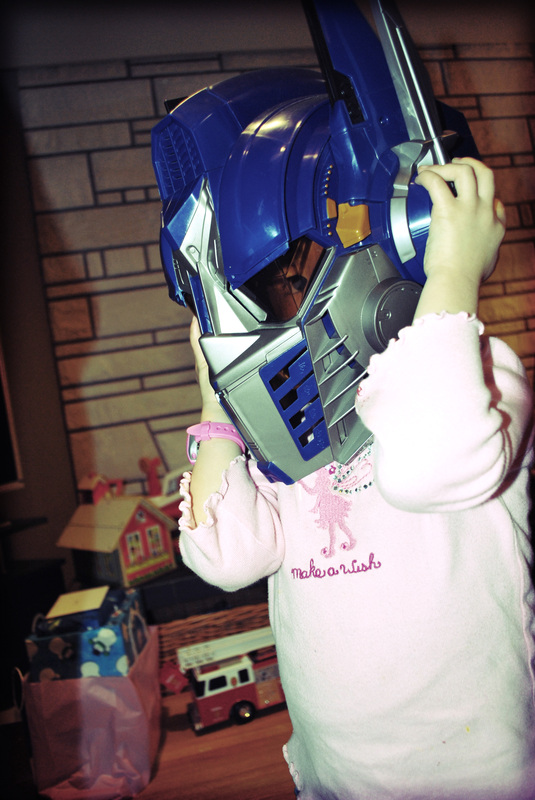
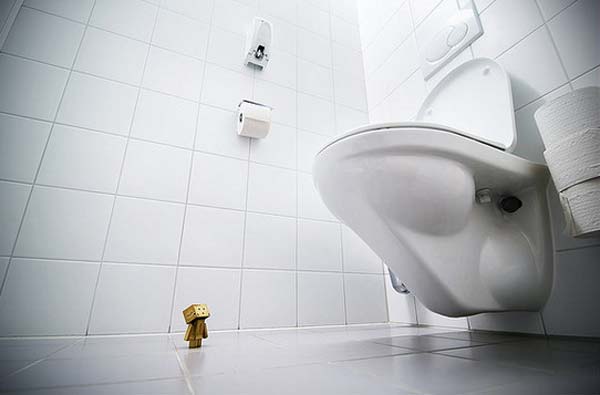
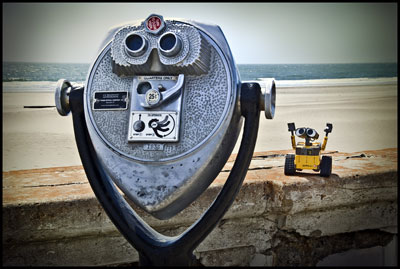
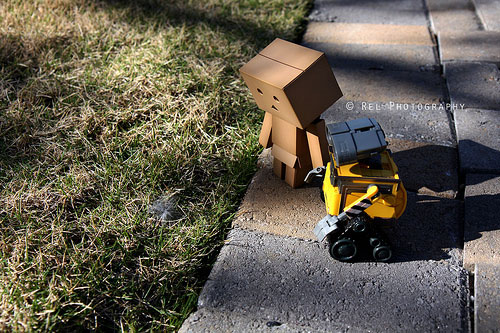
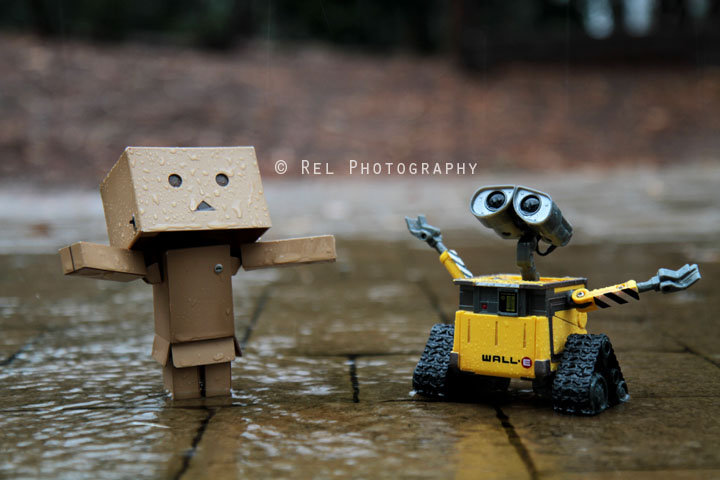
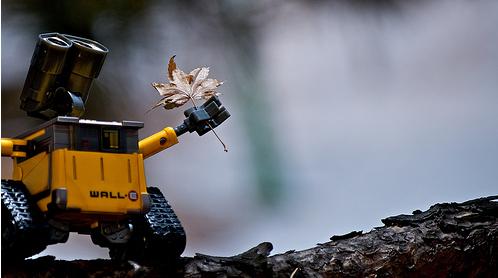
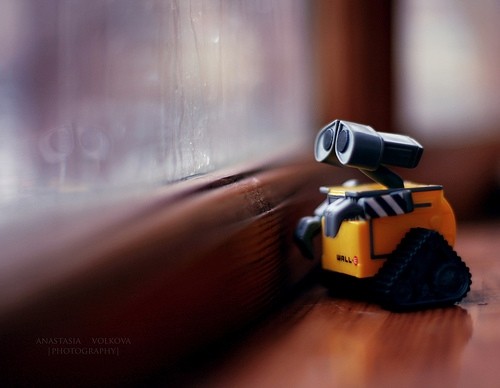
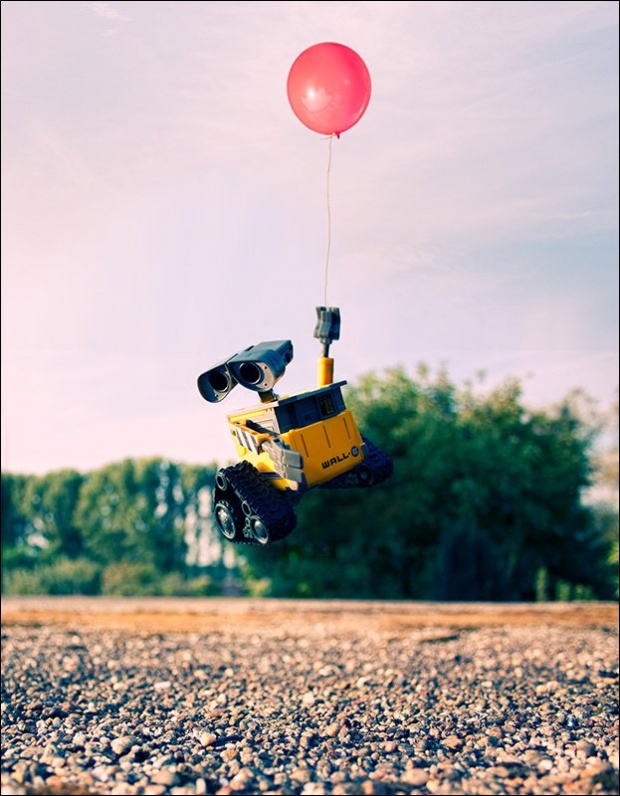
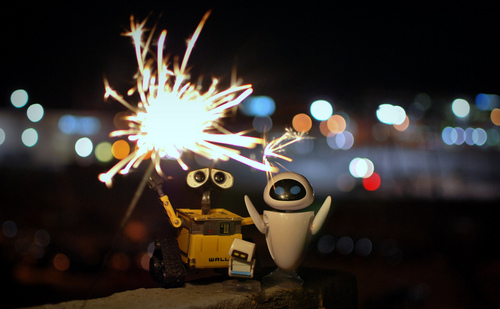
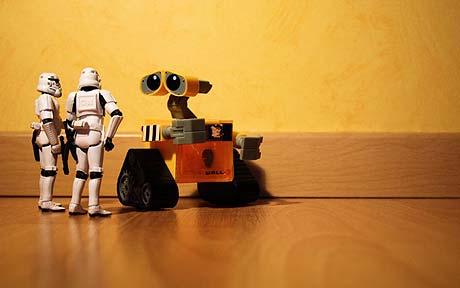
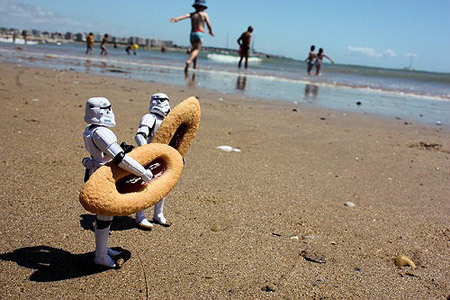
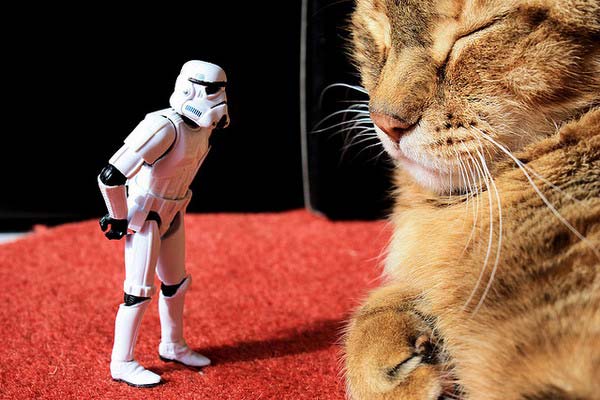
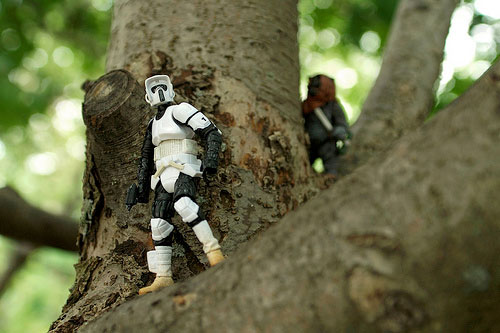
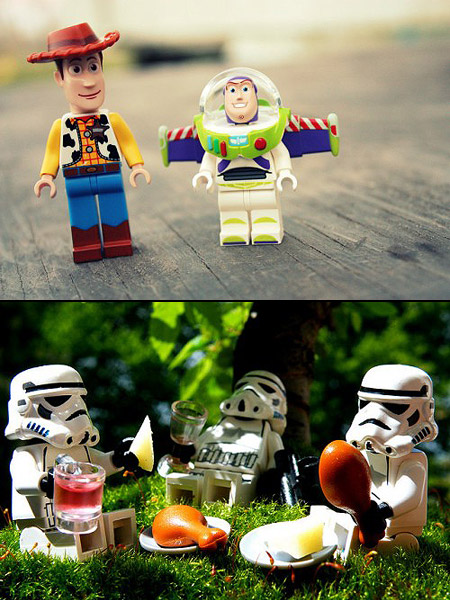
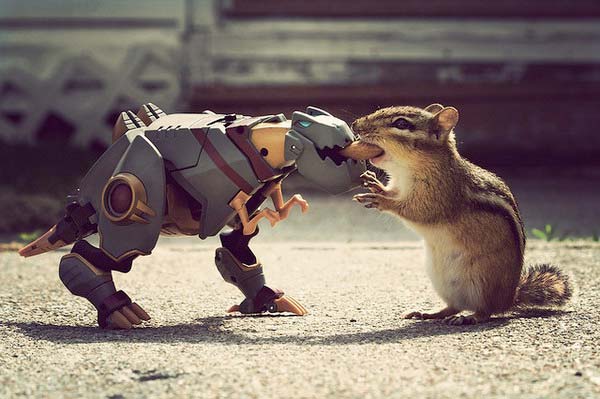
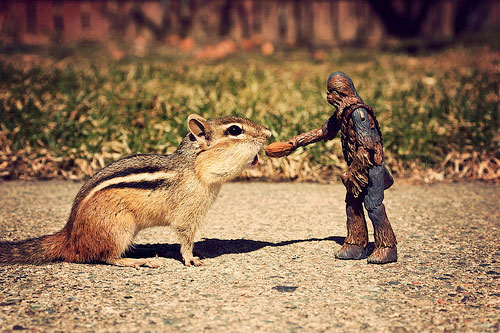
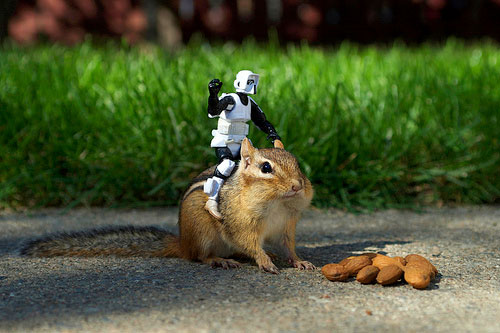
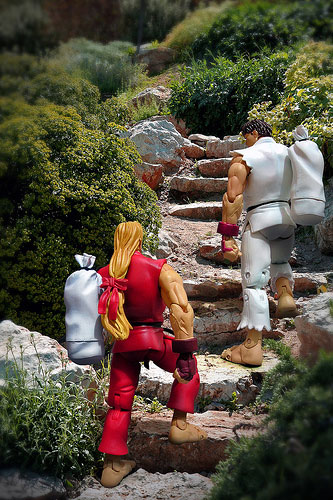
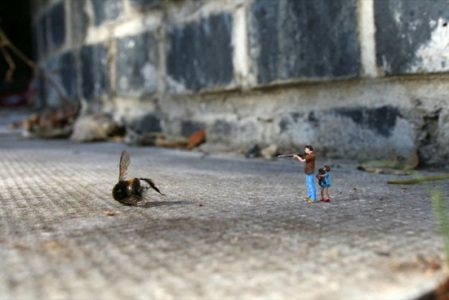
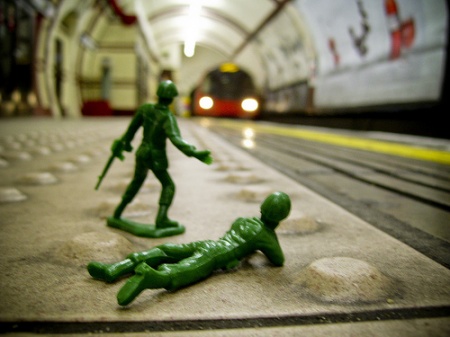
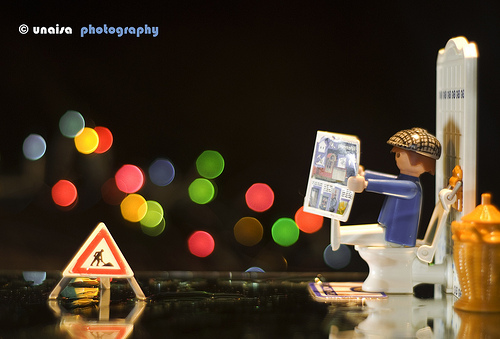
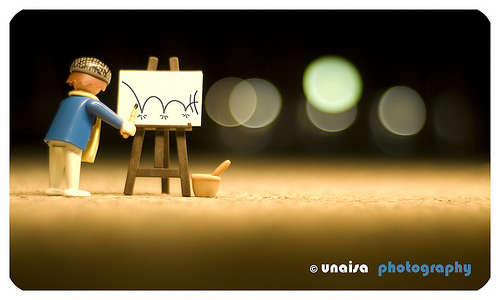
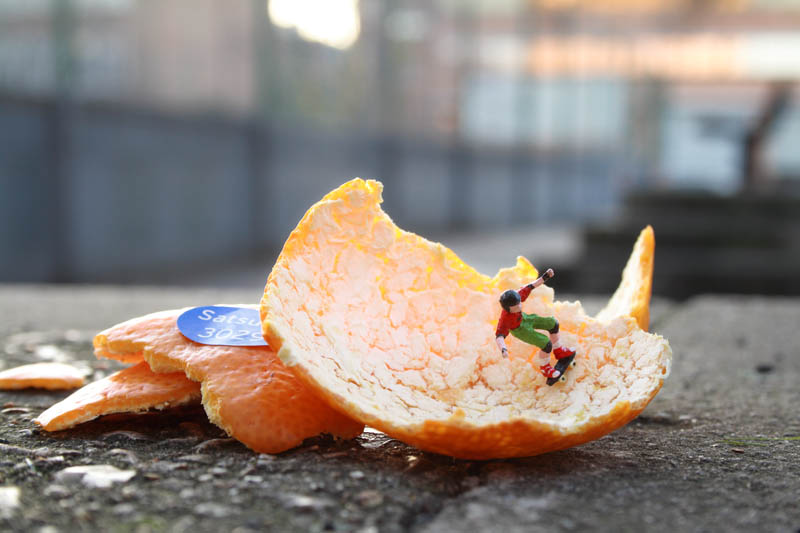
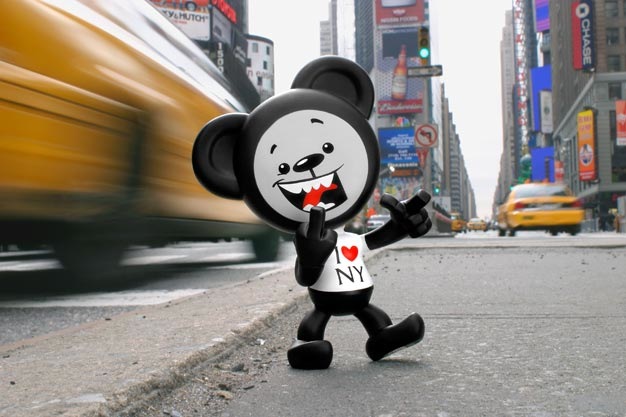
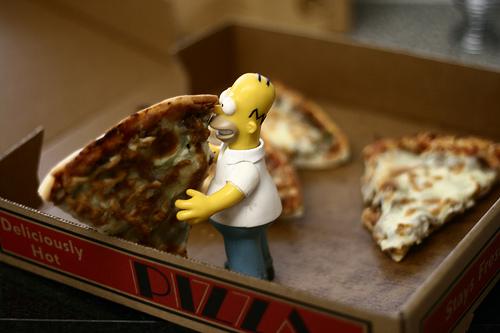
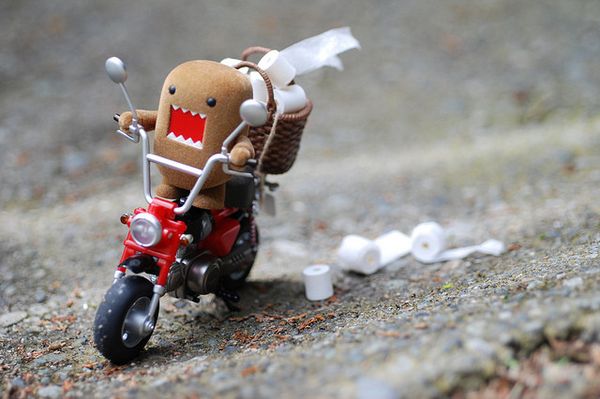
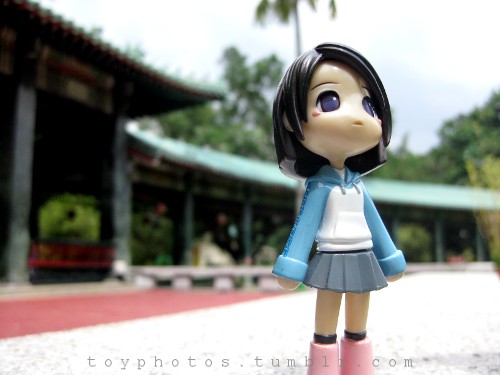
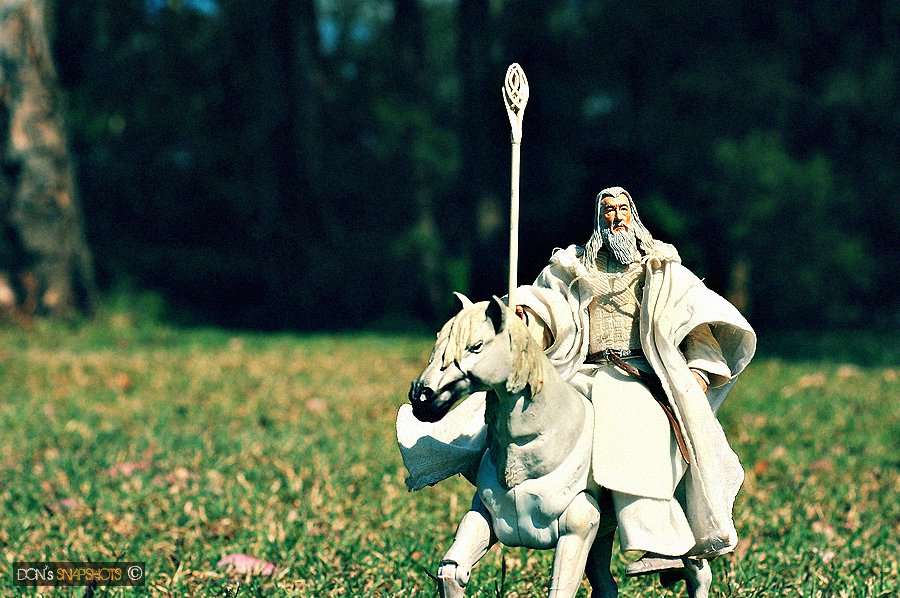
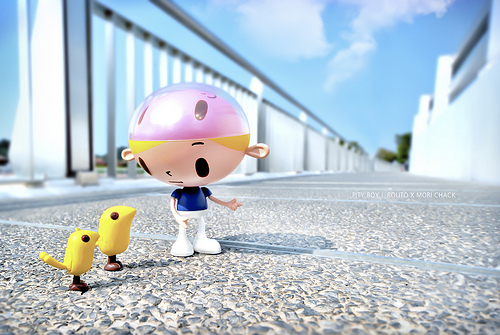
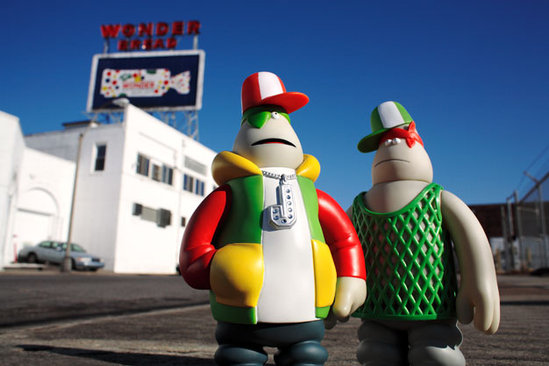
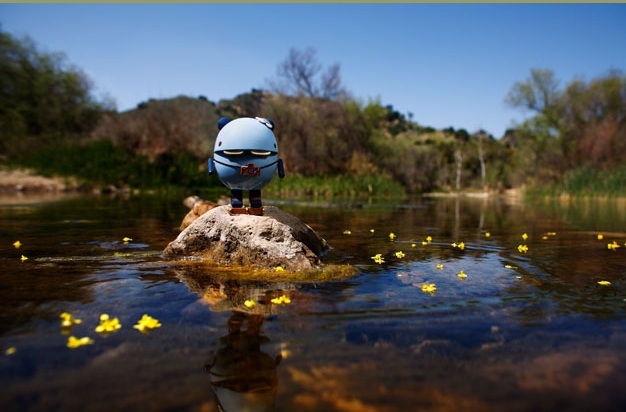
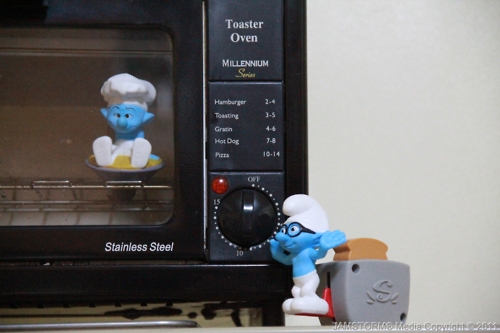
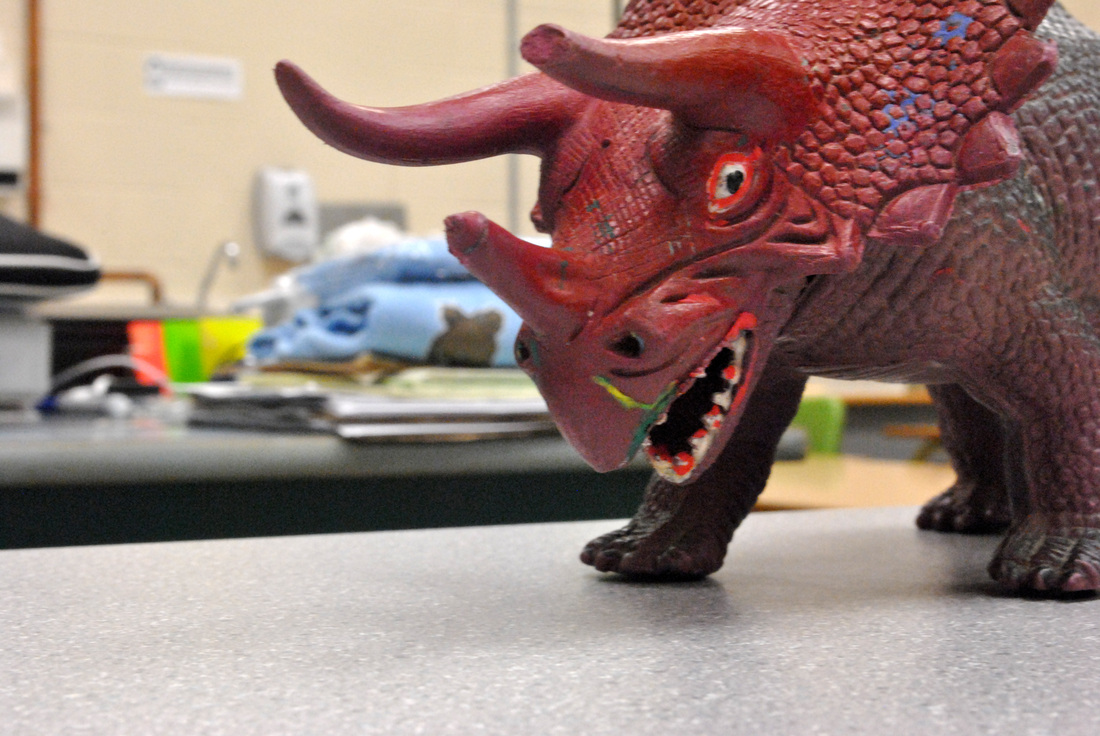
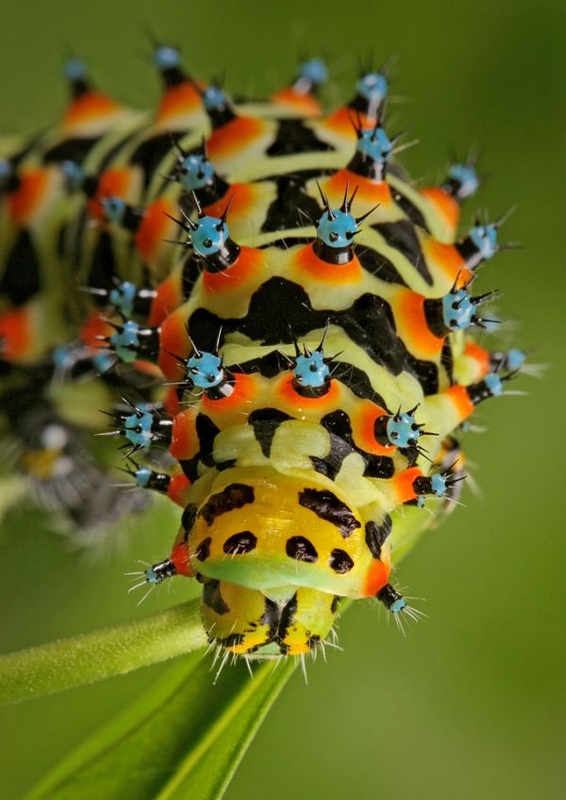
Sept 27 | "DON'T TOY WITH ME" {macro photography}
SOME TIPS:
Photographing toys can be lots of fun. You will learn a lot of things while practicing it. As you are in control of everything, you will not only learn about composition and lighting, you will also acquire some skills of staging and story telling. You don’t need sophisticated equipment to achieve great results. You can do wonders with natural light and a point and shoot camera with a macro option. It all really lays on your imagination and of course your “models”. All you need to do is grab a toy, a camera and to just have fun. Make Them Look Big Since you are photographing tiny objects, it will be more interesting to give those toys a human dimension and to make them seem bigger than their actual size. In order to achieve such an effect, you can use the simple technique of getting close to your subject as much as possible to fill the frame with it and to take the photo from a low angle to give it that ant’s eye view effect. You can also place your toys in an environment that would help in making them look bigger. For example, you can place them inside a miniature scale model of a building, or a doll house. Tell a Story Taking simple direct shots of your toys is not as interesting as playing the role of a film director and creating a whole scene where the toys are your actors. It might be hard at the beginning but once you start letting your imagination loose, you won’t be able to stop. A good way to start is by trying to recreate a scene you encounter in your everyday life. After that you can move to the recreation of a movie scene, or the representation of an idiom. Once you grow comfortable with staging and story telling, you will begin innovating and creating fresh and new ideas. PROJECT OUTLINE: Choose your 5 strongest photos to hand in. Your photos should have a variety of themes, objects, settings, camera angles, and compositions. Make sure you've taken time to work on your focusing, depth of field, and composition (rule of thirds). Start thinking about the objects you want to use. Put some thought into it, do not show up to class and wing it by looking around my classroom for something to use last second. Save your work as mactoy_yourname01.jpg, etc... ALSO... upload your 5 photos onto our class tumblr site. |
|


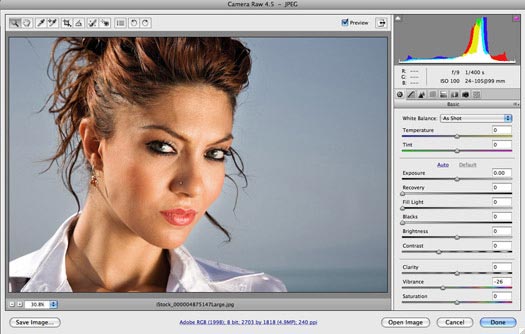
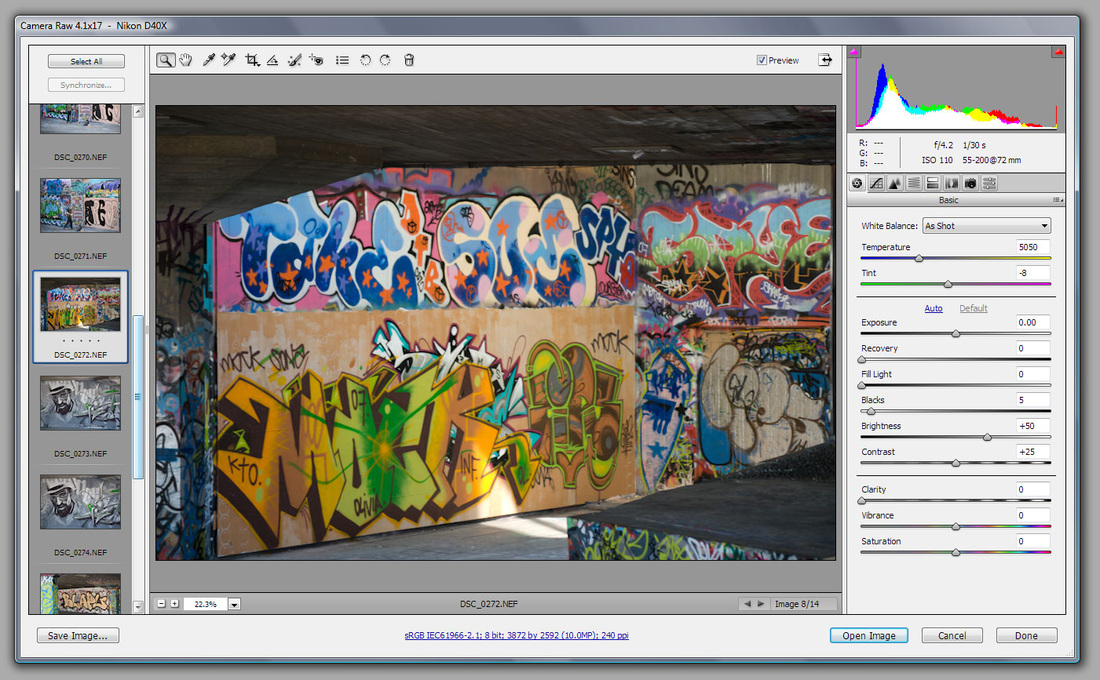
Sept.22 | PHOTO EDITING IN ACR {Adobe Camera Raw}
|
     |
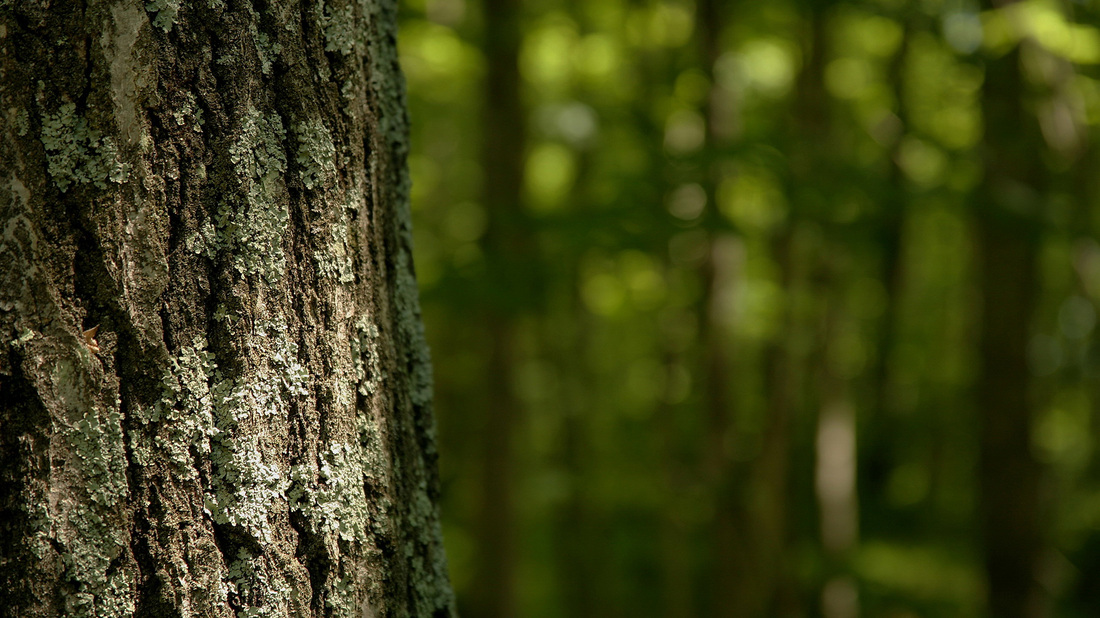
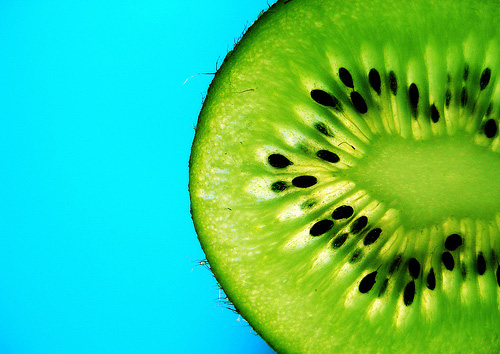
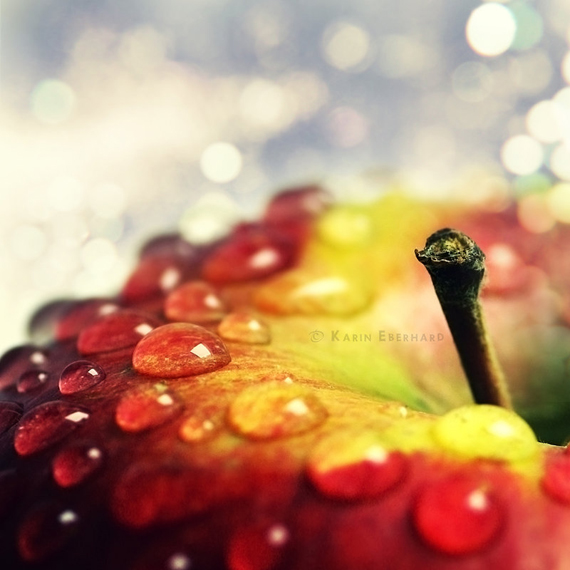
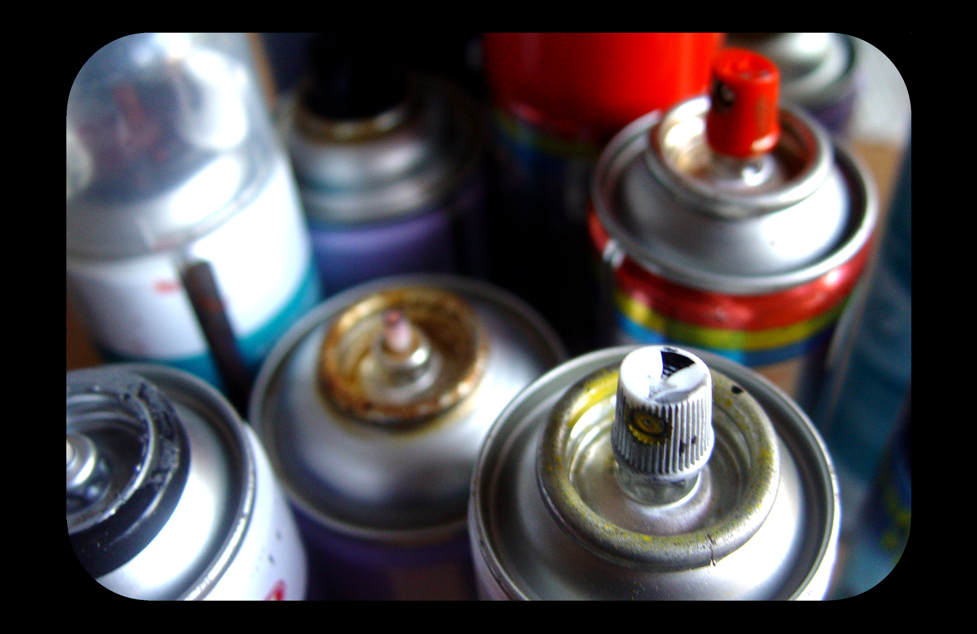
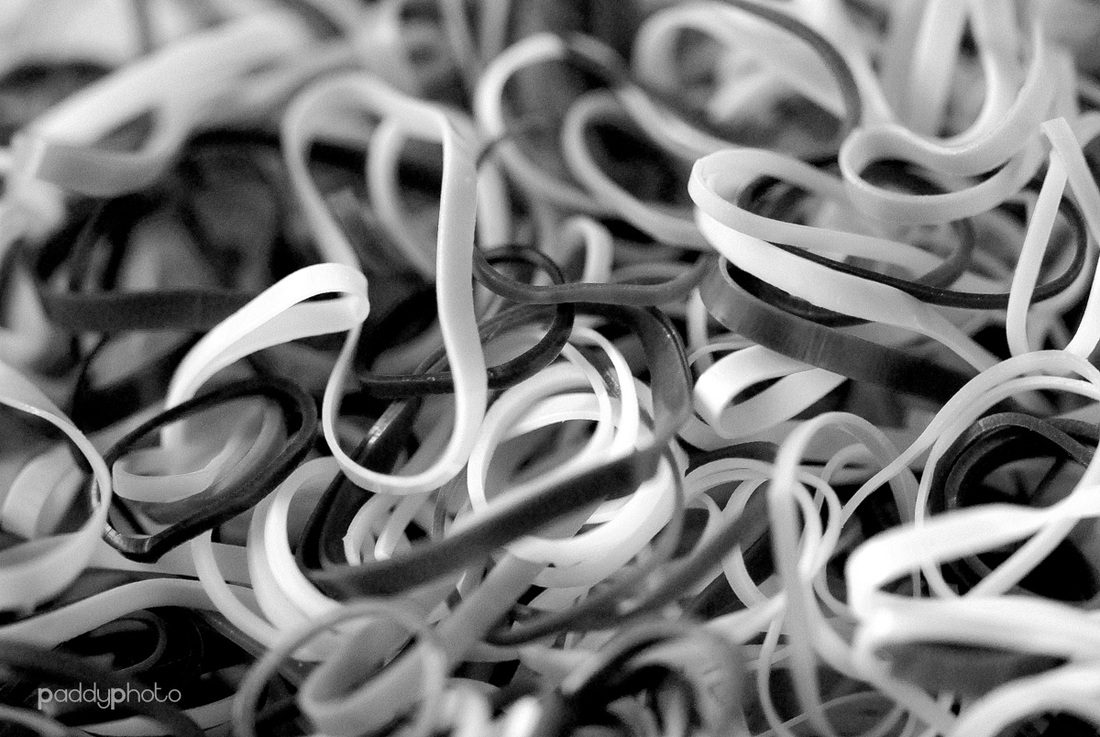
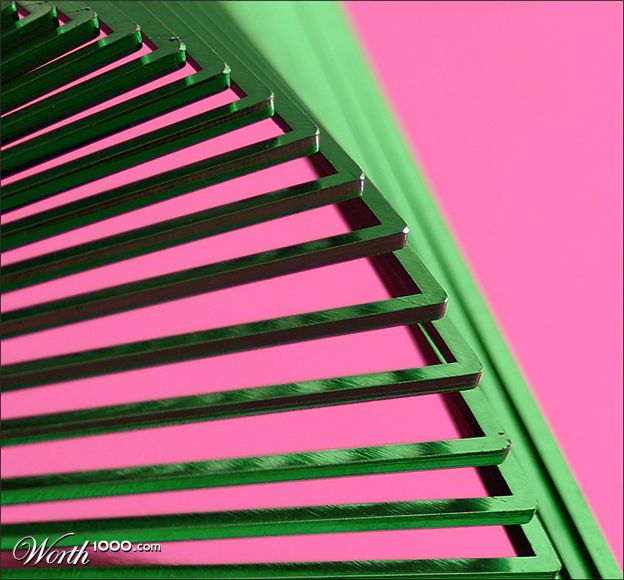
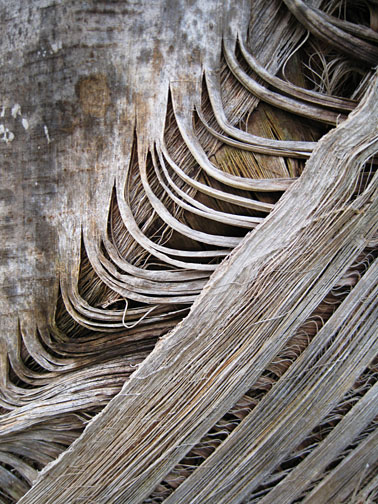
Sept.20th | MACRO-RONI {close up photography}
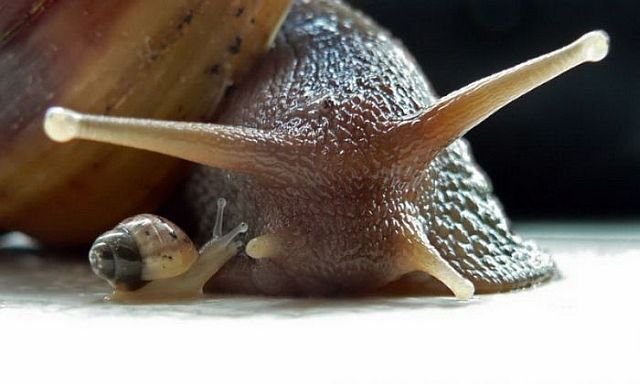
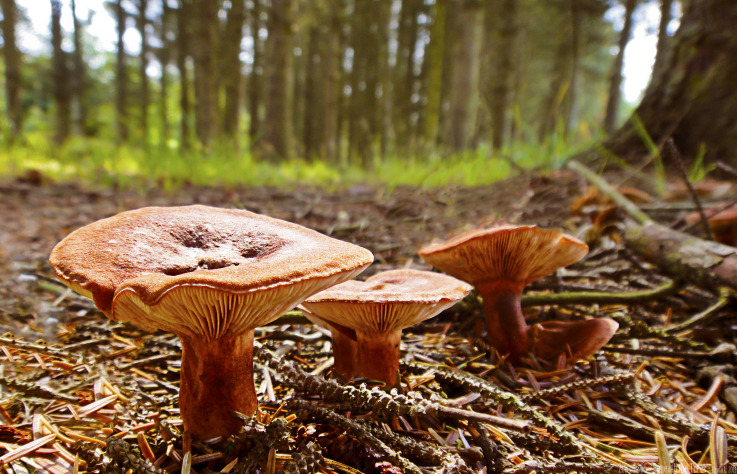
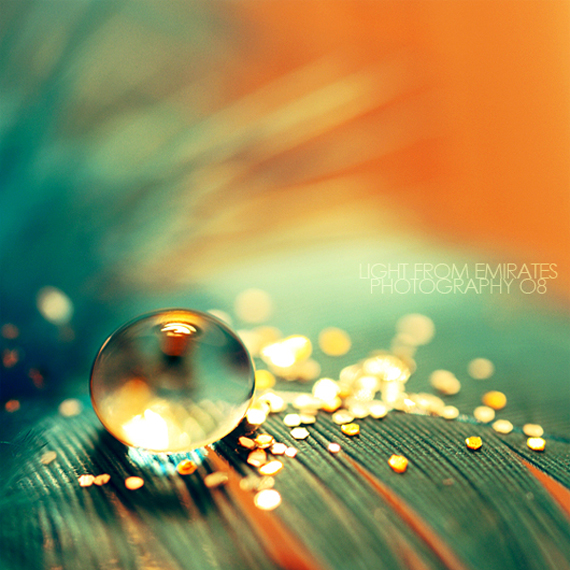
Your first photography project will "focus" (like my pun?) on MACRO + CLOSE UP shots. There are 3 subjects we will look at: NATURE, FOUND OBJECTS, and ABSTRACT.
Taking macro photos can be challenging. You can get frustrated when you are unable to get their subject fully in focus. Other times the beginner can’t seem to take a macro photo that isn’t blurry. Then there’s the frustration with taking a macro photo that isn’t lit properly. If there is one thing that I like about macro and close-up photography it’s that no matter where you are right this moment, there is a fascinating subject waiting to be shot. You can find endless inspiration in the details and patterns that surround us. In exchange their photos reveal a tiny world that normally falls below our perception. The goal of macro and close up photography is to get your subject in focus and the background to be blurry. You want to focus on the details, colors, lines, forms, and lighting of the subject matter. The other biggie to getting great macro photography is a good tripod. A good tripod will hold the camera much steadier than you can, allowing you to get much slower shutter speeds than you ever could’ve achieved holding the camera by hand. A good tripod is often indispensable to getting great macro photos. If you’re out to get some great macro photos, remember these three things:
For these assignments use your camera in the Macro Mode setting or in Aperture Priority (wide aperture f2-f5). You can bring in additional lighting or flashes (not the fixed camera flash) to help light your subjects. For each category you will be handing in 3 good photos. Obviously you will shoot more than just 3. The more you take the more you have to choose from. Mr. Choy will go over editing with you later this week. For now just upload your photos after each photo session. Save your photos as the following: abstract_yourname01.jpg, abstract_yourname02.jpg, abstract_yourname03.jpg nature_yourname01.jpg, nature_yourname02.jpg, nature_yourname03.jpg object_yourname01.jpg, object_yourname02.jpg, object_yourname03.jpg ALSO... upload your 9 photos onto our class tumblr site. |
in nature
found objects
abstract
|


Sept. 9th | INTRO TO FO-TOW {photography}
|
| ||||||||
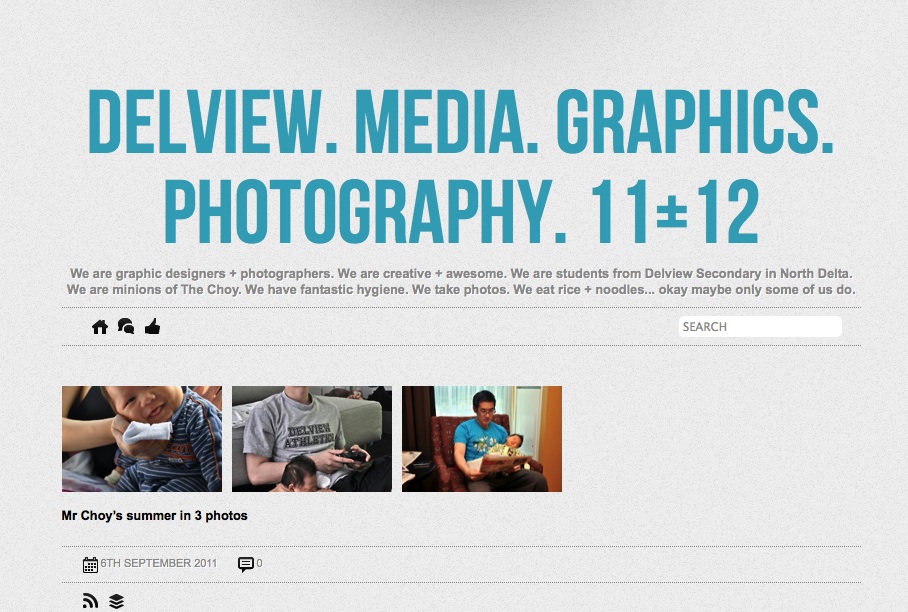
Sept. 7th | tumblr + MY SUMMER IN 3 PHOTOS
For this assignment we will be focusing on the visual power that photography has. During your 2 months of summer many of you had great experiences, sad experiences, boring experiences, exciting experiences, horrible experiences, etc... You went on vacations, sat around at home, worked, had weddings to attend, dinners, slept in, played sports, went to the beach, drank only water and juice beverages, etc...
This course is about how photos tell stories, evoke emotions, make people laugh, make people think, or captures a moment or event. Choose 3 photographs that visually describes what your summer was like. Be creative. They don't all have to have you in the photo as the subject. What are some sights you saw? Your photos can be edited or unedited, it is up to you. All of my photos went through an editing process. You will be creating a tumblr entry onto the delviewmedia.tumblr.com site. Please do not sabotage this assignment by messing around with my settings or deleting other people's entries. There is an element of trust here for this project to work. It will be a good sign of what type of individuals I have in this class. DUE SEPT 9th, Friday. We will be presenting the photos in class and talking about some aspects of photography and how they relate to the entries submitted. |
|
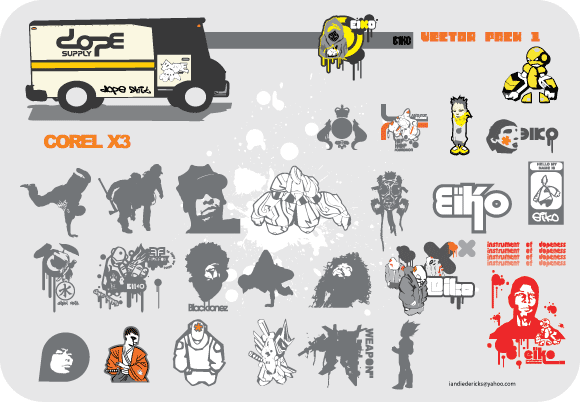
Sept. 7th | VECTORS + ILLUSTRATOR
Today you will be experimenting with vectors. You can download them from the following sites. There are many more sites out there, but here are just a few sample ones. Sometimes downloading them can be a bit tricky, because as we all know downloading files from the internet is not always that straight forward.
VECTOR WEBSITES | free downloads www.vecteezy.com www.freevectors.net www.vectorjunky.com http://vector4free.com/ www.123freevectors.com http://garcya.us/free-vector-graphics/ http://vector4free.com/vectors http://www.vectorvaco.com/ http://coolvectors.com/ http://qvectors.net/ |
|


Sept. 7th | ABC is for...
Can you feel it? The excitement? Your first project of the year. Okay, maybe it's not that exhilarating, but it's a start. Hopefully you'll have some fun putting this project together.
PROJECT:
|
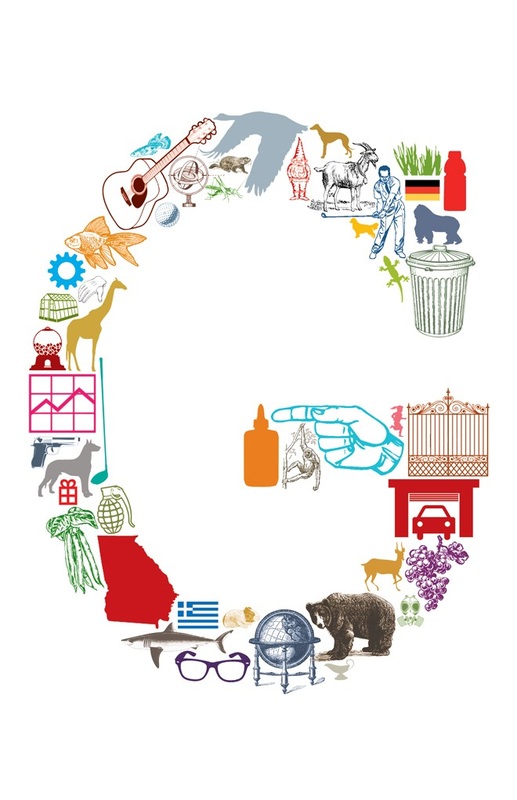  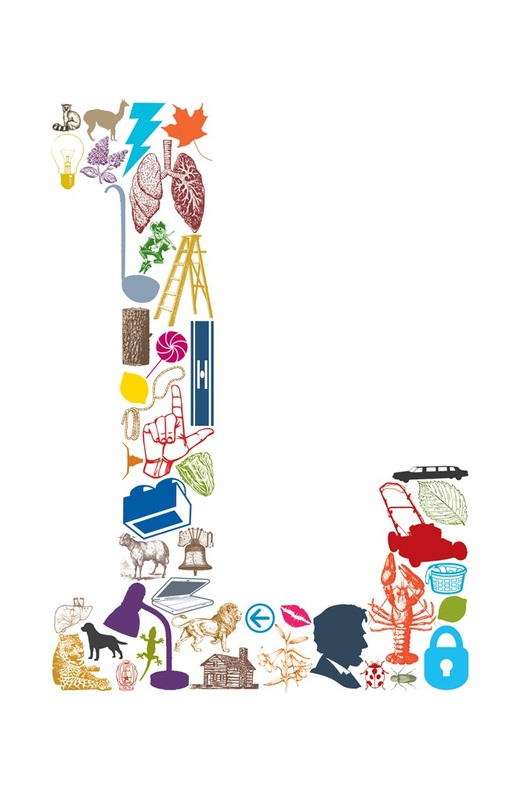       STUCK? Here is a link to help you come up with words that start with a certain letter WORDS THAT BEGIN... (scroll down) |